Woodworker's Journal 101-Projects-for-Woodworkers, страница 78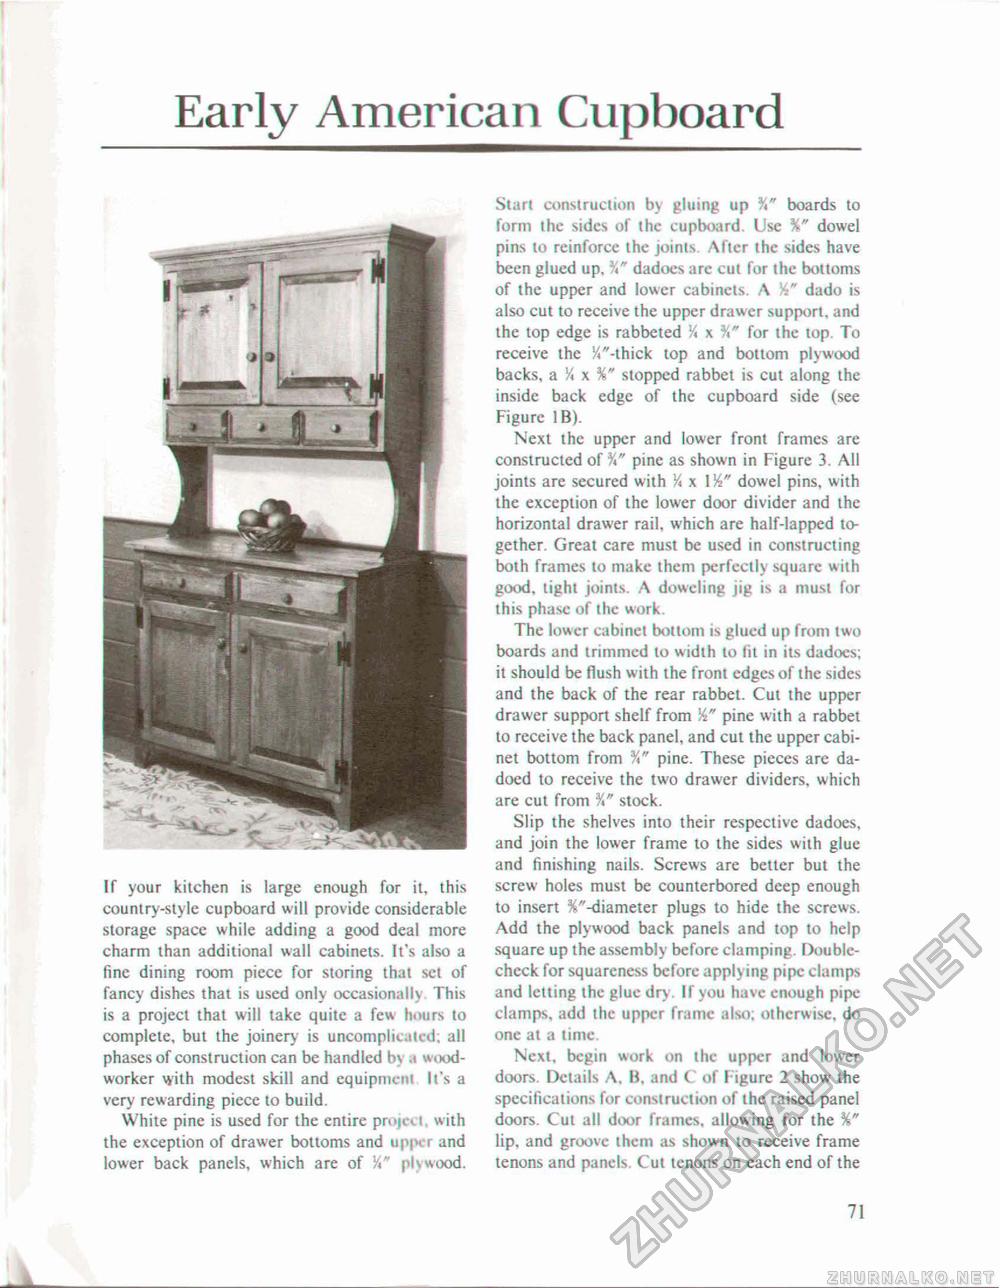
Early American CupboardIf your kitchen is large enough for it, this country-style cupboard will provide considerable storage space while adding a good deal more charm than additional wall cabinets. It's also a fine dining room piece for storing that set of fancy dishes that is used only occasionally This is a project that will take quite a few hours to complete, but the joinery is uncomplicated; all phases of construction can be handled b\ woodworker with modest skill and equipment It's a very rewarding piece to build. White pine is used for the entire projcct, with the exception of drawer bottoms and upper and lower back panels, which are of Y\" plywood. Start construction by gluing up boards to form the sides of the cupboard. Use %" dowel pins to reinforce the joints. After the sides have been glued up, dadoes are cut for the bottoms of the upper and lower cabinets. A V dado is also cut to receive the upper drawer support, and the top edge is rabbeted V* x for the top. To receive the 'X"-thick top and bottom plywood backs, a Y* x 96* stopped rabbet is cut along the inside back edge of the cupboard side (see Figure 1B). Next the upper and lower front frames are constructed of pine as shown in Figure 3. All joints are secured with V* x \Yi" dowel pins, with the exception of the lower door divider and the horizontal drawer rail, which are half-lapped together. Great care must be used in constructing both frames to make them perfectly square with good, tight joints. A doweling jig is a must for this phase of the work. The lower cabinet bottom is glued up from two boards and trimmed lo width to fit in its dadoes; it should be flush with the front edges of the sides and the back of the rear rabbet. Cut the upper drawer support shelf from Yi" pine with a rabbet to receive the back panel, and cut the upper cabinet bottom from V*" pine. These pieces are dadoed to receive the two drawer dividers, which are cut from %" stock. Slip the shelves into their respective dadoes, and join the lower frame to the sides with glue and finishing nails. Screws are better but the screw holes must be counterbored deep enough to insert ^"-diameter plugs to hide the screws. Add the plywood back panels and top to help square up the assembly before clamping. Double-check for squareness before applying pipe clamps and letting ihc glue dry. If you have enough pipe clamps, add the upper frame also; otherwise, do one at a time. Next, begin work on the upper and lower doors. Details A, B. and C of I igurc 2 show the specifications for construction of the raised panel doors. Cut all door frames, allowing for the %" lip, and groove them as shown to receive frame tenons and panels. Cut tenons on each end of the 71 |


