Woodworker's Journal 1983-7-2, страница 37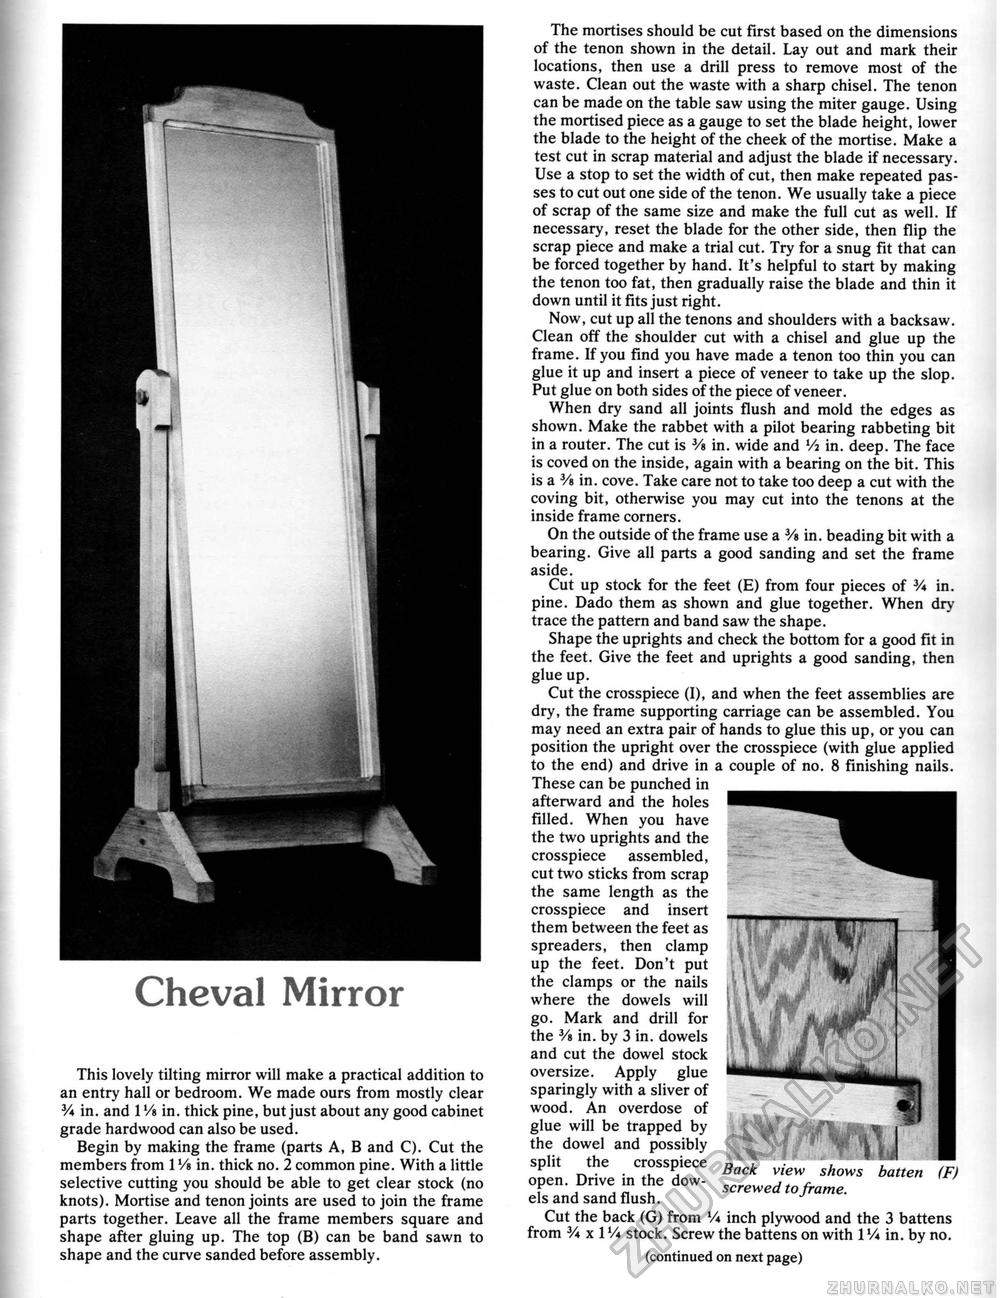
Cheval Mirror This lovely tilting mirror will make a practical addition to an entry hall or bedroom. We made ours from mostly clear Va in. and 1 Vs in. thick pine, but just about any good cabinet grade hardwood can also be used. Begin by making the frame (parts A, B and C). Cut the members from 1 Vs in. thick no. 2 common pine. With a little selective cutting you should be able to get clear stock (no knots). Mortise and tenon joints are used to join the frame parts together. Leave all the frame members square and shape after gluing up. The top (B) can be band sawn to shape and the curve sanded before assembly. The mortises should be cut first based on the dimensions of the tenon shown in the detail. Lay out and mark their locations, then use a drill press to remove most of the waste. Clean out the waste with a sharp chisel. The tenon can be made on the table saw using the miter gauge. Using the mortised piece as a gauge to set the blade height, lower the blade to the height of the cheek of the mortise. Make a test cut in scrap material and adjust the blade if necessary. Use a stop to set the width of cut, then make repeated passes to cut out one side of the tenon. We usually take a piece of scrap of the same size and make the full cut as well. If necessary, reset the blade for the other side, then flip the scrap piece and make a trial cut. Try for a snug fit that can be forced together by hand. It's helpful to start by making the tenon too fat, then gradually raise the blade and thin it down until it fits just right. Now, cut up all the tenons and shoulders with a backsaw. Clean off the shoulder cut with a chisel and glue up the frame. If you find you have made a tenon too thin you can glue it up and insert a piece of veneer to take up the slop. Put glue on both sides of the piece of veneer. When dry sand all joints flush and mold the edges as shown. Make the rabbet with a pilot bearing rabbeting bit in a router. The cut is Vs in. wide and Vi in. deep. The face is coved on the inside, again with a bearing on the bit. This is a Vs in. cove. Take care not to take too deep a cut with the coving bit, otherwise you may cut into the tenons at the inside frame corners. On the outside of the frame use a Vs in. beading bit with a bearing. Give all parts a good sanding and set the frame aside. Cut up stock for the feet (E) from four pieces of V* in. pine. Dado them as shown and glue together. When dry trace the pattern and band saw the shape. Shape the uprights and check the bottom for a good fit in the feet. Give the feet and uprights a good sanding, then glue up. Cut the crosspiece (I), and when the feet assemblies are dry, the frame supporting carriage can be assembled. You may need an extra pair of hands to glue this up, or you can position the upright over the crosspiece (with glue applied to the end) and drive in a couple of no. 8 finishing nails. These can be punched in afterward and the holes filled. When you have the two uprights and the crosspiece assembled, cut two sticks from scrap the same length as the crosspiece and insert them between the feet as spreaders, then clamp up the feet. Don't put the clamps or the nails where the dowels will go. Mark and drill for the Vs in. by 3 in. dowels and cut the dowel stock oversize. Apply glue sparingly with a sliver of wood. An overdose of glue will be trapped by the dowel and possibly split the crosspiece open. Drive in the dowels and sand flush. batten Back view shows screwed to frame. Cut the back (G) from V* inch plywood and the 3 battens from Va x 1V* stock. Screw the battens on with 1V* in. by no. (continued on next page) |


