Woodworker's Journal 1983-7-5, страница 55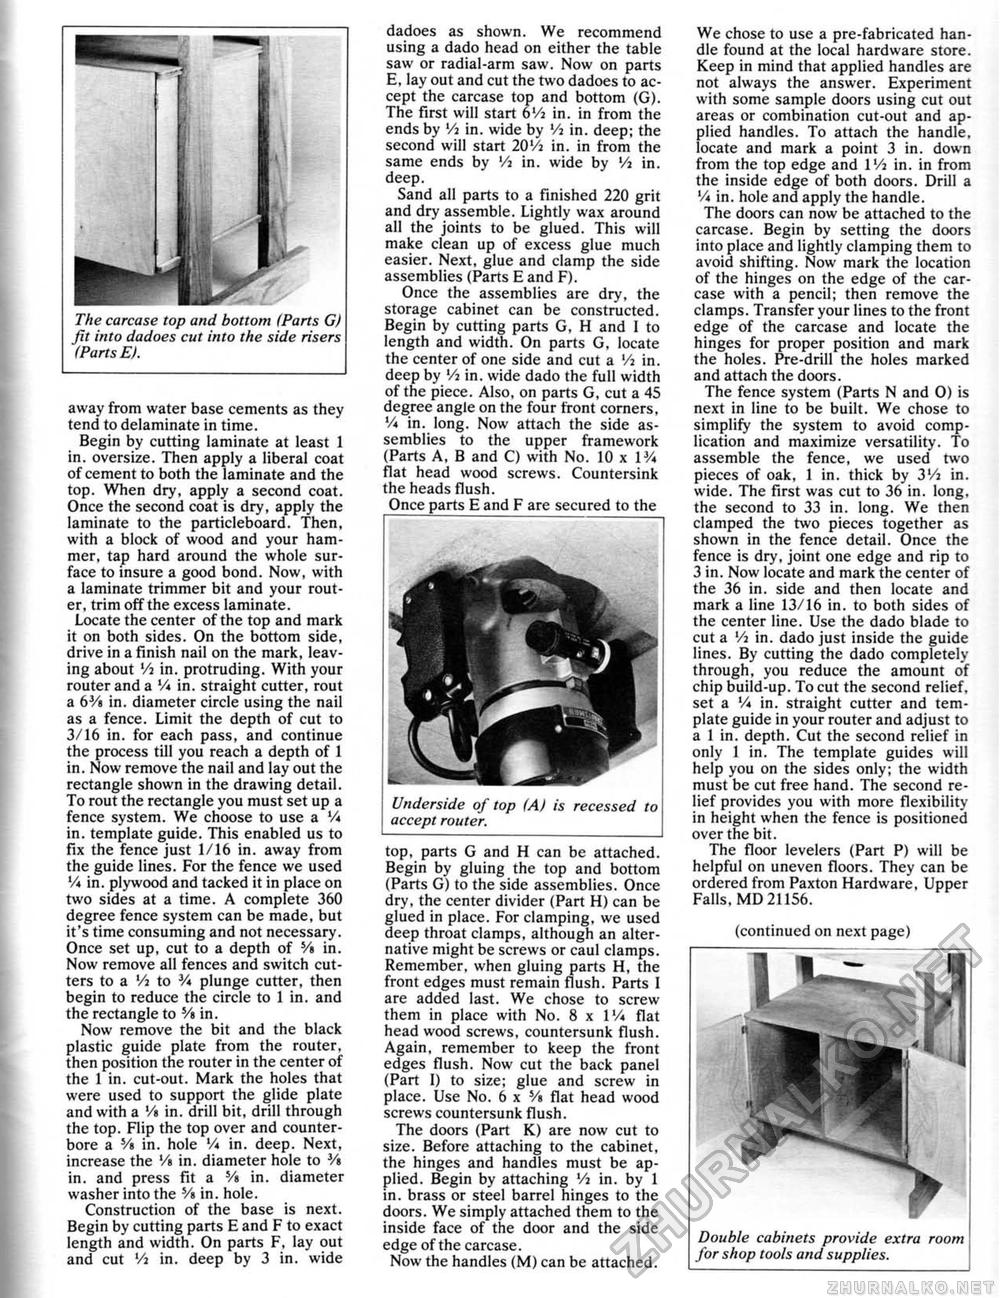
I I The carcase top and bottom (Parts G) fit into dadoes cut into the side risers f.Parts E). away from water base cements as they tend to delaminate in time. Begin by cutting laminate at least I in. oversize. Then apply a liberal coat of cement to both the laminate and the top. When dry, apply a second coat. Once the second coat is dry, apply the laminate to the particleboard. Then, with a block of wood and your hammer, tap hard around the whole surface to insure a good bond. Now, with a laminate trimmer bit and your router, trim off the excess laminate. Locate the center of the top and mark it on both sides. On the bottom side, drive in a finish nail on the mark, leaving about Vi in, protruding. With your router and a V* in. straight cutter, rout a 6V% in. diameter circle using the nail as a fence. Limit the depth of cut to 3/16 in. for each pass, and continue the process till you reach a depth of 1 in. Now remove the nail and lay out the rectangle shown in the drawing detail. To rout the rectangle you must set up a fence system. We choose to use a Va in. template guide. This enabled us to fix the fence just 1/16 in. away from the guide lines. For the fence we used Va in. plywood and tacked it in place on two sides at a time. A complete 360 degree fence system can be made, but it's time consuming and not necessary. Once set up, cut to a depth of V> in. Now remove all fences and switch cutters to a Vi to Va plunge cutter, then begin to reduce the circle to 1 in, and the rectangle to Ve in. Now remove the bit and the black plastic guide plate from the router, then position the router in the center of the 1 in. cut-out. Mark the holes that were used to support the glide plate and with a */» in. drill bit, drill through the top. Flip the top over and counterbore a V> in. hole Va in. deep. Next, increase the V» in. diameter hole to 3/a in, and press fit a s/s in. diameter washer into the V» in. hole. Construction of the base is next. Begin by cutting parts E and F to exact length and width. On parts F, lay out and cut Vi in. deep by 3 in. wide dadoes as shown. We recommend using a dado head on either the table saw or radial-arm saw. Now on parts E, lay out and cut the two dadoes to accept the carcase top and bottom (G). The first will start oVi in. in from the ends by Vi in, wide by Vi in. deep; the second will start 20'/a in. in from the same ends by Vi in, wide by V% in. deep. Sand all parts to a finished 220 grit and dry assemble. Lightly wax around all the joints to be glued. This will make clean up of excess glue much easier. Next, glue and clamp the side assemblies (Parts E and F), Once the assemblies are dry, the storage cabinet can be constructed. Begin by cutting parts G, H and I to length and width. On parts G, locate the center of one side and cut a '/a in. deep by Vi in. wide dado the full width of the piece. Also, on parts G, cut a 45 degree angle on the four front corners, in. long. Now attach the side assemblies to the upper framework (Parts A, B and C) with No. 10 x V/a flat head wood screws. Countersink the heads flush. Once parts E and F are secured to the i Underside of top (A) is recessed to accept router. top, parts G and H can be attached. Begin by gluing the top and bottom (Parts G) to the side assemblies. Once dry, the center divider (Part H) can be glued in place. For clamping, we used deep throat clamps, although an alternative might be screws or caul clamps. Remember, when gluing parts H, the front edges must remain flush. Parts I are added last. We chose to screw them in place with No. 8 x 1 Va flat head wood screws, countersunk flush. Again, remember to keep the front edges flush. Now cut the back panel (Part 1} to size; glue and screw in place. Use No. 6 x V» flat head wood screws countersunk flush. The doors (Pan K) are now cut to size. Before attaching to the cabinet, the hinges and handles must be applied. Begin by attaching Vi in. by 1 in. brass or steel barrel hinges to the doors. We simply attached them to the inside face of the door and the side edge of the carcase. Now the handles (M) can be attached. We chose to use a pre-fabricated handle found at the local hardware store. Keep in mind that applied handles are not always the answer. Experiment with some sample doors using cut out areas or combination cut-out and applied handles. To attach the handle, locate and mark a point 3 in. down from the top edge and l'/i in. in from the inside edge of both doors. Drill a Va in. hole and apply the handle. The doors can now be attached to the carcase. Begin by setting the doors into place and lightly clamping them to avoid shifting. Now mark the location of the hinges on the edge of the carcase with a pencil; then remove the clamps. Transfer your lines to the front edge of the carcase and locate the hinges for proper position and mark the holes. Pre-drill the holes marked and attach the doors. The fence system (Parts N and 0) is next in line to be built. We chose to simplify the system to avoid complication and maximize versatility. To assemble the fence, we used two pieces of oak, 1 in. thick by 3'/a in. wide. The first was cut to 36 in. long, the second to 33 in. long. We then clamped the two pieces together as shown in the fence detail. Once the fence is dry, joint one edge and rip to 3 in. Now locate and mark the center of the 36 in. side and then locate and mark a line 13/16 in. to both sides of the center line. Use the dado blade to cut a '/a in. dado just inside the guide lines. By cutting the dado completely through, you reduce the amount of chip build-up. To cut the second relief, set a Va in. straight cutter and template guide in your router and adjust to a 1 in. depth. Cut the second relief in only I in. The template guides wil! help you on the sides only; the width must be cut free hand. The second relief provides you with more flexibility in height when the fence is positioned over the bit. The floor levelers (Part P) will be helpful on uneven floors. They can be ordered from Paxton Hardware, Upper Falls, MD 21156. (continued on next page) Double cabinets provide extra room for shop tools and supplies. |
|||||||||||||||||||


