Woodworker's Journal 1994-18-1, страница 25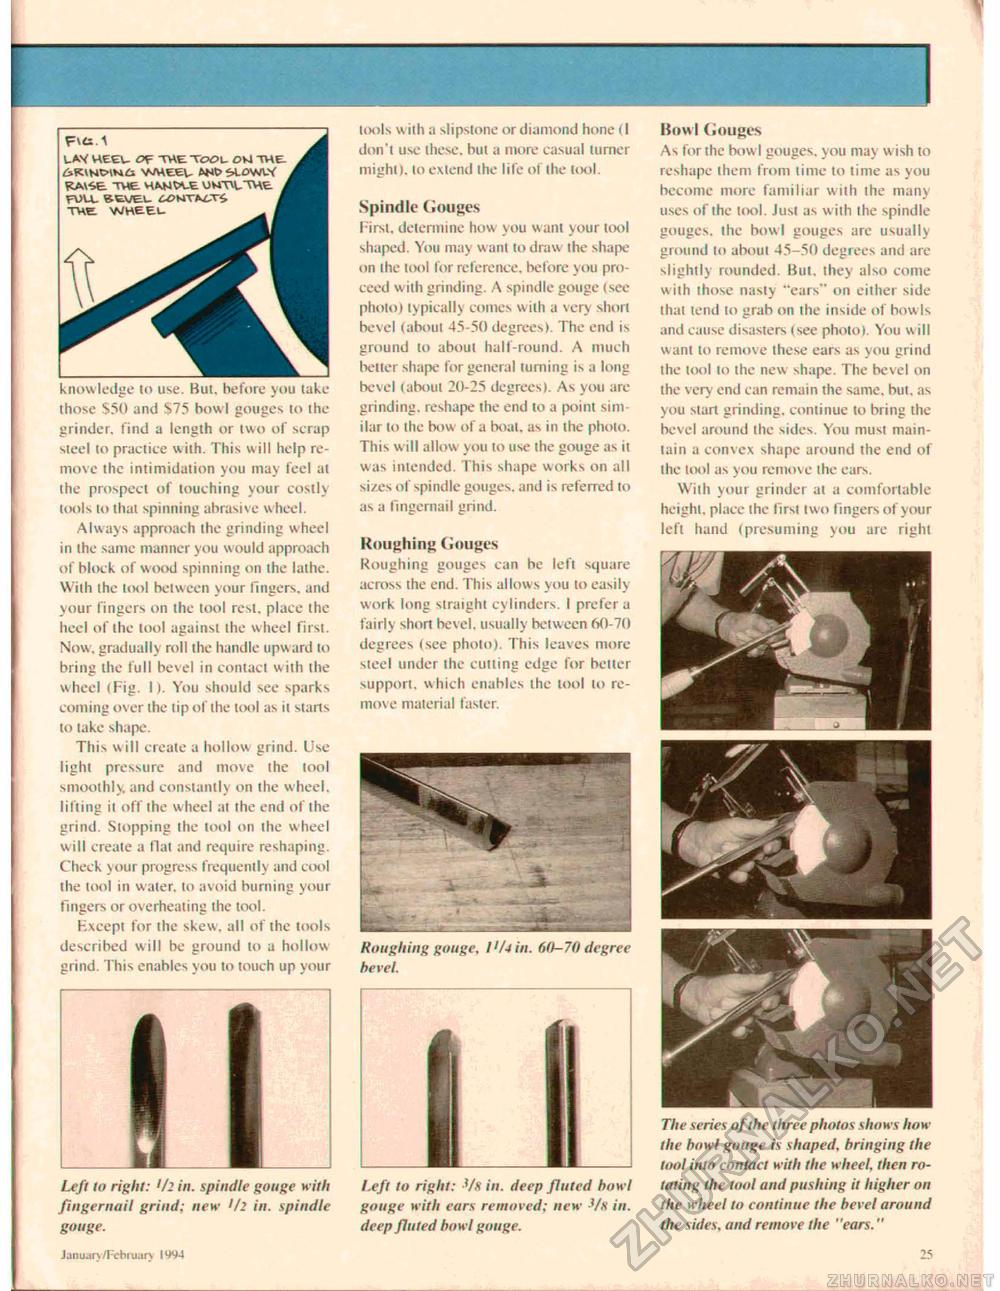
F^ii.t LAtf HEEL. OF TWE TOOV- OKI THE THE. MMJW-E OMTVLTHt FULt RtUEL WWTMJ4 THE. WHEEL knowledge to use. But. before you take those $50 and S75 how l gouges to ihe grinder, find a length or two of scrap steel to practice w ith. This will help remove the intimidation you may feel at the prospect of touching your costly tools to that spinning abrasive wheel. Always approach the grinding wheel in the same manner you would approach of block of w ood spinning on the lathe. With the tool between your lingers, and your fingers on the tool rest, place the heel of the tool against the w heel first. Now, gradually roll the handle upward to bring the lull bevel in contact with the wheel (Fig. I). You should see sparks coming over the tip of the tool as it starts to take shape. This will create a hollow grind. Use light pressure and move the tool smoothly, and constantly on the wheel, lilting it off the w heel at the end of the grind. Slopping the tool on the wheel will create a flat and require reshaping. Check your progress frequently and cool the tool in water, to avoid burning your fingers or overheating the tool. F.xcept for the skew, all of the loots described will be ground to a hollow grind. This enables you to touch up your tools w ith a slipstone or diamond hone (I don't use these, but a more casual turner might), to extend the life of Ihe tool. Spindle Gouges First, determine how you want your tool shaped. You may want to draw the shape on the tool for reference, before you proceed with grinding. A spindle gouge (see photo) typically comes with a very short bevel (about 45-50 degrees). The end is ground to about half-round. A much better shape for general turning is a long bevel (about 20-25 degrees). As you are grinding, reshape the end to a point similar to the bow of a boat, as in the photo. This w ill allow you to use the gouge as it was intended. This shape works on all sizes of spindle gouges, and is referred to as a fingernail grind. Roughing Gouges Roughing gouges can be left square across the end. This allows you to easily work long straight cylinders. I prefer a fairly short bevel, usually between 60-70 degrees (see photo). This leaves more steel under the cutting edge for better support, w hich enables the tool to remove material faster. Roughing gouge, llWm. 60-70 degree bevel. Howl Gouges As for the bow I gouges, you may w ish to reshape them from lime to lime as you become more familiar with the many uses of the tool. Jusi as wilh the spindle gouges, the bowl gouges are usually ground to about 45-50 degrees and are slightly rounded. But. they also come with those nasty "ears" on either side that tend (o grah on the inside of bowls and cause disasters (see photo). You w ill want to remove these ears as you grind the tool to the new shape. The bevel on the very end can remain the same, but. as you start grinding, continue to bring the bevel around the sides. You must maintain a convex shape around the end of the tool as you remove the ears. With your grinder at a comfortable height, pi ace the lirsl (wo fingers ol your left hand (presuming you are right Left to right: Ul in. spindle gouge with fingernail grind; new l/2 in. spindle gouge. I.eft to right: -Vs in. deep fluted howl gouge with ears removed; new '/* in. deep fluted howl gouge. The series of the three photos shows how the bowl gouge is shaped, bringing the tool into contact with the wheel, then rotating the tool and pushing it higher on the wheel to continue the bevel around the sides, and remove the "ears." Januarv /Fchruurv IW4 2? |


