Woodworker's Journal 1994-18-6, страница 53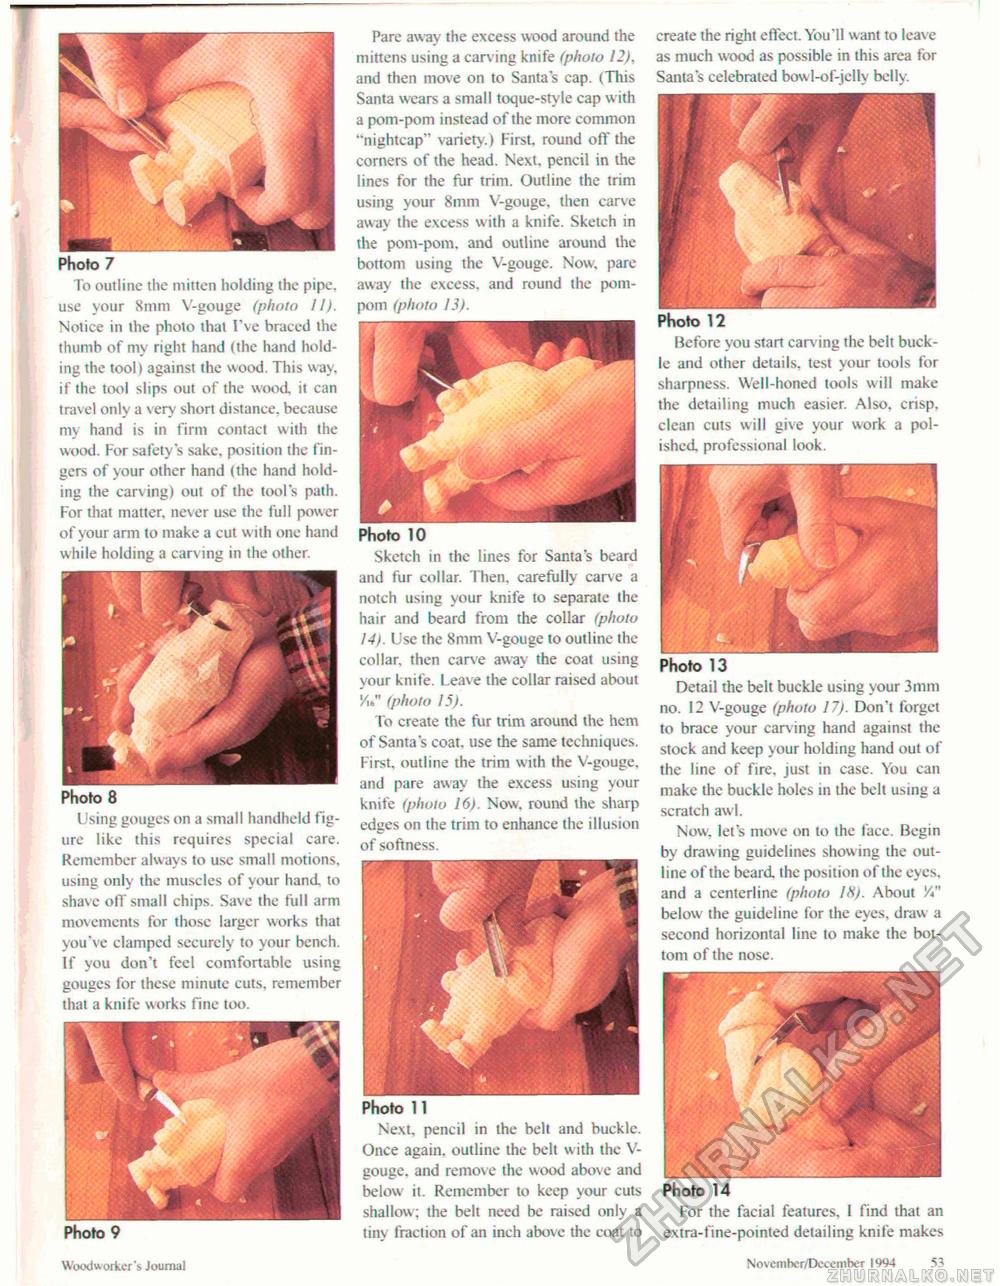
Photo 7 To outline the mitten holding the pipe, use your 8mm V-gouge (photo II). Notice in the photo that I've braced the thumb of my right hand (the hand holding the tool) against the wood. This way, if the tool slips out of the wood, it can travel only a very short distance, because my hand is in firm contact with the wood. For safety's sake, position the fingers of your other hand (the hand holding the carving) out of the tool's path. For that matter, never use the full power of your arm to make a cut with one hand while holding a carving in the other. Pare away the excess wood around the mittens using a carving knife (photo 12), and then move on to Santa's cap. (This Santa wears a small toque-stvle cap w ith a pom-pom instead of the more common "nightcap" variety.) First, round off the corners of the head. Next, pencil in the lines for the fur trim. Outline the trim using your 8mm V-gouge, then carve away the excess with a knife. Sketch in the pom-pom. and outline around the bottom using the V-gouge. Now. pare away the excess, and round the pompom (photo 13). create the right effect. You'll want to leave as much wood as possible in this area for Santa's celebrated bow l-of-jelly belly. Photo 8 Using gouges on a small handheld figure like this requires special care. Remember always to use small motions, using only the muscles of your hand, to shave off small chips. Save the full arm movements for those larger works that you've clamped securely to your bench. If you don't feel comfortable using gouges for these minute cuts, remember that a knife works fine too. Photo 10 Sketch in the lines for Santa's beard and fur collar. Then, carefully carve a notch using your knife to separate the hair and beard from the collar (photo 14). Use the 8mm V-gouge to outline the collar, then carve away the coat using your knife. Leave the collar raised about V (photo 15). To create the fur trim around the hem of Santa's coat, use the same techniques. First, outline the trim with the V-gouge, and pare away the excess using your knife (photo 16). Now, round the sharp edges on the trim to enhance the illusion of softness. Photo 12 Before you start can ing the belt buckle and other details, test your tools for sharpness. Well-honed tools will make the detailing much easier. Also, crisp, clean cuts will give your work a polished professional look. Photo 13 Detail the belt buckle using your 3mm no. 12 V-gouge (photo 17). Don't forget to brace your carving hand against the stock and keep your holding hand out of the line of fire, just in case. You can make the buckle holes in the bell using a scratch awl. Now, let's move on to the face. Begin by drawing guidelines showing the outline of the beard the position of the eyes, and a centerline (photo 18). About V" below the guideline for the eyes, draw a second horizontal line to make the bottom of the nose. Photo 9 Photo 11 Next, pencil in the bell and buckle. Once again, outline the belt with the V-gouge. and remove the wood above and below it. Remember to keep your cuts shallow; Ihe belt need be raised only a tiny fraction of an inch above the coat to Photo 14 For the facial features, 1 find that an extra-fine-pointed detailing knife makes Woodworker s Journal Novembcr/December 1994 1<1 |


