Woodworker's Journal 1994-18-6, страница 55
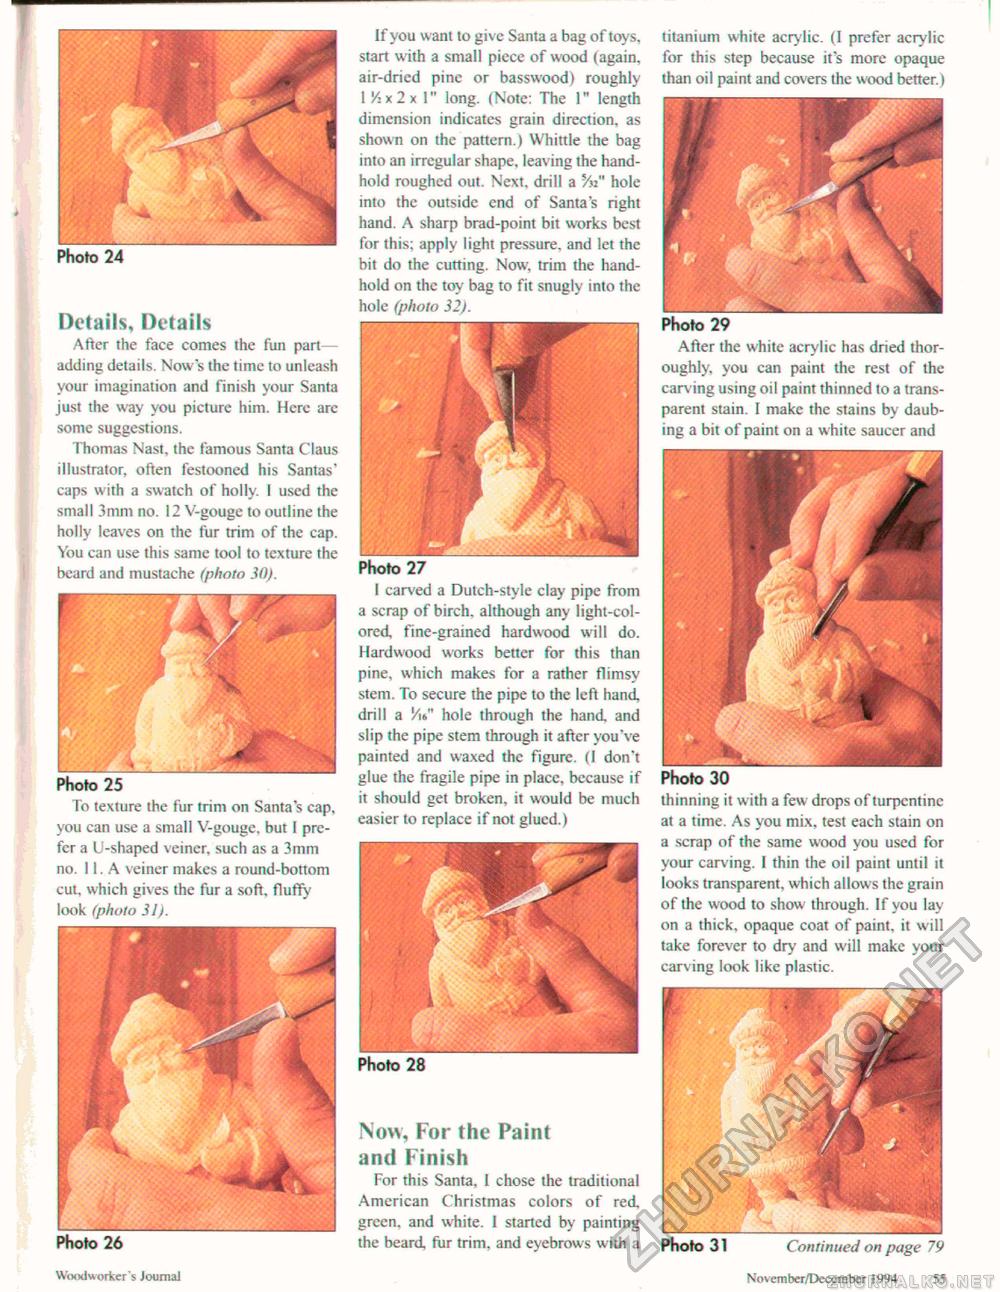
Photo 24 If you want to give Santa a bag of toys, start with a small piece of wood (again, air-dried pine or basswood) roughly IJ4 x 2 x 1" long. (Note: The 1" length dimension indicates grain direction, as shown on the pattern.) Whittle the bag into an irregular shape, leaving the handhold roughed out. Next, drill a sAi" hole into the outside end of Santas right hand. A sharp brad-point bit works best for this; apply light pressure, and let the bit do the cutting. Now, trim the handhold on the toy bag to fit snugly into the hole (photo 32). Photo 28 titanium white acrylic. (I prefer acrylic for this step because it's more opaque than oil paint and covers the wood better.) thinning it with a few drops of turpentine at a time. As you mix. test each stain on a scrap of the same wood you used for your carving, I thin the oil paint until it looks transparent, which allows the grain of the wood to show through. If you lay on a thick, opaque coat of paint, it will take forever to dry and will make your carving look like plastic. Photo 27 I carved a Dutch-style clay pipe from a scrap of birch, although any light-colored, fine-grained hardwood will do. Hardwood works better for this than pine, which makes for a rather flimsy stem. To secure the pipe to the left hand drill a 'At" hole through the hand, and slip the pipe stem through it after you'v e painted and waxed the figure. (I don't glue the fragile pipe in place, bccause if it should get broken, it would be much easier to replace if not glued.) Now, For the Paint and Finish For this Santa. I chose the traditional American Christmas colors of red green, and white. 1 started by painting the beard fiir trim, and eyebrows with a Photo 26 Woodworker's Journal Jhoto 31 Continued on page 79 November/December 1994 55 Photo 25 To texture the fur trim on Santa's cap, you can use a small V-gouge, but I prefer a U-shaped veiner, such as a 3mm no. 11. A veiner makes a round-bottom cut, which gives the fur a soft, fluffy look (photo 31). Details, Details After the face comes the fun part-adding details. Now s the time to unleash your imagination and finish your Santa just the way you picture him. Here arc some suggestions. Thomas Nast, the famous Santa Claus illustrator, often festooned his Santas' caps with a swatch of holly. I used the small 3mm no. 12 V-gouge to outline the holly leaves on the fur trim of the cap. You can use this same tool to texture the beard and mustache (photo 30). Photo 29 After the white acry lic has dried thoroughly, you can paint the rest of the carving using oil paint thinned to a transparent stain. I make the stains by daubing a bit of paint on a w hite saucer and |


