Woodworker's Journal 1994-18-6, страница 52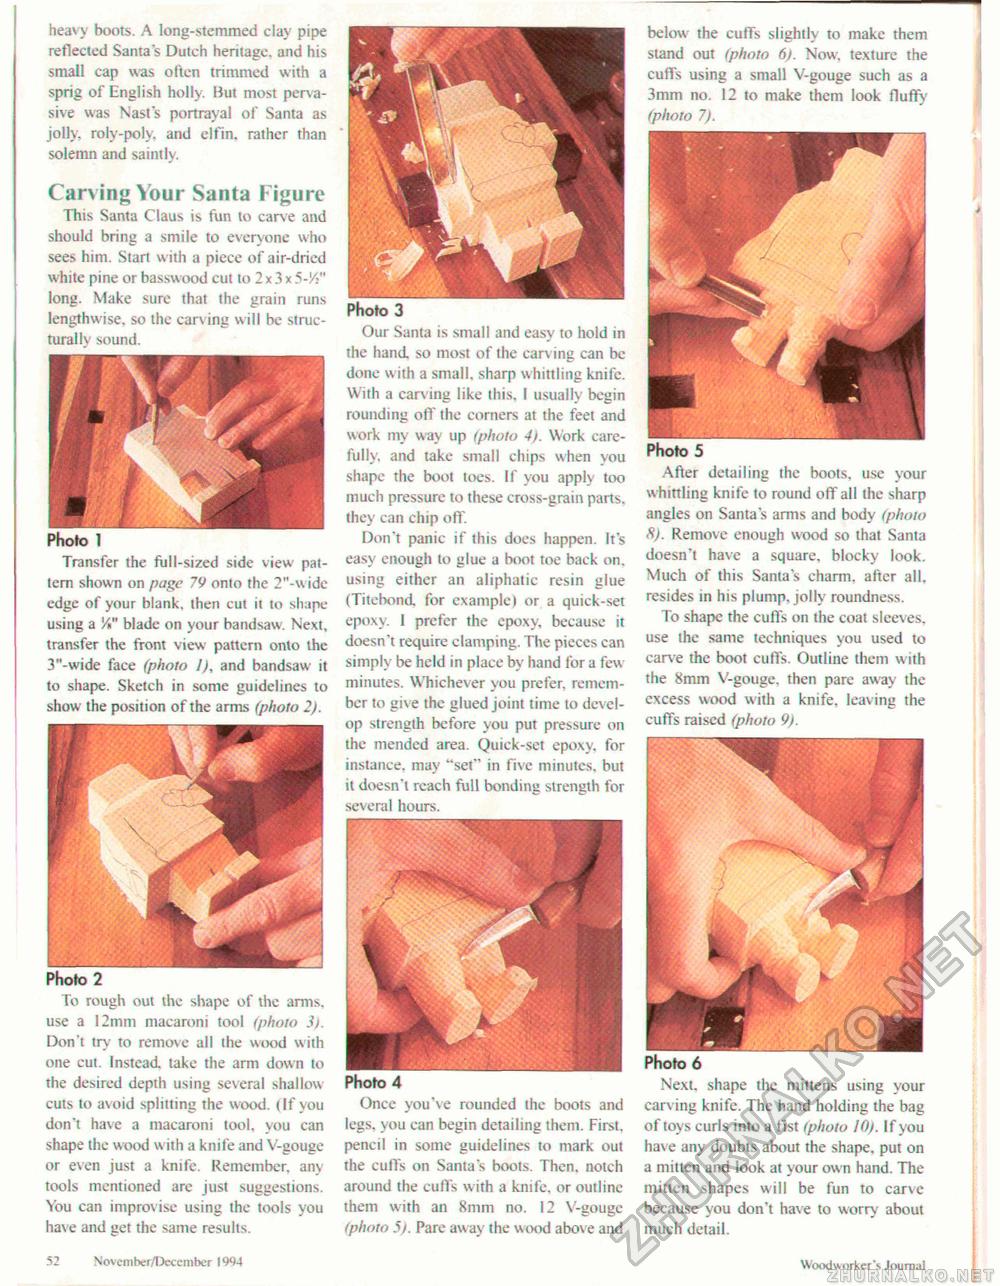
heavy boots. A long-stemmed clay pipe reflected Santa's Dutch heritage, and his small cap was often trimmed with a sprig of English holly. Bui most pervasive was Nast's portrayal of Santa as jolly, roly-poly, and elfin, raiher than solemn and saintly. Carving Your Santa Figure This Santa Claus is fun to carve and should bring a smile to everyone who sees him. Start with a piece of air-dried white pine or basswood cut to 2 x 3 x 5-J4" long. Make sure that the grain runs lengthwise, so the carving will be structurally sound. Photo 1 Transfer the full-sized side view pattern shown on page 79 onto the 2"-wide edge of your blank, then cut it to shape-using a '/»" blade on your handsaw. Next, transfer the front view pattern onto the 3"-wide face (photo I), and handsaw it to shape. Sketch in some guidelines to show the position of the arms (photo 2). Phofo 2 To rough out the shape of the arms, use a 12mm macaroni tool (photo 3). Don't try to remove all the wood with one cut. Instead take the arm down to the desired depth using several shallow cuts to avoid splitting the wood. (If you don't have a macaroni tool, you can shape the wood with a knife and V-gouge or even just a knife. Remember, any tools mentioned are just suggestions. You can improvise using the tools you have and get the same results. 52 Novcmher/December !<W4 Photo 3 Our Santa is small and easy to hold in the hand so most of the carving can be done with a small, sharp whittling knife. With a carving like this, 1 usually begin rounding oft" the corners at the feet and work my way up (photo 4). Work carefully, and take small chips when you shape the boot toes. If you apply too much pressure to these cross-grain parts, they can chip off. Don't panic if this does happen. It's easy enough to glue a boot toe back on. using either an aliphatic resin glue (Titebond for example) or a quick-set epoxy. 1 prefer the epoxy, because it doesn't require clamping. The pieces can simply be held in place by hand for a few minutes. Whichever you prefer, remember to give the glued joint time to develop strength before you put pressure on the mended area. Quick-set epoxy, for instance, may "set" in five minutes, but it doesn't reach full bonding strength for several hours. Photo 4 Once you've rounded the boots and legs, you can begin detailing them. First, pencil in some guidelines to mark out the cuff's on Santa's boots. Then, notch around the cuffs with a knife, or outline them with an 8mm no. 12 V-gouge (photo 5). Pare aw ay the wood above and below the cuffs slightly to make them stand out (photo 6). Now. texture the cuffs using a small V-gouge such as a 3mm no. 12 to make them look fluffy (photo 7). Photo 5 After detailing the boots, use your whittling knife to round off all the sharp angles on Santa's arms and body (photo 8). Remove enough wood so that Santa doesn't have a square, blocky look. Much of this Santa's charm, after all, resides in his plump, jolly roundness. To shape the cull's on the coat sleeves, use the same techniques you used to carve the boot cuffs. Outline them with the 8mm V-gouge. then pare away the excess wood with a knife, leaving the cuffs raised (photo 9). Photo 6 Next, shape the mittens using your carv ing knife. The hand holding the bag of toys curls into a fist (photo 10). If you have any doubts about the shape, put on a mitten and look at your own hand. The mitten shapes will be fun to carve because you don't have to worry about much detail. Woodworker's Journal |


