Woodworker's Journal 1994-18-6, страница 70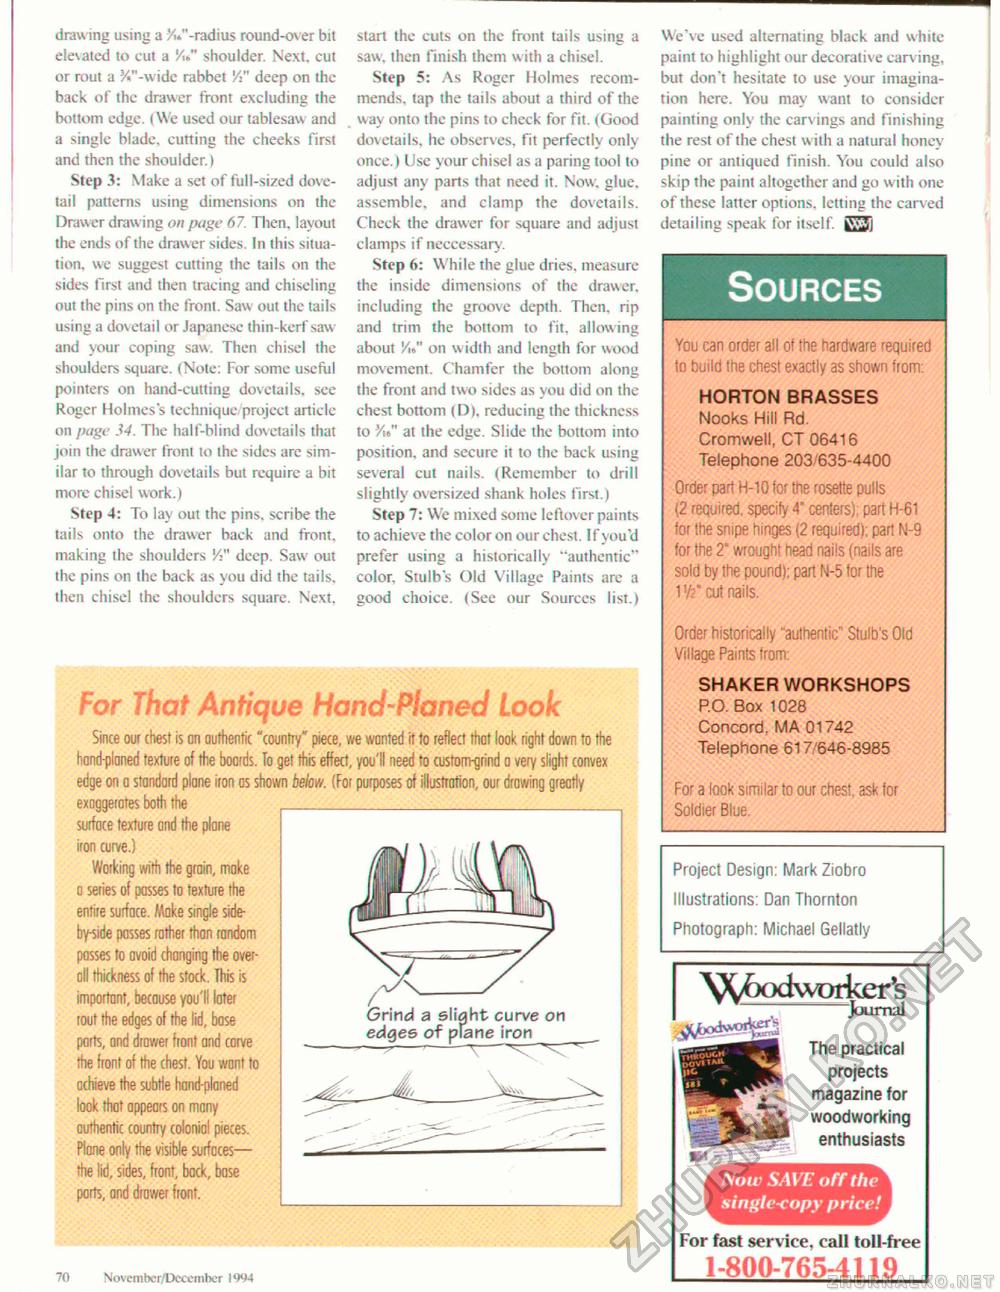
drawing using a /.."-radius round-over bit elevated to cut a 'A*" shoulder. Next, cut or rout a %"-wide rabbet '/" deep on the back of the drawer front excluding the bottom edge. (We used our tablesaw and a single blade, cutting the cheeks first and then the shoulder.) Step 3: Make a set of full-sized dovetail patterns using dimensions on the Drawer drawing on page 67. Then, layout the ends of the drawer sides. In this situation. we suggest cutting the tails on the sides first and then tracing and chiseling out the pins on the front. Saw out the tails using a dovetail or Japanese thin-kerf saw and your coping saw. Then chisel the shoulders square. (Note: For some useful pointers on hand-cutting dovetails, see Roger Holmes's technique project article on page 34. The half-blind dovetails that join the drawer front to the sides arc similar to through dovetails but require a bit more chisel work.) Step 4: To lay out the pins, scribe the tails onto the drawer back and front, making the shoulders V" deep. Saw out the pins on the back as you did the tails, then chisel the shoulders square. Next, start the cuts on the front tails using a saw, then finish them with a chisel. Step 5: As Roger Holmes recommends, tap the tails about a third of the way onto the pins to check for fit. (Good dovetails, he observes, fit perfectly only once.) Use your chisel as a paring tool to adjust any parts that need it. Now. glue, assemble, and clamp the dovetails. Check the drawer for square and adjust clamps if neccessary. Step 6: While the glue dries, measure the inside dimensions of the drawer, including the groove depth. Then, rip and trim the bottom to fit, allowing about V\" on width and length for wood movement. Chamfer the bottom along the front and two sides as you did on the chest bottom (D), reducing the thickness to Yit" at the edge. Slide the bottom into position, and secure it to the back using several cut nails. (Remember to drill slightly oversized shank holes first.) Step 7: We mixed some leftover paints to achieve the color on our chest. If you'd prefer using a historically "authentic" color, Stulb's Old Village Paints are a good choice. (See our Sources list.) For That Antique Hand-Planed Look Since out chest is an authentic "country" piece, we wanted it to reflect that look right down to the hand-planed texture of the boards. To get this effect, you'll need to custotrngrind o very slight convex edge on a standard plane iron as shown below. (For purposes of illustration, our drawing greatly exaggerates both the surface texture and (tie plane iron curve.) Working with the grain, make o series of passes to texture the entire surface. Make single side-by-side posses rather than random passes to avoid changing the over-oil thickness of the stock. This is important, because you'll later rout the edges of the lid, base parts, and drawer front ond corve the front of the chest. You want to achieve the subtle hand-planed look that appears on many authentic country colonial pieces. Plane only the visible surfaces— the lid, sides, front, back, base parts, and drawer front. Grind a slight curve on edges of plane iron We've used alternating black and white paint to highlight our decorative carv ing, but don't hesitate to use your imagination here. You may want to consider painting only the carvings and finishing the rest of the chest w ith a natural honey pine or antiqued finish. You could also skip the paint altogether and go with one of these latter options, letting the carv ed detailing speak for itself. kVJl Sources You can order all of the hardware required to build the chest exactly as shown from: HORTON BRASSES Nooks Hill Rd, Cromwell, CT 06416 Telephone 203/635-4400 Order part H-10 tor the rosette pulls (2 required, specify 4" centers): part H-61 for the snipe hinges (2 required): part N-9 for the 2" wrought head nails (nails are sold by the pound): part N-5 tor the 1 Vi?" cut nails. Order historically "authentic" Stulb's Old Village Paints from: SHAKER WORKSHOPS P.O. Box 1028 Concord. MA 01742 Telephone 617'646-8985 For a look similar to our chest, ask tor Soldier Blue. Project Design: Mark Ziobro Illustrations: Dan Thornton Photograph: Michael Gellatly 70 November/December 1994 For fast service, call toll-free 1-800-765-4119 Now SAVE off the single-cttpy price! W^xxlwoAcrs Journal The practical projects magazine for woodworking enthusiasts |


