Woodworker's Journal 2001-25-1, страница 49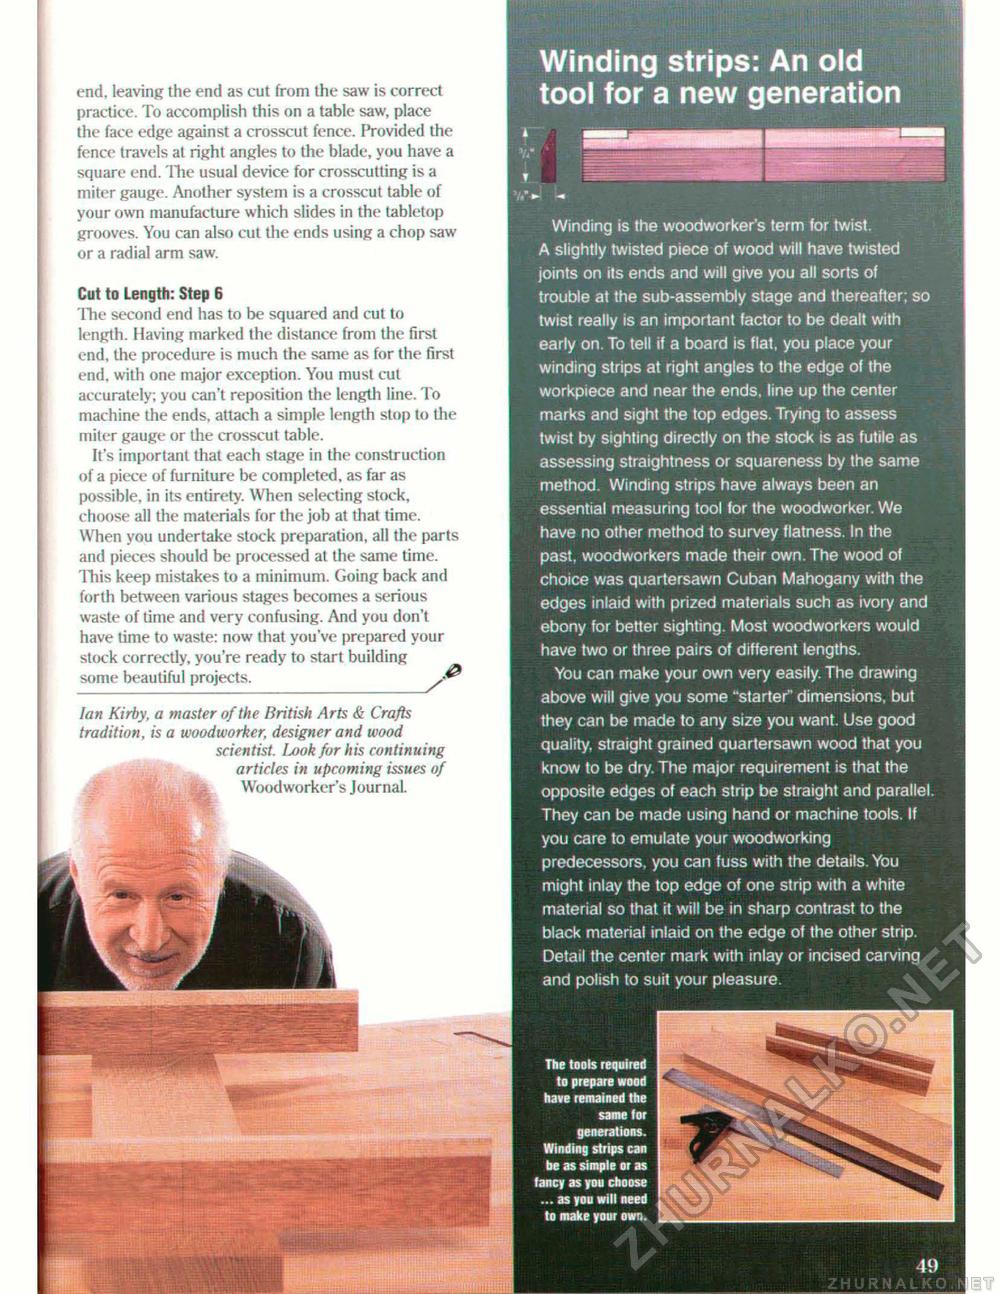
Winding strips: An old tool for a new generation Winding is the woodworker's term for twist. A slightly twisted piece of wood will have twisted joints on its ends and will give you all sorts of trouble at the sub-assembly stage and thereafter; so twist really is an important factor to be dealt with early on. To tell if a board is flat, you place your winding strips at right angles to the edge of the workpiece and near the ends, line up the center marks and sight the top edges. Trying to assess twist by sighting directly on the stock is as futile as assessing straightness or squareness by the same method. Winding strips have always been an essential measuring tool for the woodworker. We have no other method to survey flatness. In the past, woodworkers made their own. The wood of choice was quartersawn Cuban Mahogany with the edges inlaid with prized materials such as ivory and ebony for better sighting. Most woodworkers would have two or three pairs of different lengths. You can make your own very easily. The drawing above will give you some "starter" dimensions, but they can be made to any size you want. Use good quality, straight grained quartersawn wood that you know to be dry. The major requirement is that the opposite edges of each strip be straight and parallel. They can be made using hand or machine tools. If you care to emulate your woodworking predecessors, you can fuss with the details. You might inlay the top edge of one strip with a white material so that it will be in sharp contrast to the black material inlaid on the edge of the other strip. Detail the center mark with inlay or incised carving and polish to suit your pleasure. The tools required to prepare wood have remained the same tor generations. Winding strips can be as simple or as fancy as you choose ... as you will need to make your own. end, leaving the end as cut from the saw is correct practice. To accomplish this on a table saw, place the face edge against a crosscut fence. Provided the fence travels at right angles to the blade, you have a square end. The usual device for crosscutting is a miter gauge. Another system is a crosscut table of your own manufacture which slides in the tabletop grooves. You can also cut the ends using a chop saw or a radial arm saw. Cut to Length: Step 6 The second end has to be squared and cut to length. Having marked the distance from the first end, the procedure is much the same as for the first end, with one major exception. You must cut accurately; you can't reposition the length line. To machine the ends, attach a simple length stop to die miter gauge or the crosscut table. It's important that each stage in the construction of a piece of furniture be completed, as far as possible, in its entirety. When selecting stock, choose all the materials for the job at that time. When you undertake stock preparation, all the parts and pieces should be processed at the same time. This keep mistakes to a minimum. Going back and forth between various stages becomes a serious waste of time and very confusing. And you don't have time to waste: now that you've prepared your stock correcdy, you're ready to start building some beautiful projects. / Ian Kirby, a master of the British Arts & Crafts tradition, is a woodworker, designer and wood scientist. Look for his continuing articles in upcoming issues of Woodworker's Journal. |


