Woodworker's Journal 2001-25-1, страница 51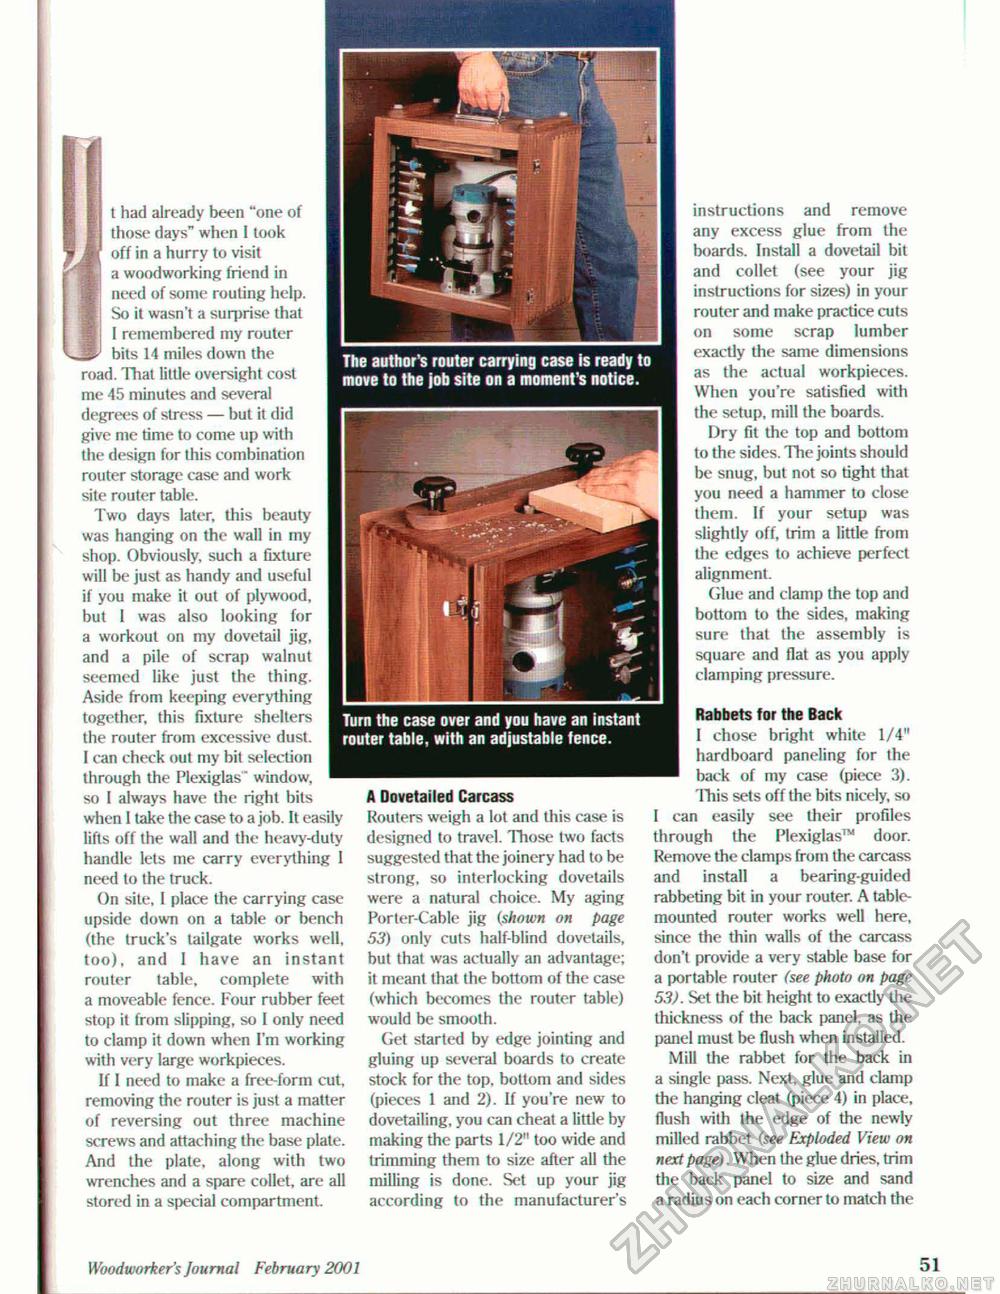
4 t had already been "one of those days" when I look off in a hurry to visit a woodworking friend in need of some routing help. So it wasn't a surprise that I remembered my router bits 14 miles down the road. That little oversight cost me 45 minutes and several degrees of stress — but it did give me time to come up with the design for this combination router storage case and work site router table. Two days later, this beauty was hanging on the wall in my shop. Obviously, such a fixture will be just as handy and useful if you make it out of plywood, bul I was also looking for a workout on my dovetail jig, and a pile of scrap walnut seemed like just the thing. Aside from keeping everything together, this fixture shelters the router from excessive dust, i can check out my bit selection through the Plexiglas" window, so I always have the right bits when I take the case to a job. It easily lifts off the wall and the heavy-duty handle lets me carry everything 1 need to the truck. On site, 1 place the carrying case upside down on a table or bench (the truck's tailgate works well, too), and I have an instant router table, complete with a moveable fence. Four rubber feet stop it from slipping, so I only need to clamp it down when I'm working with very large workpieces. If I need to make a free-form cut. removing the router is just a matter of reversing out three machine screws and attaching the base plate. And the plate, along with two wrenches and a spare collet, are all stored in a special compartment. The author's router carrying case is ready to move to the job site on a moment's notice. Turn the case over and you have an instant router table, with an adjustable fence. A Dovetailed Carcass Routers weigh a lot and this case is designed to travel. Those two facts suggested that the joinery had to be strong, so interlocking dovetails were a natural choice. My aging Porter-Cable jig (shown on page 53) only cuts half-blind dovetails, bul thai was actually an advantage; it meant that the bottom of the case (which becomes the router table) would be smooth. Get started by edge jointing and gluing up several boards to create stock for the top, bottom and sides (pieces 1 and 2). if you're new to dovetailing, you can cheat a little by making the parts 1/2" too wide and trimming them to size after all the milling is done. Set up your jig according to the manufacturer's instructions and remove any excess glue from the boards. Install a dovetail bit and collet (see your jig instructions for sizes) in your router and make practice cuts on some scrap lumber exactly the same dimensions as the actual workpieces. When you're satisfied with the setup, mill the boards. Dry fit the top and bottom to the sides. The joints should be snug, but not so tight that you need a hammer to close them. If your setup was slightly off, trim a little from the edges to achieve perfect alignment. Glue and clamp the top and bottom to the sides, making sure that the assembly is square and flat as you apply clamping pressure. Rabbets for the Back I chose bright white 1/4" hardboard paneling for Ihe back of my case (piece 3). this sets off the bits nicely, so I can easily see their profiles through the Plexiglas™ door. Remove the clamps from the carcass and install a bearing-guided rabbeting bit in your router. A table-mounted router works well here, since the thin walls of the carcass don't provide a very stable base for a portable router (see photo on page 53). Set the bit height to exactly the thickness of the back panel, as the panel must be flush when installed. Mill the rabbet for the back in a single pass. Next, glue and clamp the hanging cleat (piece 4) in place, flush with the edge of the newly milled rabbet (see Exploded View on next page). When the glue dries, trim the back panel to size and sand a radius on each corner to match the Woodworker's Journal February 2001 51 |


