Woodworker's Journal 2004-Winter, страница 75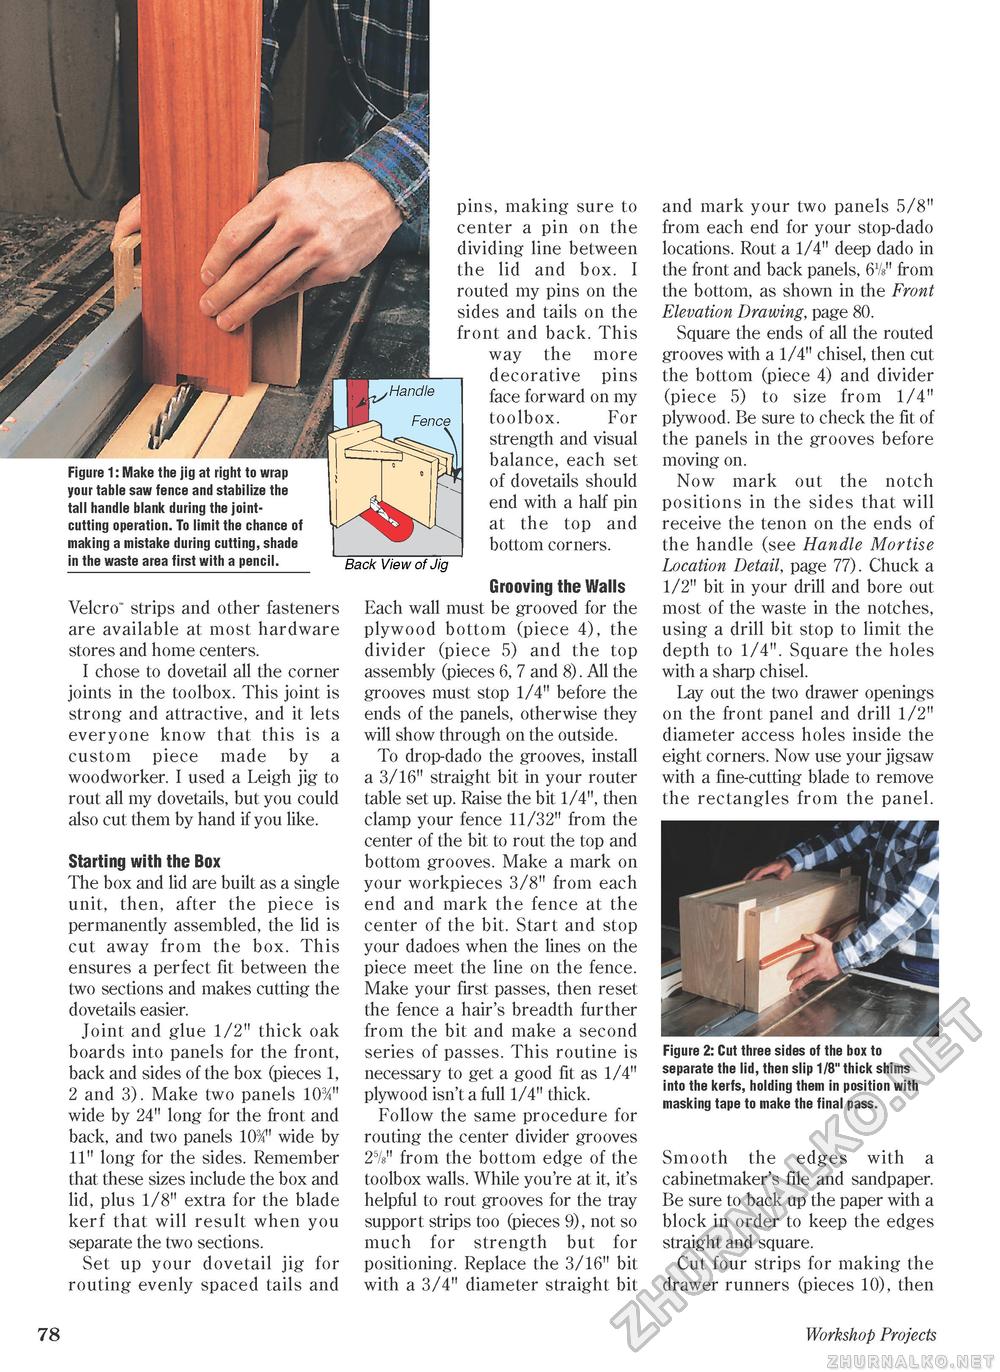
Figure 1: Make the jig at right to wrap your table saw fence and stabilize the tall handle blank during the joint-cutting operation. To limit the chance of making a mistake during cutting, shade in the waste area first with a pencil. pins, making sure to center a pin on the dividing line between the lid and box. I routed my pins on the sides and tails on the front and back. This way the more decorative pins face forward on my toolbox. For strength and visual balance, each set of dovetails should end with a half pin at the top and bottom corners. Back View of Jig Velcro" strips and other fasteners are available at most hardware stores and home centers. I chose to dovetail all the corner joints in the toolbox. This joint is strong and attractive, and it lets everyone know that this is a custom piece made by a woodworker. I used a Leigh jig to rout all my dovetails, but you could also cut them by hand if you like. Starting with the Box The box and lid are built as a single unit, then, after the piece is permanently assembled, the lid is cut away from the box. This ensures a perfect fit between the two sections and makes cutting the dovetails easier. Joint and glue 1/2" thick oak boards into panels for the front, back and sides of the box (pieces 1, 2 and 3). Make two panels 1034" wide by 24" long for the front and back, and two panels 103/4" wide by 11" long for the sides. Remember that these sizes include the box and lid, plus 1/8" extra for the blade kerf that will result when you separate the two sections. Set up your dovetail jig for routing evenly spaced tails and Grooving the Walls Each wall must be grooved for the plywood bottom (piece 4), the divider (piece 5) and the top assembly (pieces 6, 7 and 8). All the grooves must stop 1/4" before the ends of the panels, otherwise they will show through on the outside. To drop-dado the grooves, install a 3/16" straight bit in your router table set up. Raise the bit 1/4", then clamp your fence 11/32" from the center of the bit to rout the top and bottom grooves. Make a mark on your workpieces 3/8" from each end and mark the fence at the center of the bit. Start and stop your dadoes when the lines on the piece meet the line on the fence. Make your first passes, then reset the fence a hair's breadth further from the bit and make a second series of passes. This routine is necessary to get a good fit as 1/4" plywood isn't a full 1/4" thick. Follow the same procedure for routing the center divider grooves 2%" from the bottom edge of the toolbox walls. While you're at it, it's helpful to rout grooves for the tray support strips too (pieces 9), not so much for strength but for positioning. Replace the 3/16" bit with a 3/4" diameter straight bit and mark your two panels 5/8" from each end for your stop-dado locations. Rout a 1/4" deep dado in the front and back panels, 61/8" from the bottom, as shown in the Front Elevation Drawing, page 80. Square the ends of all the routed grooves with a 1/4" chisel, then cut the bottom (piece 4) and divider (piece 5) to size from 1/4" plywood. Be sure to check the fit of the panels in the grooves before moving on. Now mark out the notch positions in the sides that will receive the tenon on the ends of the handle (see Handle Mortise Location Detail, page 77). Chuck a 1/2" bit in your drill and bore out most of the waste in the notches, using a drill bit stop to limit the depth to 1/4". Square the holes with a sharp chisel. Lay out the two drawer openings on the front panel and drill 1/2" diameter access holes inside the eight corners. Now use your jigsaw with a fine-cutting blade to remove the rectangles from the panel. Figure 2: Cut three sides of the box to separate the lid, then slip 1/8" thick shims into the kerfs, holding them in position with masking tape to make the final pass. Smooth the edges with a cabinetmaker's file and sandpaper. Be sure to back up the paper with a block in order to keep the edges straight and square. Cut four strips for making the drawer runners (pieces 10), then 78 * Workshop Projects |


