Woodworker's Journal 2006-30-5, страница 34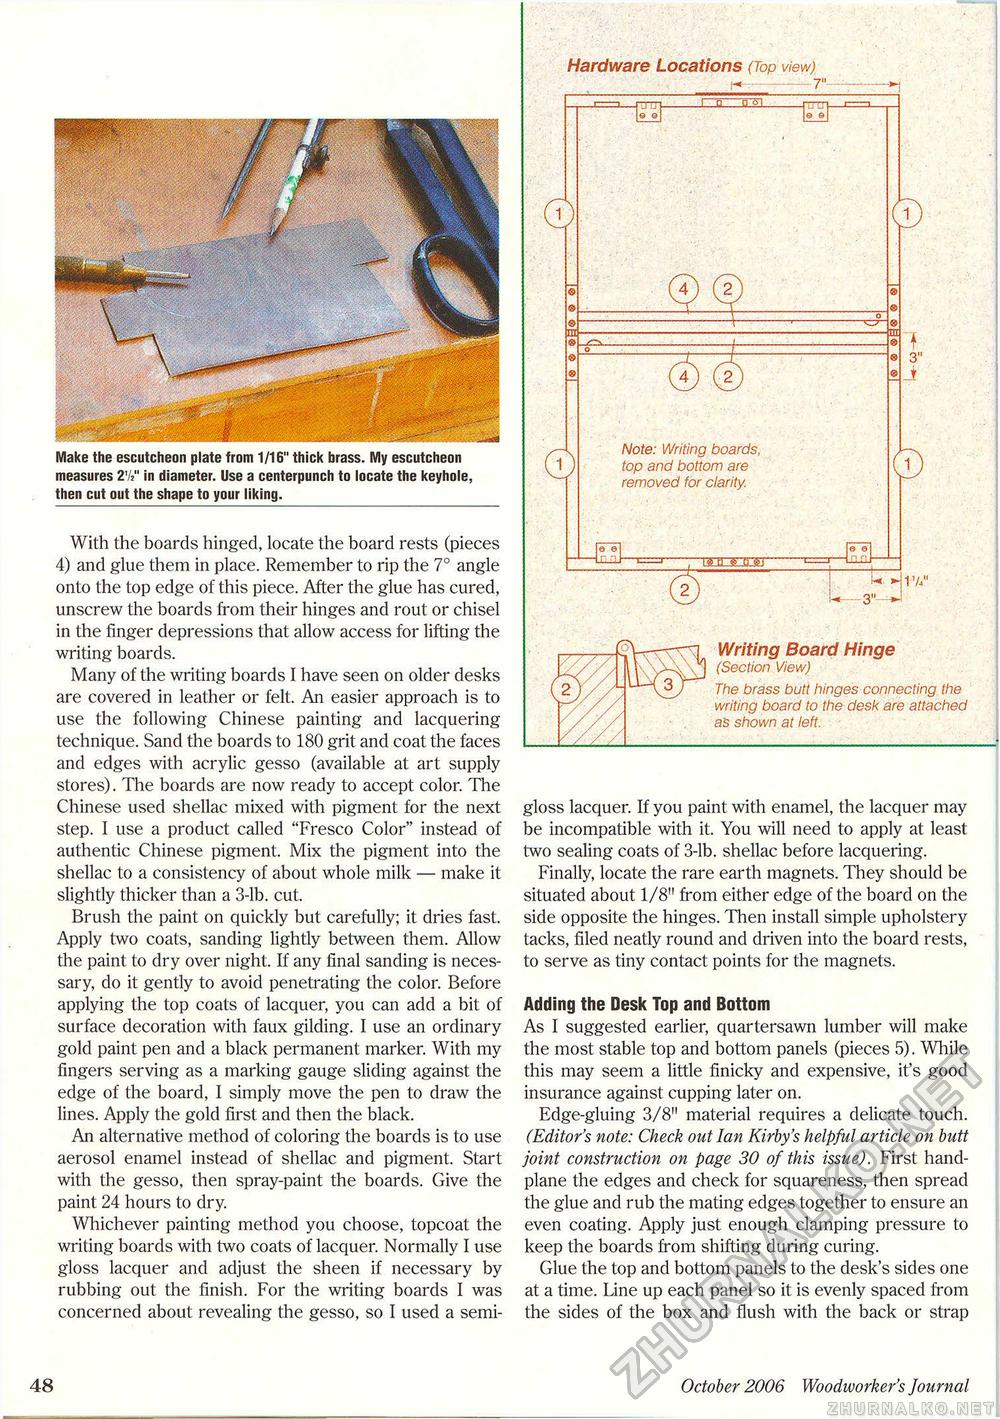
Make the escutcheon plate from 1/16" thick brass. My escutcheon measures 2V" in diameter. Use a centerpunch to locate the keyhole, then cut out the shape to your liking. With the boards hinged, locate the board rests (pieces 4) and glue them in place. Remember to rip the 7° angle onto the top edge of this piece. After the glue has cured, unscrew the boards from their hinges and rout or chisel in the finger depressions that allow access for lifting the writing boards. Many of the writing boards I have seen on older desks are covered in leather or felt. An easier approach is to use the following Chinese painting and lacquering technique. Sand the boards to 180 grit and coat the faces and edges with acrylic gesso (available at art supply stores). The boards are now ready to accept color. The Chinese used shellac mixed with pigment for the next step. I use a product called "Fresco Color" instead of authentic Chinese pigment. Mix the pigment into the shellac to a consistency of about whole milk — make it slightly thicker than a 3-lb. cut. Brush the paint on quickly but carefully; it dries fast. Apply two coats, sanding lightly between them. Allow the paint to dry over night. If any final sanding is necessary, do it gently to avoid penetrating the color. Before applying the top coats of lacquer, you can add a bit of surface decoration with faux gilding. I use an ordinary gold paint pen and a black permanent marker. With my fingers serving as a marking gauge sliding against the edge of the board, I simply move the pen to draw the lines. Apply the gold first and then the black. An alternative method of coloring the boards is to use aerosol enamel instead of shellac and pigment. Start with the gesso, then spray-paint the boards. Give the paint 24 hours to dry. Whichever painting method you choose, topcoat the writing boards with two coats of lacquer. Normally I use gloss lacquer and adjust the sheen if necessary by rubbing out the finish. For the writing boards I was concerned about revealing the gesso, so I used a semi- gloss lacquer. If you paint with enamel, the lacquer may be incompatible with it. You will need to apply at least two sealing coats of 3-lb. shellac before lacquering. Finally, locate the rare earth magnets. They should be situated about 1/8" from either edge of the board on the side opposite the hinges. Then install simple upholstery tacks, filed neatly round and driven into the board rests, to serve as tiny contact points for the magnets. Adding the Desk Top and Bottom As I suggested earlier, quartersawn lumber will make the most stable top and bottom panels (pieces 5). While this may seem a little finicky and expensive, it's good insurance against cupping later on. Edge-gluing 3/8" material requires a delicate touch. (Editor's note: Check out Ian Kirby's helpful article on butt joint construction on page 30 of this issue). First hand-plane the edges and check for squareness, then spread the glue and rub the mating edges together to ensure an even coating. Apply just enough clamping pressure to keep the boards from shifting during curing. Glue the top and bottom panels to the desk's sides one at a time. Line up each panel so it is evenly spaced from the sides of the box and flush with the back or strap 48 October 2006 Woodivorker's Journal |


