Woodworker's Journal 2006-30-5, страница 42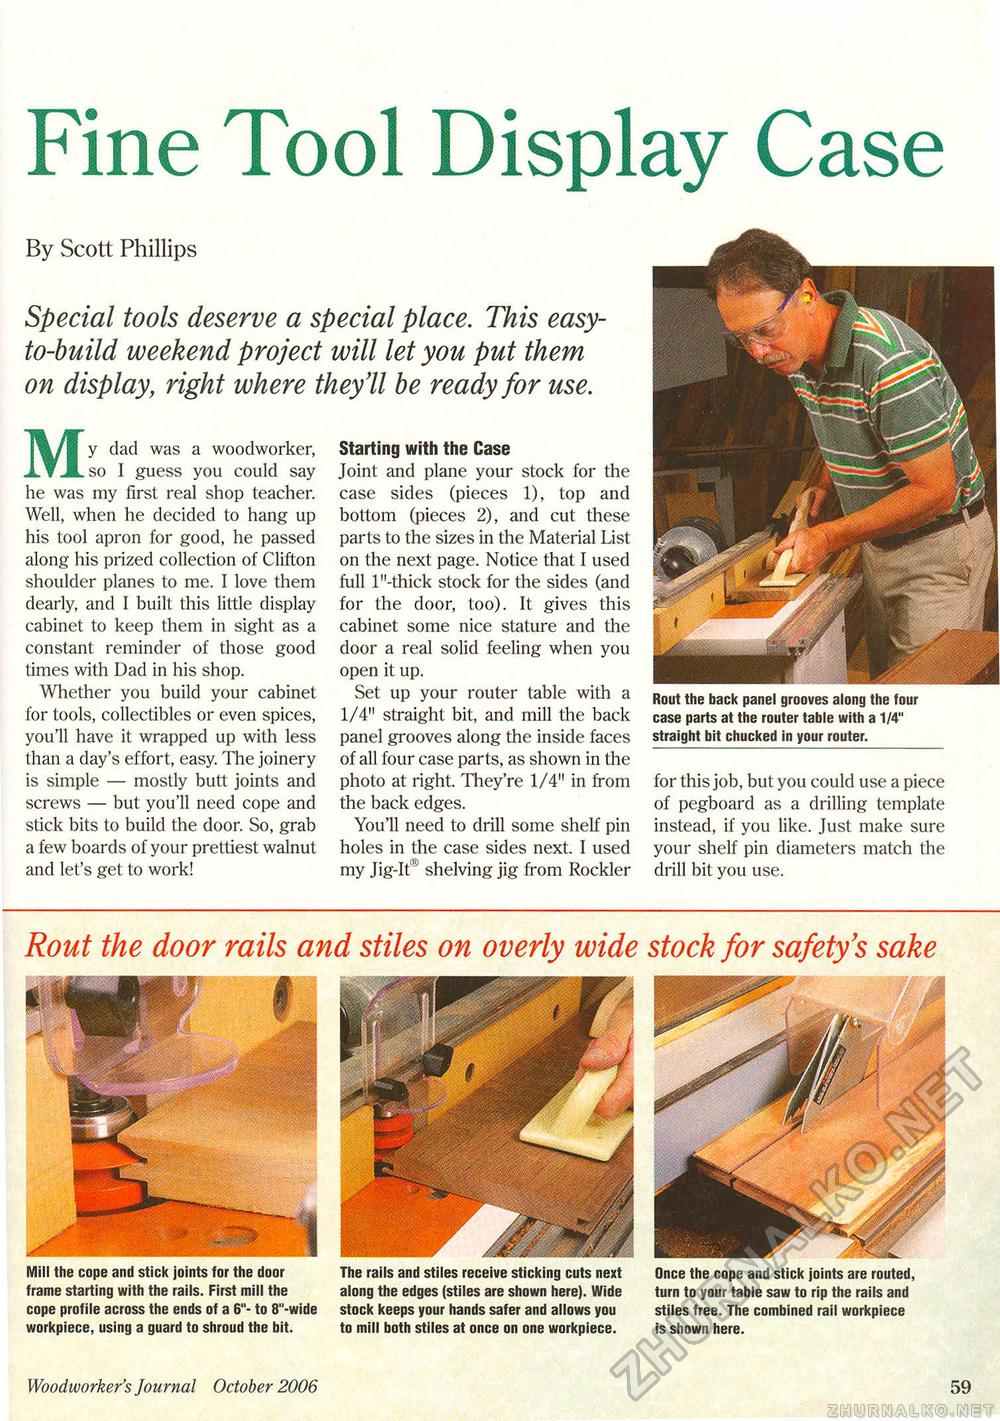
Fine Tool Display Case By Scott Phillips Special tools deserve a special place. This easy-to-build weekend project will let you put them on display, right where they'll be ready for use. My dad was a woodworker, so I guess you could say he was my first real shop teacher. Well, when he decided to hang up his tool apron for good, he passed along his prized collection of Clifton shoulder planes to me. I love them dearly, and I built this little display cabinet to keep them in sight as a constant reminder of those good times with Dad in his shop. Whether you build your cabinet for tools, collectibles or even spices, you'll have it wrapped up with less than a day's effort, easy. The joinery is simple — mostly butt joints and screws — but you'll need cope and stick bits to build the door. So, grab a few boards of your prettiest walnut and let's get to work! Starting with the Case Joint and plane your stock for the case sides (pieces 1), top and bottom (pieces 2), and cut these parts to the sizes in the Material List on the next page. Notice that I used full l"-thick stock for the sides (and for the door, too). It gives this cabinet some nice stature and the door a real solid feeling when you open it up. Set up your router table with a 1/4" straight bit, and mill the back panel grooves along the inside faces of all four case parts, as shown in the photo at right. They're 1/4" in from the back edges. You'll need to drill some shelf pin holes in the case sides next. I used my Jig-It" shelving jig from Rockier Rout the back panel grooves along the four case parts at the router table with a 1/4" straight bit chucked in your router. for this job, but you could use a piece of pegboard as a drilling template instead, if you like. Just make sure your shelf pin diameters match the drill bit you use. Rout the door rails and stiles on overly wide stock for safety's sake Mill the cope and stick joints for the door frame starting with the rails. First mill the cope profile across the ends of a 6"- to 8"-wide workpiece, using a guard to shroud the bit. The rails and stiles receive sticking cuts next along the edges (stiles are shown here). Wide stock keeps your hands safer and allows you to mill both stiles at once on one workpiece. Once the cope and stick joints are routed, turn to your table saw to rip the rails and stiles free. The combined rail workpiece is shown here. Woodworker's Journal October 2006 59 |


