Woodworker's Journal 2008-32-1, страница 26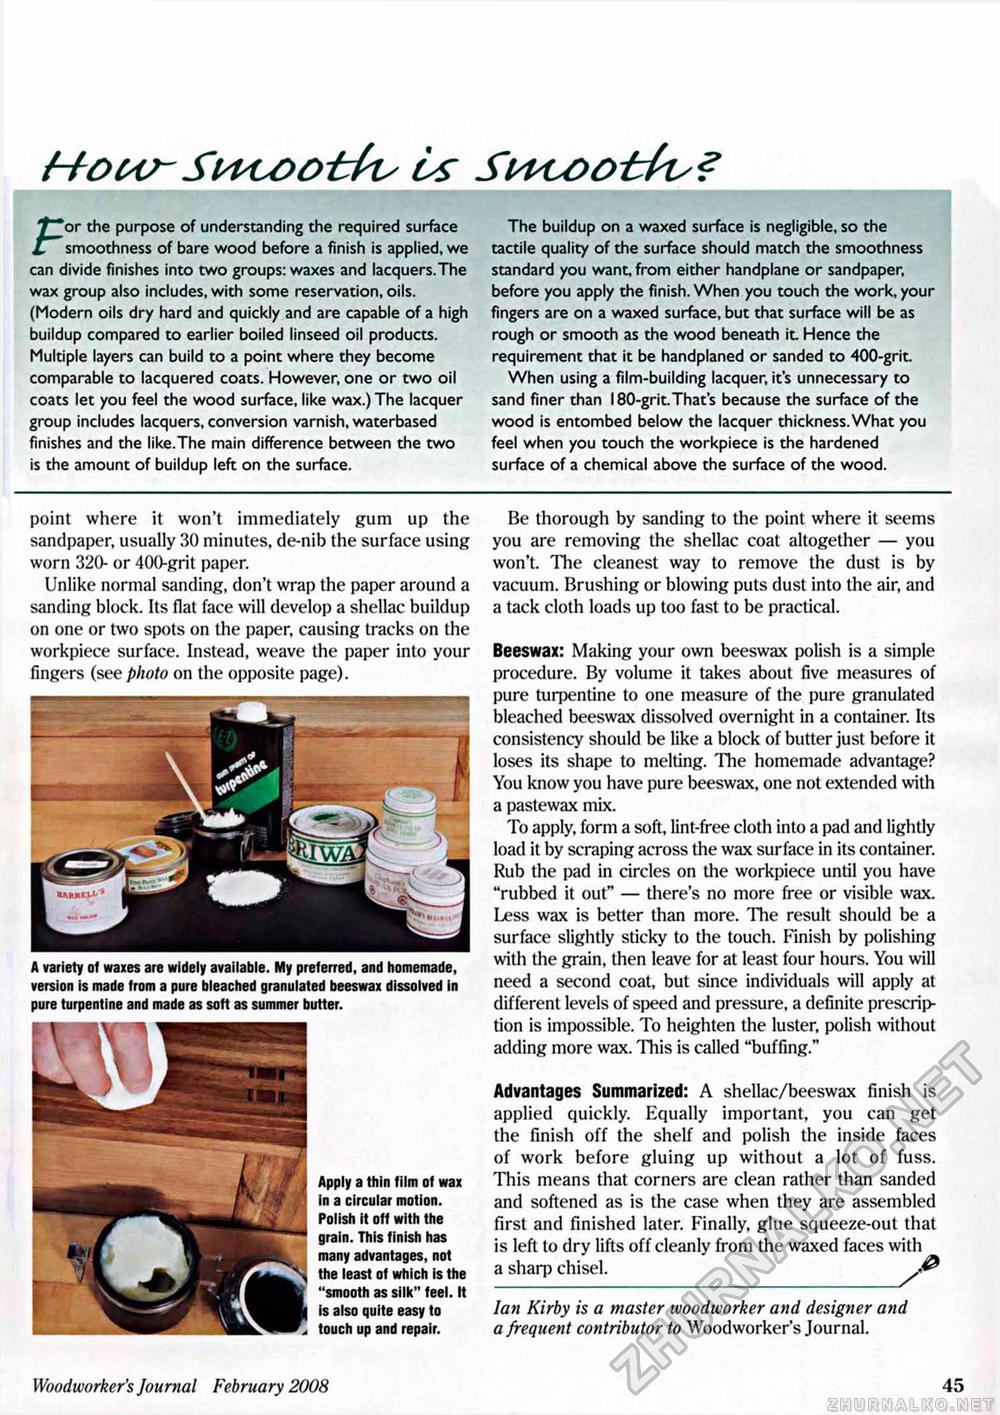
How Swcootfas is Swcootks? f~or the purpose of understanding the required surface L smoothness of bare wood before a finish is applied, we can divide finishes into two groups: waxes and lacquers. The wax group also includes, with some reservation, oils. (Modern oils dry hard and quickly and are capable of a high buildup compared to earlier boiled linseed oil products. Multiple layers can build to a point where they become comparable to lacquered coats. However, one or two oil coats let you feel the wood surface, like wax.) The lacquer group includes lacquers, conversion varnish, waterbased finishes and the like.The main difference between the two is the amount of buildup left on the surface. The buildup on a waxed surface is negligible, so the tactile quality of the surface should match the smoothness standard you want, from either handplane or sandpaper, before you apply the finish. When you touch the work, your fingers are on a waxed surface, but that surface will be as rough or smooth as the wood beneath it. Hence the requirement that it be handplaned or sanded to 400-grit. When using a film-building lacquer, it's unnecessary to sand finer than 180-grit.That's because the surface of the wood is entombed below the lacquer thickness. What you feel when you touch the workpiece is the hardened surface of a chemical above the surface of the wood. point where it won't immediately gum up the sandpaper, usually 30 minutes, de-nib the surface using worn 320- or 400-grit paper. Unlike normal sanding, don't wrap the paper around a sanding block. Its flat face will develop a shellac buildup on one or two spots on the paper, causing tracks on the workpiece surface. Instead, weave the paper into your fingers (see photo on the opposite page). A variety of waxes are widely available. My preferred, and homemade, version is made from a pure bleached granulated beeswax dissolved in pure turpentine and made as soft as summer butter. Apply a thin film of wax in a circular motion. Polish it off with the grain. This finish has many advantages, not the least of which is the "smooth as silk" feel. It is also quite easy to touch up and repair. Be thorough by sanding to the point where it seems you are removing the shellac coat altogether — you won't. The cleanest way to remove the dust is by vacuum. Brushing or blowing puts dust into the air, and a tack cloth loads up too fast to be practical. Beeswax: Making your own beeswax polish is a simple procedure. By volume it takes about five measures of pure turpentine to one measure of the pure granulated bleached beeswax dissolved overnight in a container. Its consistency should be like a block of butter just before it loses its shape to melting. The homemade advantage? You know you have pure beeswax, one not extended with a pastewax mix. To apply, form a soft, lint-free cloth into a pad and lightly load it by scraping across the wax surface in its container. Rub the pad in circles on the workpiece until you have "rubbed it out" — there's no more free or visible wax. Less wax is better than more. The result should be a surface slightly sticky to the touch. Finish by polishing with the grain, then leave for at least four hours. You will need a second coat, but since individuals will apply at different levels of speed and pressure, a definite prescription is impossible. To heighten the luster, polish without adding more wax. This is called "buffing." Advantages Summarized: A shellac/beeswax finish is applied quickly. Equally important, you can get the finish off the shelf and polish the inside faces of work before gluing up without a lot of fuss. This means that corners are clean rather than sanded and softened as is the case when they are assembled first and finished later. Finally, glue squeeze-out that is left to dry lifts off cleanly from the waxed faces with a sharp chisel. Ian Kirby is a master woodworker and designer and a frequent contributor to Woodworker's Journal. uur.u- Woodworker's Journal February 2008 45 |


