Woodworker's Journal 2008-32-2, страница 49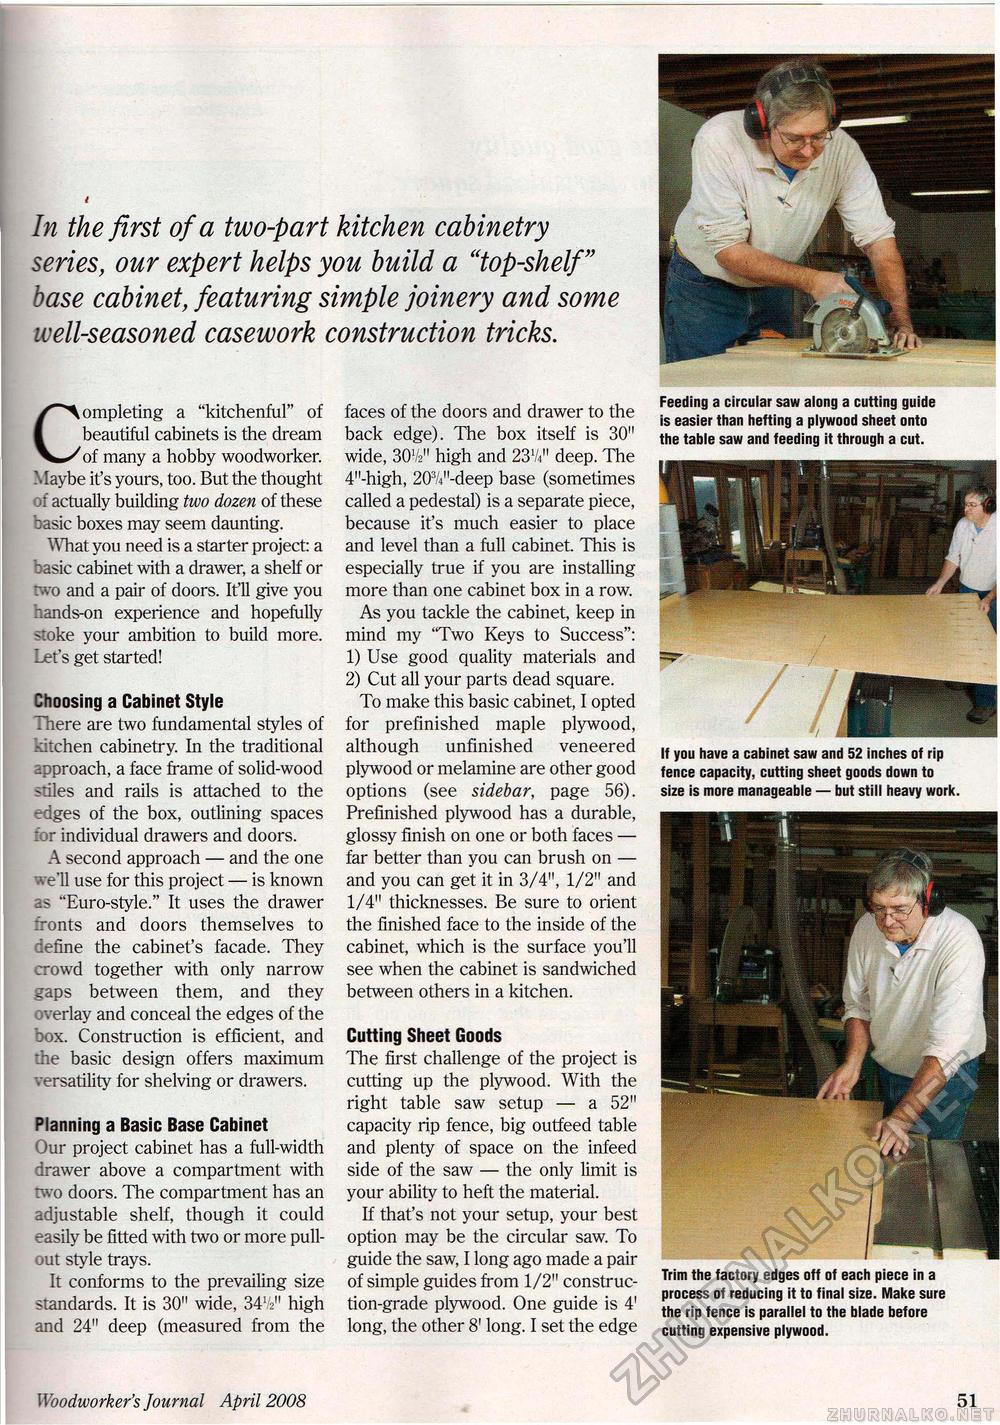
In the first of a two-part kitchen cabinetry series, our expert helps you build a "top-shelf" base cabinet, featuring simple joinery and some well-seasoned casework construction tricks. Completing a "kitchenful" of beautiful cabinets is the dream of many a hobby woodworker. Maybe it's yours, too. But the thought : i actually building two dozen of these basic boxes may seem daunting. What you need is a starter project: a : asic cabinet with a drawer, a shelf or two and a pair of doors. Ifll give you r.ands-on experience and hopefully s:oke your ambition to build more. Let's get started! Choosing a Cabinet Style There are two fundamental styles of kitchen cabinetry. In the traditional approach, a face frame of solid-wood ?dles and rails is attached to the rdges of the box, outlining spaces for individual drawers and doors. A second approach — and the one we'll use for this project — is known -s "Euro-style." It uses the drawer fronts and doors themselves to define the cabinet's facade. They crowd together with only narrow gaps between them, and they : verlay and conceal the edges of the box. Construction is efficient, and :he basic design offers maximum versatility for shelving or drawers. Planning a Basic Base Cabinet Our project cabinet has a full-width drawer above a compartment with two doors. The compartment has an adjustable shelf, though it could easily be fitted with two or more pull-out style trays. It conforms to the prevailing size standards. It is 30" wide, 3472" high and 24" deep (measured from the faces of the doors and drawer to the back edge). The box itself is 30" wide, 3OV2" high and 2374" deep. The 4"-high, 203/4,j-deep base (sometimes called a pedestal) is a separate piece, because it's much easier to place and level than a full cabinet. This is especially true if you are installing more than one cabinet box in a row. As you tackle the cabinet, keep in mind my 'Two Keys to Success": 1) Use good quality materials and 2) Cut all your parts dead square. To make this basic cabinet, I opted for prefinished maple plywood, although unfinished veneered plywood or melamine are other good options (see sidebar, page 56). Prefinished plywood has a durable, glossy finish on one or both faces — far better than you can brush on — and you can get it in 3/4", 1/2" and 1/4" thicknesses. Be sure to orient the finished face to the inside of the cabinet, which is the surface you'll see when the cabinet is sandwiched between others in a kitchen. Cutting Sheet Goods The first challenge of the project is cutting up the plywood. With the right table saw setup — a 52" capacity rip fence, big outfeed table and plenty of space on the infeed side of the saw — the only limit is your ability to heft the material. If that's not your setup, your best option may be the circular saw. To guide the saw, I long ago made a pair of simple guides from 1/2" construction-grade plywood. One guide is 4' long, the other 81 long. I set the edge Feeding a circular saw along a cutting guide is easier than hefting a plywood sheet onto the table saw and feeding it through a cut. If you have a cabinet saw and 52 inches of rip fence capacity, cutting sheet goods down to size is more manageable — but still heavy work. Trim the factory edges off of each piece in a process of reducing it to final size. Make sure the rip fence is parallel to the blade before cutting expensive plywood. Woodworker's Journal April 2008 51 |


