Woodworker's Journal 2010-34-1, страница 41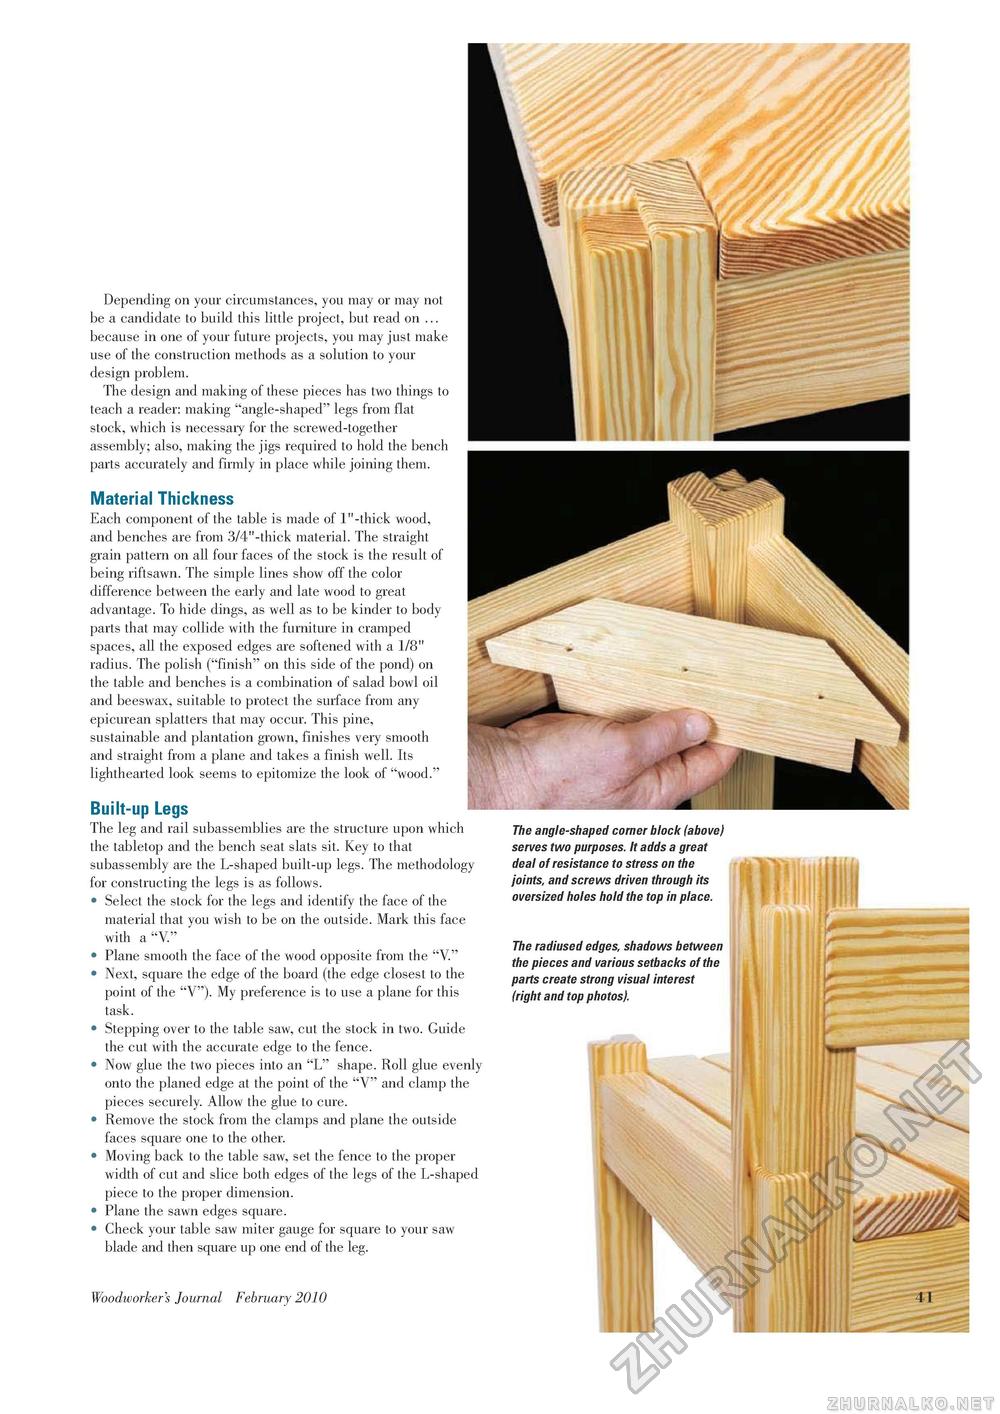
Depending on your circumstances, you may or may not be a candidate to build this little project, but read on ... because in one of your future projects, you may just make use of the construction methods as a solution to your design problem. The design and making of these pieces has two things to teach a reader: making "angle-shaped" legs from flat stock, which is necessary for the screwed-together assembly; also, making the jigs required to hold the bench parts accurately and firmly in place while joining them. Material Thickness Each component of the table is made of 1"-thick wood, and benches are from 3/4"-thick material. The straight grain pattern on all four faces of the stock is the result of being riftsawn. The simple lines show off the color difference between the early and late wood to great advantage. To hide dings, as well as to be kinder to body parts that may collide with the furniture in cramped spaces, all the exposed edges are softened with a 1/8" radius. The polish ("finish" on this side of the pond) on the table and benches is a combination of salad bowl oil and beeswax, suitable to protect the surface from any epicurean splatters that may occur. This pine, sustainable and plantation grown, finishes very smooth and straight from a plane and takes a finish well. Its lighthearted look seems to epitomize the look of "wood." Built-up Legs The leg and rail subassemblies are the structure upon which the tabletop and the bench seat slats sit. Key to that subassembly are the L-shaped built-up legs. The methodology for constructing the legs is as follows. • Select the stock for the legs and identify the face of the material that you wish to be on the outside. Mark this face with a "V." • Plane smooth the face of the wood opposite from the "V." • Next, square the edge of the board (the edge closest to the point of the "V"). My preference is to use a plane for this task. • Stepping over to the table saw, cut the stock in two. Guide the cut with the accurate edge to the fence. • Now glue the two pieces into an "L" shape. Roll glue evenly onto the planed edge at the point of the "V" and clamp the pieces securely. Allow the glue to cure. • Remove the stock from the clamps and plane the outside faces square one to the other. • Moving back to the table saw, set the fence to the proper width of cut and slice both edges of the legs of the L-shaped piece to the proper dimension. • Plane the sawn edges square. • Check your table saw miter gauge for square to your saw blade and then square up one end of the leg. Woodworker's Journal Ferbruary 2010 41 Thie angle-shaped corner block (above) serves two purposes. It adds a great deal of resistance to stress on the joints, and screws driven through its oversized holes hold the top in place. The radiused edges, shadows between the pieces and various setbacks of the parts create strong visual interest (right and top photos). Hi |


