Woodworker's Journal 2010-34-2, страница 40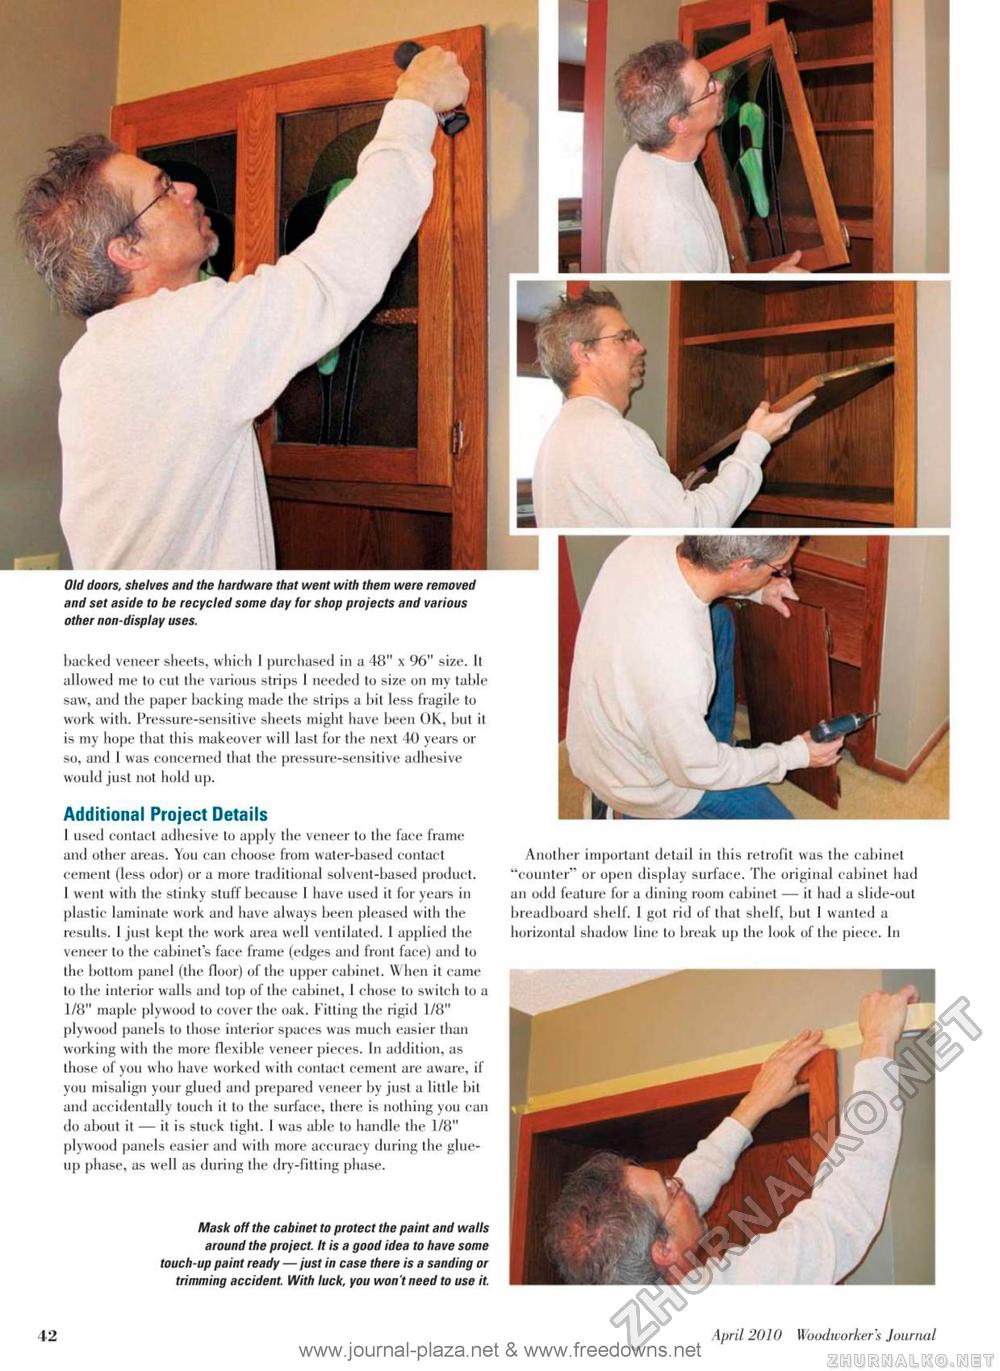
backed veneer sheets, which 1 purchased in a 48" x 96" size. It allowed me lo cut the various strips I needed lo size on my table saw, and the paper backing made the strips a bit less fragile to work with. Pressure-sensitive sheets might have been OK, but it is my hope that this makeover will last for the next 40 years or so, and I was concerned that the pressure-sensitive adhesive would just not hold up. Additional Project Details 1 used contact adhesive to apply the veneer to die face frame and other areas. You can choose from water-based contact cement (less odor) or a more traditional solvent-based product. I went with the stinky stuff because 1 have used it for years in plastic laminate work and have always been pleased with the results. I just kept the work area well ventilated. 1 applied the veneer to the cabinet s face frame (edges and front face) and to the bottom panel (the floor) of the upper cabinet. When it came lo the interior walls and lop of the cabinet, I chose lo switch to a 1/8" maple plywood lo cover the oak. Fitting the rigid 1/8" plywood panels to those interior spaces was much easier than working with the more flexible veneer pieces. In addition, as those of you who have worked with contact cement axe aware, if you misalign your glued and prepared veneer by just a little bit and accidentally touch it to the surface, there is nothing you can do about il — it is stuck light. I was able to handle the 1/8" plywood panels easier and with more accuracy during the glue-up phase, as well as during the dry-fitting phase. Mask off the cabinet to protect the paint and walls around the project. It is a good idea to have some touch-up paint ready — just in case there is a sanding or trimming accident. With luck, you won't need to use it. Another important detail in this retrofit was the cabinet "counter" or open display surface. The original cabinet had an odd feature for a dining room cabinet — it had a slide-out breadboard shelf. 1 got rid of that shelf, but 1 wanted a horizontal shadow line lo break up the look of the piece. In Old doors, shelves and the hardware that went with them were removed and set aside to be recycled some day for shop projects and various other non-display uses. 42 April 2010 Woodworkers Jourruil |


