Woodworker's Journal 2011-35-1, страница 33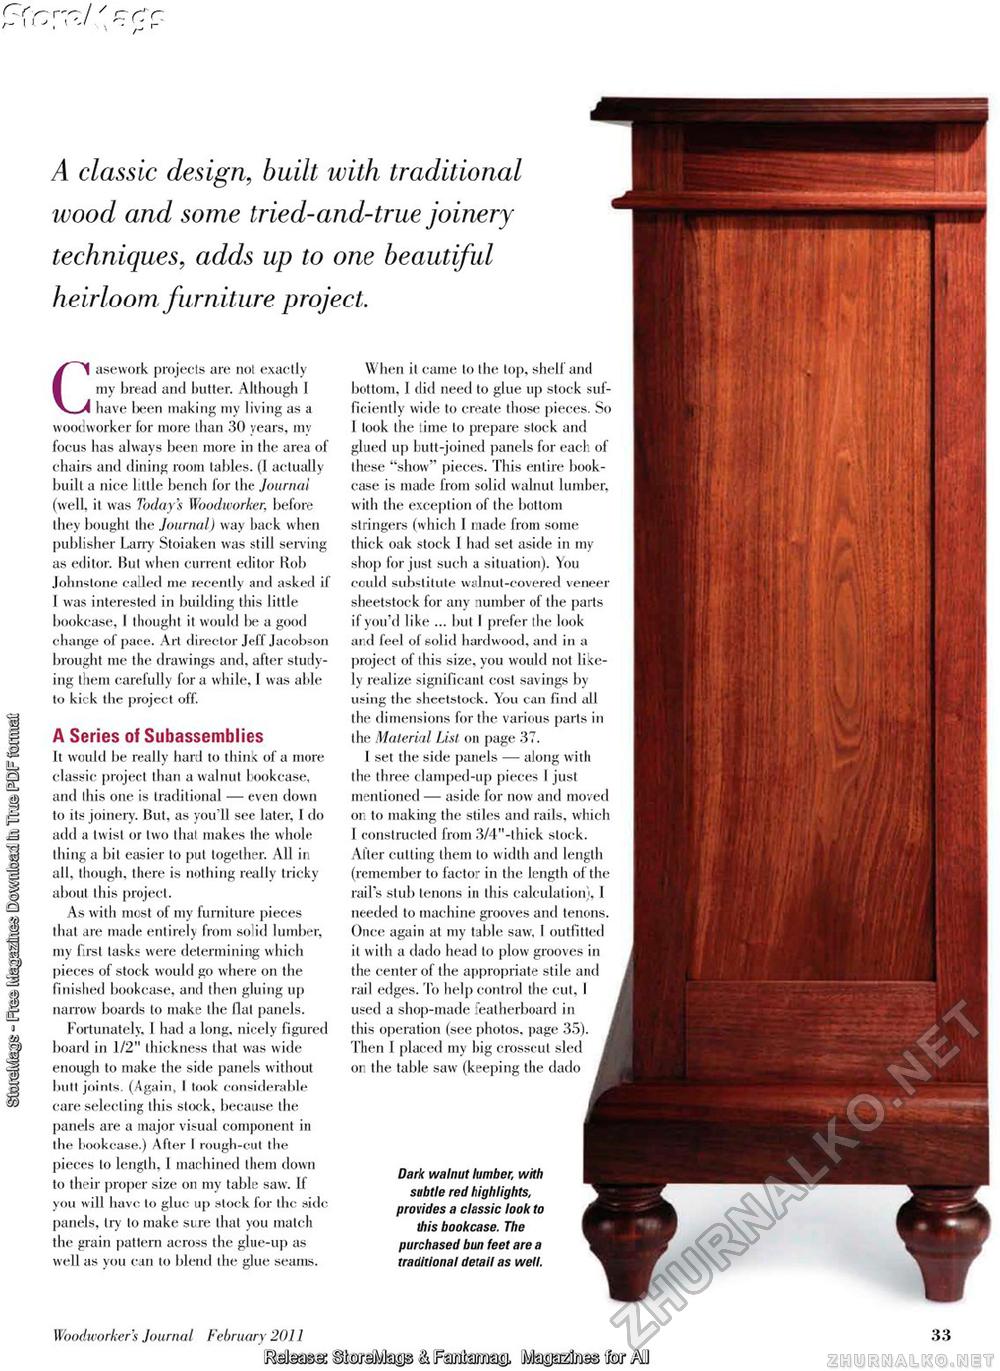
— r^- / / r— j \'J r: < - L- \ 4 classic design, built with traditional wood and some tried-and-true joinery techniques, adds up to one beautiful heirloom furniture project, Casework projects are not exactly my bread and butter. Although I have been making my living as a woodworker for more than 30 years, my focus has always been more in the area of chairs and dining room tables. (I actually built a nice little bench for the Journal (well, it was Todays Woodworker, before they bought the Journal) way hack when publisher Larry Stoiaken was still serving as editor. But when current editor Rob Johnstone called me recently and asked if I was interested in building this little bookcase, I thought it would be a good change ol pace. Art director Jeff Jacobson brought me the drawings and, after studying them carefully for a while, 1 was able to kick the project off. A Series of Subassemblies It would be really hard to think of a more classic project than a walnut bookcase, and ibis one is traditional — even down to its joinery. But, as you'll sec later, I do add a twist or two that makes the whole thing a bit easier to put together. All in all, though, there is nothing really tricky about this project. As with most of my furniture pieces that are made entirely from solid lumber, my first tasks were determining which pieces of stock would go where on the finished bookcase, and then gluing up narrow boards to make the Hat panels. Fortunately. 1 had a long, nicely figured board in 1/2" thickness that was wide enough to make the side panels without butt joints. (Again, I took considerable care selecting this stock, because the panels are a major visual component in the bookcase.) After I rough-cut the pieces to length, I machined them down to their proper size on my table saw. If you will have to glue up stock for the side panels, try to make sure that you match the grain pattern across the glue-up as well as you can to blend the glue seams. When it came to the top, shell and bottom, I did need to glue up stock sufficiently wide to create those pieces. So 1 took the time to prepare slock and glued up butt-joined panels for each of these "show" pieces. This entire bookcase is made from solid walnut lumber, with the exception of the bottom stringers (which I made from some thick oak stock 1 had set aside in my shop for just such a situation). You could substitute walnut-covered veneer sheetstock for any number of the parts if you'd like ... but I prefer die look and feel ol solid hardwood, and in a project of this size, you would not lively realize significant cost savings by using the sheetstock. You can find all the dimensions for the various parts in the Material List on page 37. I set the side panels — along with the three clamped-up pieces I just mentioned — aside for now and moved or. to making the stiles and rails, which 1 constructed from 3/4"-thick stock. After cutting them to width and length (remember to factor in the length of the rail's stub tenons in this calculation), 1 needed to machine grooves and tenons. Once again at my table saw, I outfitted it with a dado head to plow grooves in the center of the appropriate stile and rail edges. To help control the cut, I used a shop-made featherboard in this operation (sec photos, page 35). Then 1 placed my big crosscut sled or. the table saw (keeping the dado Dark walnut lumber, with subtle red highlights, provides a classic look to this bookcase. The purchased bun feet are a traditional detail as well. Woodworkers Journal February 2011 jMaasa: BlwSMgs & [FsMms© (fetap^te tor Ml |


