Woodworker's Journal 2011-35-1, страница 35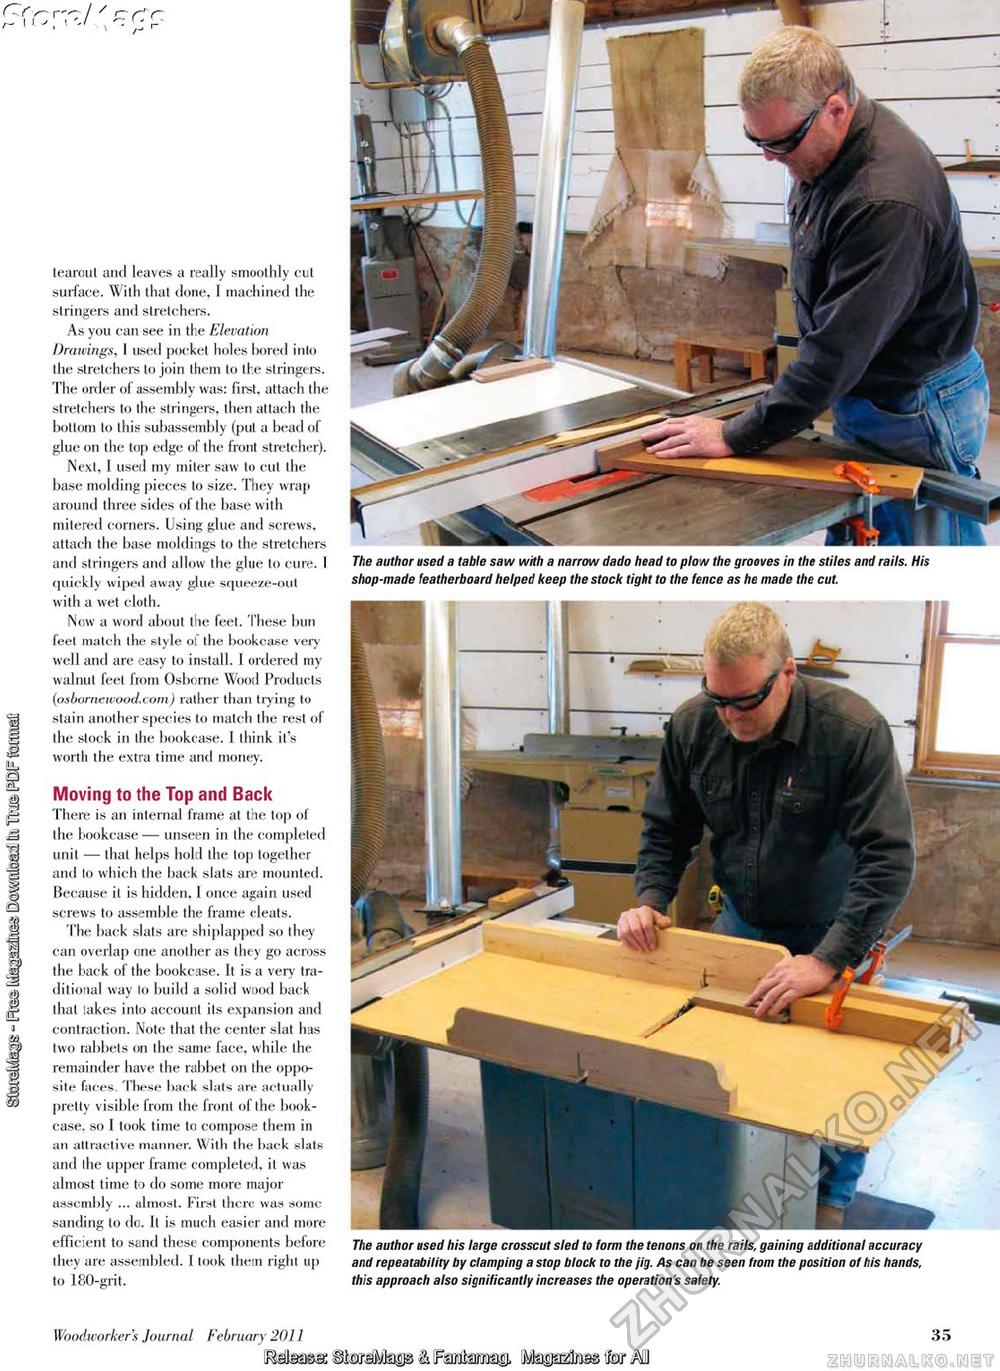
{ K > -J tearout and leaves a really smoothly cut surface. With that done, 1 machined the stringers and stretchers. As you can see in the Elevation Drawings, I used pocket holes bored into the stretchers to join them to the stringers. The order of assembly was: first, attach the stretchers to the stringers, then attach llie bottom to this subassembly (put a bead of glue on the top edge of the front stretcher). Next, 1 used my miter saw to cut the base molding pieces to size. They wrap around three sides of the base with mitered corners. Using glue and screws, attach the base moldings to the stretchers and stringers and allow the glue to cure. I quickly wiped away glue squeeze-out with a wet cloth. Now a word about the feet. These bun feet match the style oi the bookcase very well and arc easy to install. 1 ordered my walnut feet from Osborne Wood Products (osbornewood.com) rather than trying to stain another species to match the rest of the stock in the bookcase. I think it's worth the extra time and money. Moving to the Top and Back There is an internal frame at the top of the bookcase — unseen in the completed unit — that helps hold the top together and lo which the back slats are mounted. Because it is hidden, I once again used screws to assemble the frame cleats. The back slats are shiplapped so they can overlap one another as they go across the back of the bookcase. It is a very traditional way to build a solid wood back that lakes into account its expansion and contraction. Note that the center slat has two rabbets on the same face, while the remainder have the rabbet on the opposite faees. These back slats are actually pretty visible from the front of the bookcase. so I took time to compose them in an attractive manner. With the back slats and die upper frame completed, it was almost time to do some more major assembly ... almost. First there was some sanding to do. It is much easier and more efficient to sand these components before they are assembled. I took them right up to i80-grit. The author used his large crosscut sled to form the tenons on the rails, gaining additional accuracy and repeatability by clamping a stop block to the jig. As can be seen from the position of his hands, this approach also significantly increases the operation's safety. Woodworkers Journal February 2011 jMaasa: BlwSMgs & [FSMms© (fetap^tetorMI 35 The author used a table saw with a narrow dado head to plow the grooves in the stiles and rails. His shop-made featherboard helped keep the stock tight to the fence as he made the cut. |


