Woodworker's Journal 2011-35-1, страница 38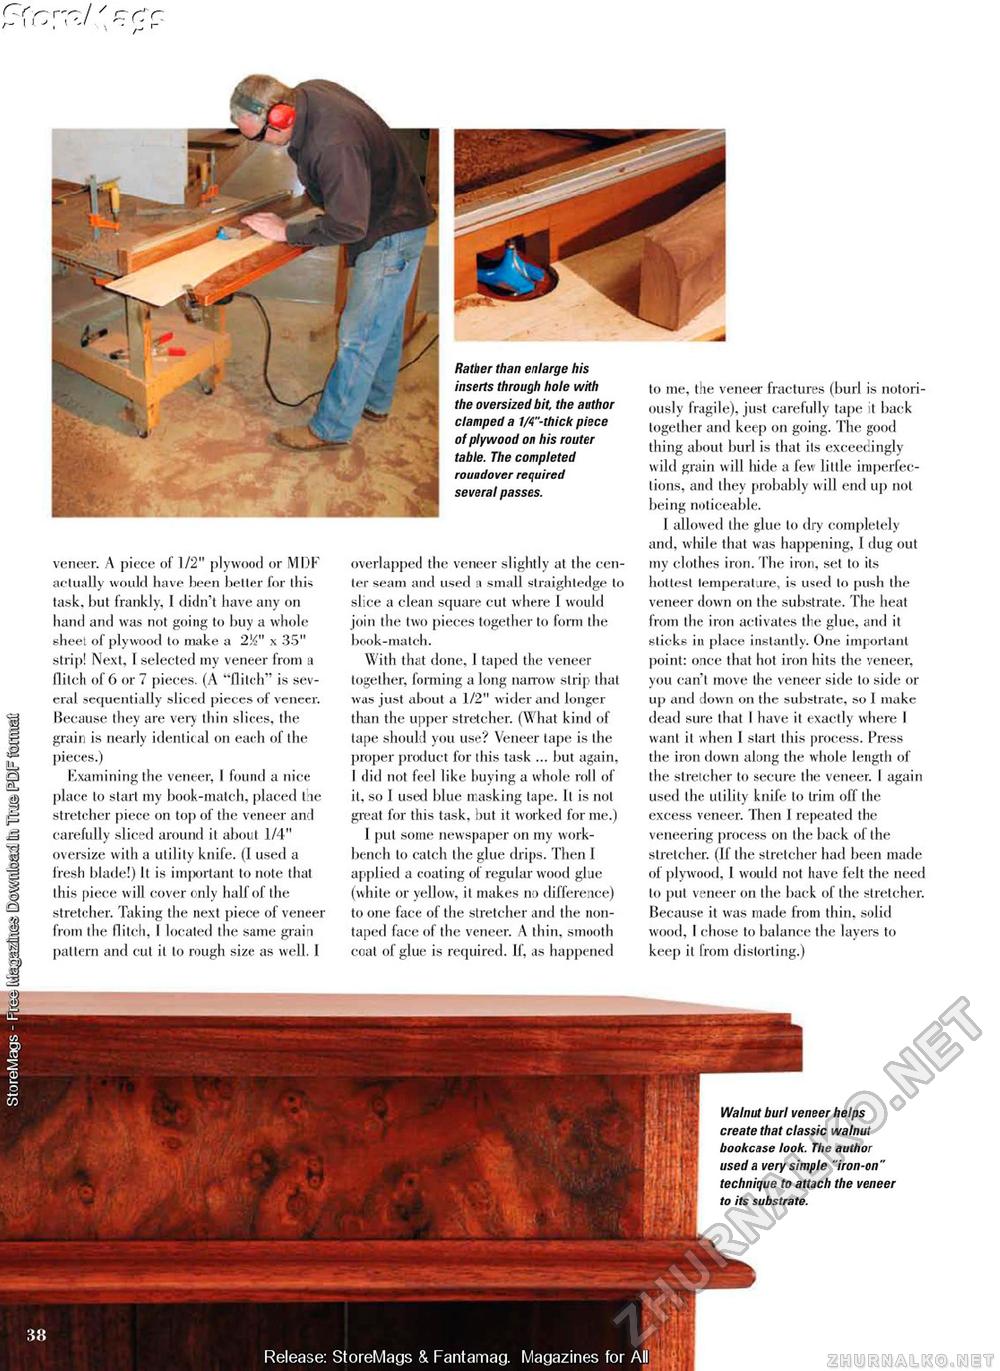
veneer. A piece of 1/2" plywood or MDF actually would have been better for this task, but frankly, 1 didn't have any on hand and was not going to buy a whole sheet of plywood to make a 2J4" x 35" strip! Next, 1 selected my veneer from a flitch of 6 or 7 pieces. (A "flitch" is several sequentially sliccd pieccs of veneer. Because they are very thin slices, the grain is nearly identical on each of the pieces.) Examining the veneer, I found a nice place to start my book-match, placed the stretcher piece on top of the veneer and carefully sliced around it about 1/4" oversize with a utility knife. (1 used a fresh blade!) It is important to note that this piece will cover only half of the stretcher. Taking the next piece of veneer from the flitch, I located the same grain pattern and cut it to rough size as well. 1 Rather than enlarge his inserts through hole with the oversized bit, the author clamped a 1/4"-thick piece of plywood on his router table. The completed roundover required several passes. overlapped the veneer slightly at the center seam and used a small straightedge to slice a clean square cut where 1 would join the two pieces together to form the book-match. With that done, 1 taped the veneer together, forming a long narrow strip that was just about a 1/2" wider and longer than the upper stretcher. (What kind of tape should you use? Veneer tape is the proper product for this task ... but again. I did not feel like buying a whole roll of it, so I used blue masking tape. It is not great for this task, hut it worked for me.) I put some newspaper on my workbench to catch the glue drips. Then 1 applied a coating of regular wood glue (white or yellow, it makes no difference) to one face of the stretcher and the non-taped face of the veneer. A thin, smooth coat of glue is required. If, as happened to me, the veneer fractures (burl is notoriously fragile), just carefully tape it back together and keep on going. The good thing about burl is that its exceedingly wild grain will hide a few little imperfections, and they probably will end up not being noticeable. 1 allowed the glue to dry completely and, while that was happening, 1 dug out my clotlies iron. The iron, set to its hottest temperature, is used to push the veneer down on the substrate. The heat from the iron activates the glue, and it sticks in place instantly. One important point: once that hot iron hits the veneer, you can't move the veneer side to side or up and down on the substrate, so 1 make dead sure that I have it exactly where I want it when 1 start this process. Press the iron down along the whole length of the stretcher to secure the veneer. I again used the utility knife to trim off the excess veneer. Then 1 repeated the veneering process on the back of the stretcher. (If the stretcher had been made of plywood, 1 would not have felt the need to put veneer on the back of the stretcher. Because it was made from thin, solid wood, I chose to balance the layers to keep it from distorting.) |


