Woodworker's Journal 2011-35-1, страница 41
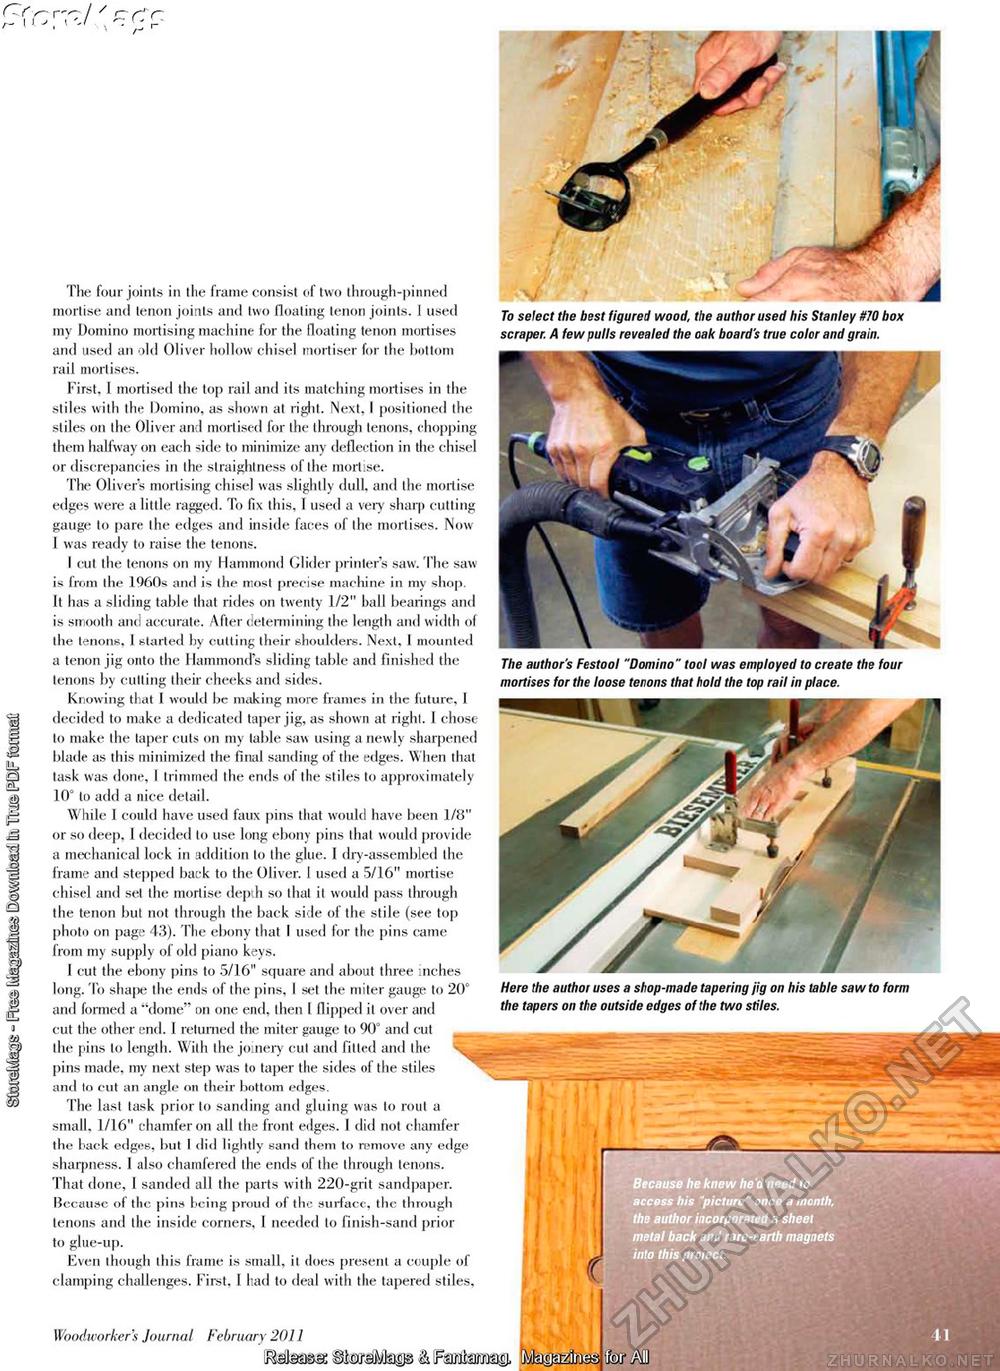
(Zf-r- ! / r'r" The four joints in the frame consist of two through-pinned mortise and tenon joints and two floating tenon joints. 1 used my Domino mortising machine for the floating tenon mortises and used an old Oliver hollow chisel mortiser for the bottom rail mortises. First, 1 mortised the top rail and its matching mortises in the stiles with the Domino, as shown at right* Next, I positioned the stiles on the Oliver and mortised for the through tenons, chopping them halfway on each side to minimize any deflection in the chisel or discrepancies in the straightness of the mortise. The Oliver's mortising chisel was slightly dull, and the mortise edges were a little ragged. To fix this, 1 used a very sharp cutting gauge to pare the edges and inside faces of the mortises. Now 1 was ready to raise the tenons. I cut the tenons on my Hammond Glider printer's saw. The saw is from the 1960s and is the most precise machine in my shop. It has a sliding table that rides on twenty 1/2" ball bearings and is smooth and accurate. After determining the length and width of the tenons, 1 started by cutting their shoulders. Next, 1 mounted a tenon jig onto the Hammond's sliding table and finished the tenons by cutting their cheeks and sides. Knowing that 1 would be making more frames in the future, 1 decided to make a dedicated taper jig, as shown at right. 1 chose to make the taper cuts on my table saw using a newly sharpened blade as this minimized the final sanding of the edges. When that task was done, I trimmed the ends of the stiles to approximately 10° to add a nice detail. While 1 could have used faux pins that would have been 1/8" or so deep, 1 decided to use long ebony pins that would provide a mechanical lock in addition to the glue. I dry-assembled the frame and stepped back to the Oliver. 1 used a 5/16" mortise chisel and set the mortise depth so that it would pass through the tenon but not through the back side of the stile (see top photo on page 43). The ebony that I used for the pins came from my supply of old piano keys. 1 cut the ebony pins to 5/16" square and about three inches long. To shape the ends of the pins, I set the miter gauge to 20° and formed a "dome" on one end, then I flipped it over and cut the other end. 1 returned the miter gauge to 90" and cut__ the pins to length. With the joinery cut and fitted and the \ j pins made, my next step was to taper the sides of the stiles and to cut an angle on their bottom edges. The last task prior to sanding and gluing was to rout a small, 1/16" chamfer on all the front edges. 1 did not chamfer the back edges, but I did lightly sand them to remove any edge sharpness. I also chamfered the ends of the through tenons. That done, 1 sanded all the parts with 220-grit sandpaper. Because of the pins being proud of the surfacc, the through tenons and the inside corners, 1 needed to finish-sand prior to glue-up. Even though this frame is small, it does present a couple of clamping challenges. First, I had to deal with the tapered stiles, Woodworker's Journal February 2011 jMaaaa: & FSMms© To select the best figured wood, the author used his Stanley #70 box scraper. A few pulls revealed the oak board's true color and grain. The author's Festool "Domino " tool was employed to create the four mortises for the loose tenons that hold the top rail in place. Here the author uses a shop-made tapering jig on his table saw to form the tapers on the outside edges of the two stiles. Because he knew he d need to access his "picture" once a month, the author incorporated a sheet metal back and rare-earth magnets into this project. 15 |


