Woodworker's Journal 2011-35-1, страница 39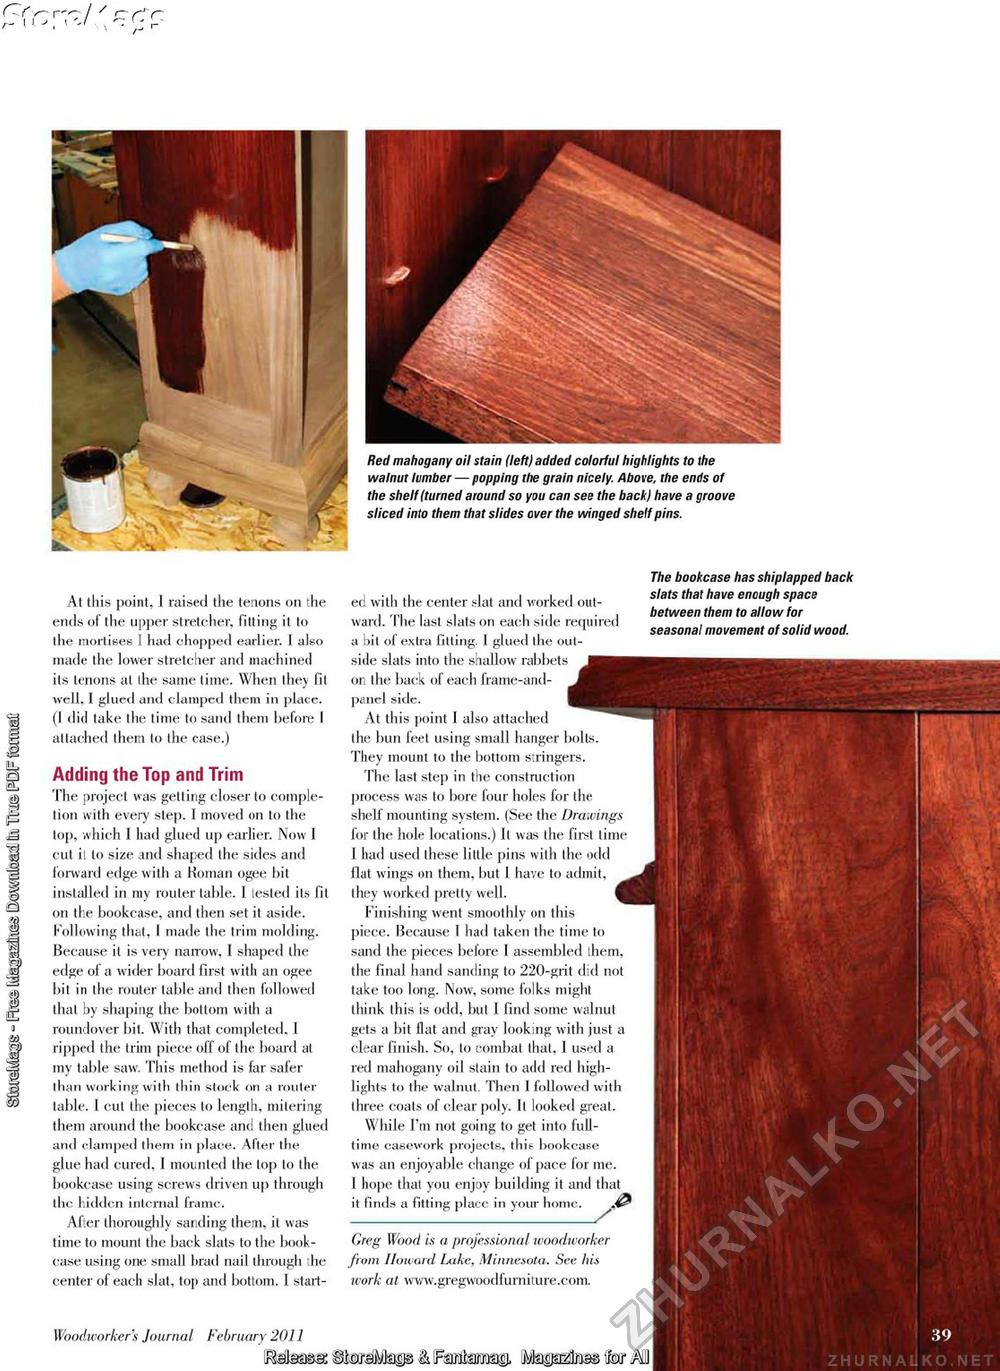
CZf r"^ / / r* At this point. 1 raised the tenons on the ends of the upper stretcher, fitting it to the mortises 1 had chopped earlier. 1 also made the lower stretcher and machined its tenons at the same time. When they fit well, 1 glued and clamped them in place. (I did take the time to sand them before I attached them to the case.) Adding the Top and Trim The project was getting closer to completion with every step. I moved on to the top, which I had glued up earlier. Now I cut it to size and shaped the sides and forward edge with a Koman ogee bit installed in ray router table. 1 tested its fit on the bookcase, and then set it aside. Following that, I made the trim molding. Because it is very narrow, I shaped the edge of a wider board first with an ogee bit in the router table and then followed that by shaping the bottom with a roundover bit. With that completed, 1 ripped the trim piece off of the board at my table saw. This method is far safer than working with thin stock on a router table. 1 cut the pieces to length, mitering them around the bookcase and then glued and elamped them in place. After the glue had cured, 1 mounted the top to the bookcase using screws driven up through the hidden internal frame. After thoroughly sanding them, it was time to mount the back slats to the bookcase using one small brad nail through :he center of each slat, top and bottom. I start Red mahogany oil stain (left) added colorful highlights to the walnut lumber — popping the grain nicely. Above, the ends of the shelf (turned around so you can see the back) have a groove sliced into them that slides over the winged shelf pins. ed with the center slat and worked outward. The last slats on each side required a bit of extra lilting. 1 glued the outside slats into the shallow rabbets on the back of each frame-and-panel side. At this point 1 also attached the bun feet using small hanger bolts. They mount to the bottom stringers. The last step in the construction process was to bore four holes for the shelf mounting system. (See the Drawings for the hole locations.) It was the first time 1 had used these litlle pins with the odd flat wings on them, but 1 have to admit, they worked pretty well. Finishing went smoothly on this piece. Because I had taken the time to sand the pieces before 1 assembled them, the final hand sanding to 220-grit did not take too long. Now, some folks might think this is odd, but I find some walnut gets a bit flat and gray looking with just a clear finish. So, to combat that. 1 used a red mahogany oil stain to add red highlights to the walnut. Then 1 followed with three coats of clear poly. It looked great. While I'm not going to get into full-time casework projects, this bookcase was an enjoyable change of pace for me. 1 hope that you enjoy building it and that it finds a fitting place in your home The bookcase has shiplapped back slats that have enough space between them to allow for seasonal movement of solid wood. Wood is a professional woodworker from Howard Lake, Minnesota. See his work at www.gregwoodfurniture.com. Woodworker 's Journal February 2011 jMaasa: BlwSMgs & [FSMms© (fetapA^teMI |


