Woodworker's Journal 2011-35-1, страница 40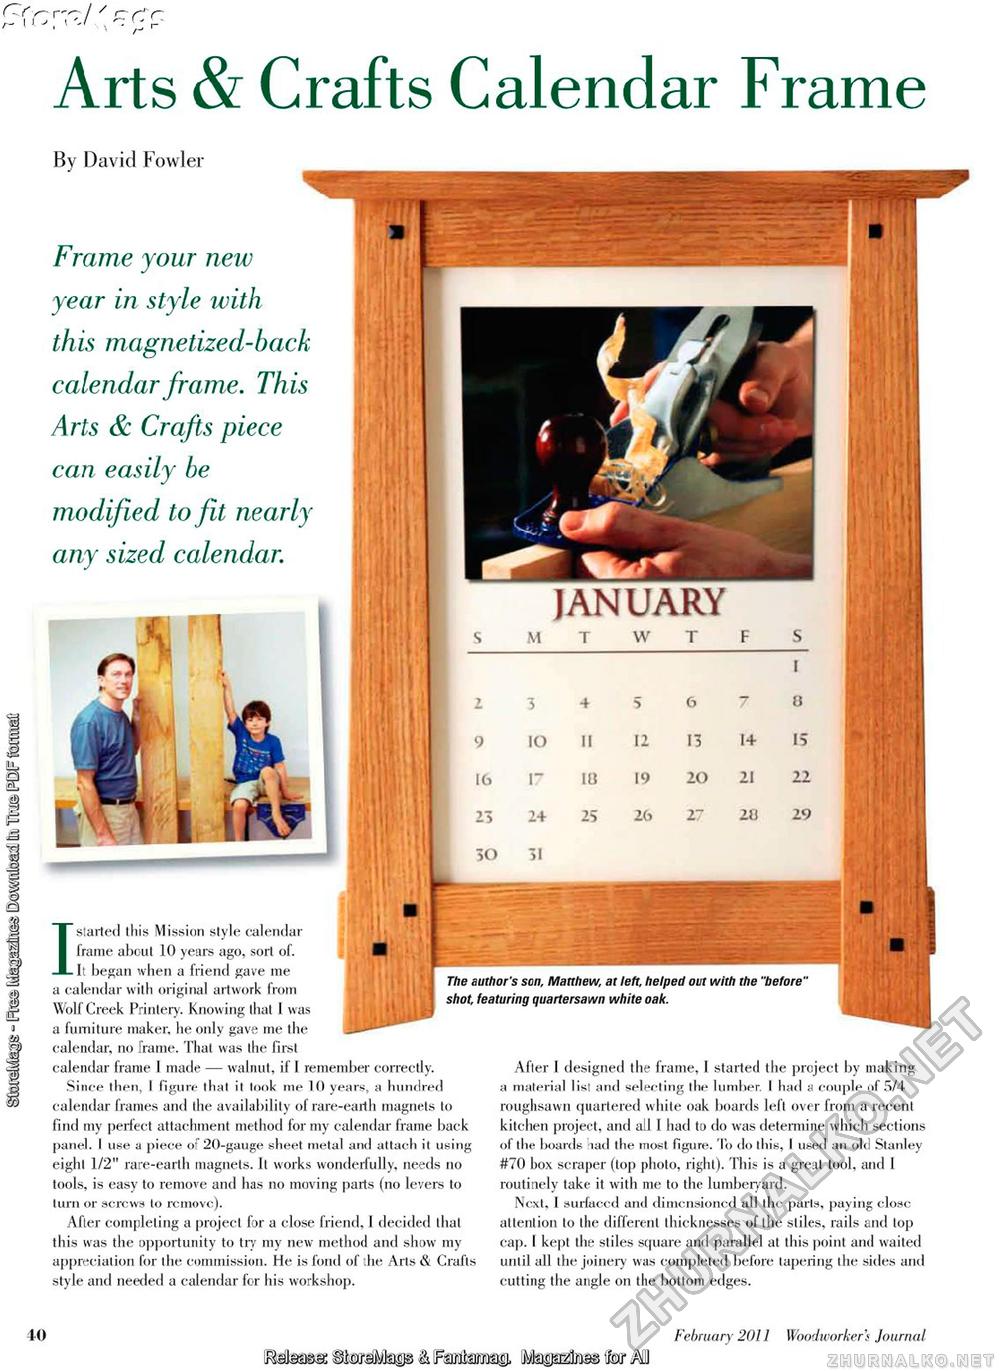
—/ 'Cr. Arts & Crafts Calendar Frame Bv David Fowler Frame your new year in style with this magnetized-back calendar frame. This Arts & Crafts piece can easily be modified to fit nearly any sized calendar. i 1 > ■spmr JANUARY M T W T F S
I started this Mission style calendar frame about 10 years ago, sort of. . H: It began when a friend gave me a calendar with original artwork from Wolf Creek Printer). Knowing that I was a furniture maker, he only gave me the calendar, no frame. That was the first calendar frame I made — walnut, if 1 remember correctly. Since then, I figure that it look me 10 years, a hundred calendar frames and the availability of rare-earth magnets to find my perfect attachment method for my calendar frame back panel. I use a piece of 20-gauge sheet metal and attach it using eight 1/2" rare-earth magnets. It works wonderfully, needs no tools, is easy to remove and has no moving parts (no levers to turn or screws to remove). After completing a project for a close friend, 1 decided that this was the opportunity to try my new method and show my appreciation for the commission. He is fond of the Arts & Crafts style and needed a calendar for his workshop. The author's son, Matthew, at left, helped out with the "before" shot, featuring quartersawn white oak. After I designed the frame, 1 started the project by making a material list and selecting the lumber. I had a couple of 5/4 roughsawn quartered white oak boards left over from a recent kitchen project, and all I had to do was determine which sections <>l the boards had the most figure, 'lb do this, I used an old Stanley #70 box scraper (top photo, right). This is a great tool, and 1 routinely take it with me to the lumberyard. Next, I surfaced and dimensioned all the parts, paying close attention to the different thicknesses of the stiles, rails and lop cap. I kept the stiles square and parallel at this point and waited until all the joinery was completed before tapering the sides and cutting the angle on the bottom edges. 40 February 2011 Woodworkers Journal JMaasa: ii^aVkus & [Fsmtas© Map^tetorMI |


