Woodworker's Journal 2011-35-1, страница 34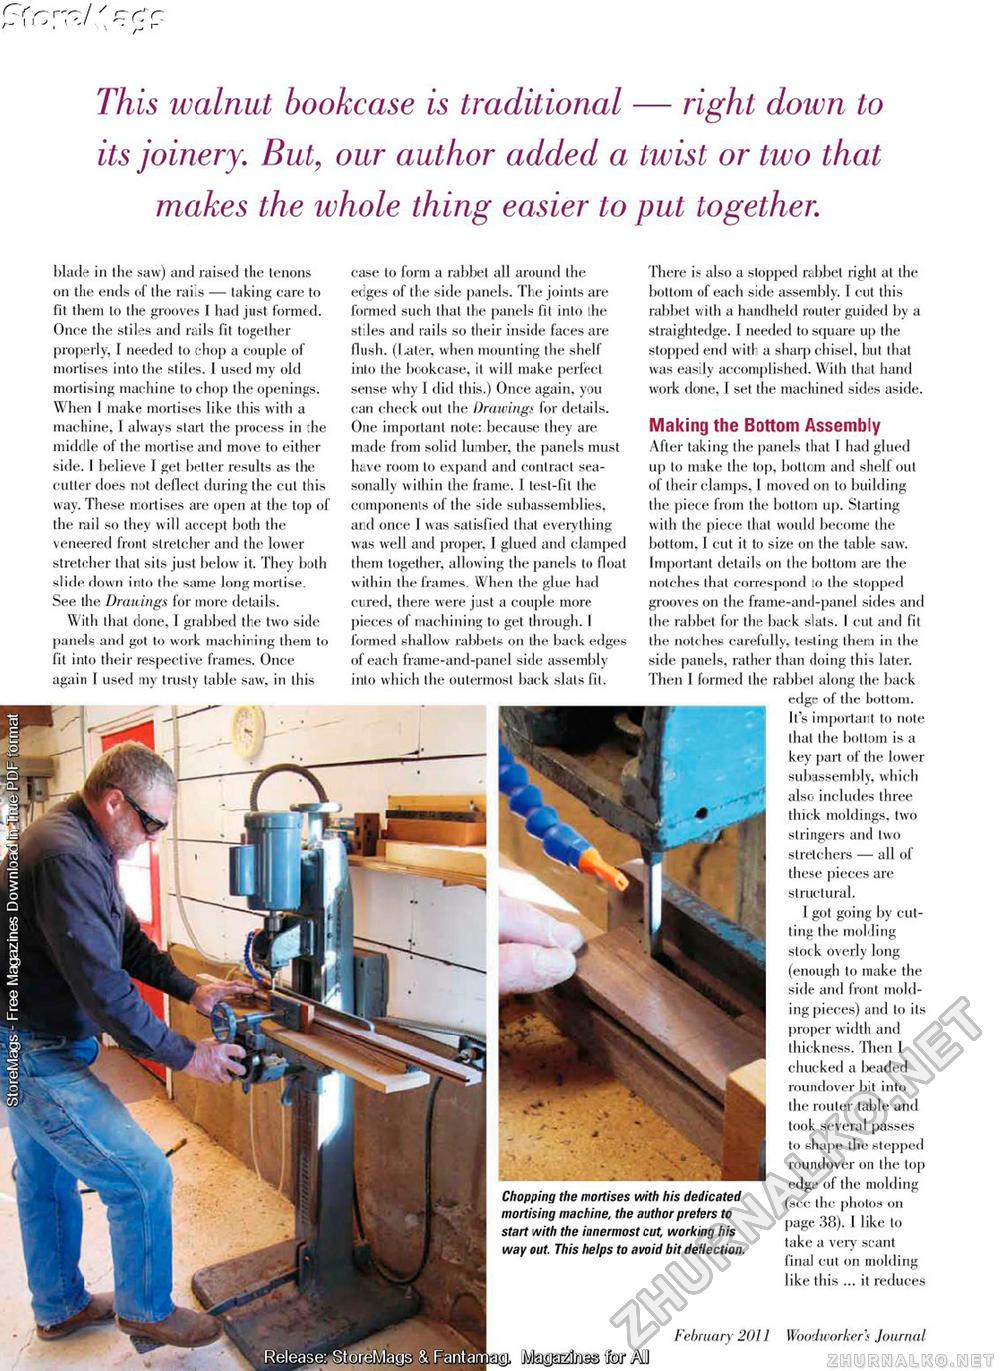
r 77/ ' ^C'n . •. ■ ^ r- This walnut bookcase is traditional — right down to its joinery. But, our author added a twist or two that makes the whole thing easier to put together. February 2011 SO, iMiip^ta to* Ml case to form a rabbet all around the edges of the side panels. The joints are formed such that the panels fit into the stiles and rails so their inside faces are flush, (l-ater, when mounting the shelf into the bookcase, it will make perfect sense why 1 did this.) Once again, you can check out the Drawing& for details. One important note: because they are made from solid lumber, the panels must have room to expand and contract seasonally within the frame. 1 test-fit the components of the side subassemblies, and once 1 was satisfied that everything was well and proper, 1 glued and clamped them together, allowing the panels to float within the frames. When the glue had cured, there were just a couple more pieces of machining to get through. I formed shallow rabbets on the back edges of each frame-and-panel side assembly into which the outermost back slats fit. Chopping the mortises with his dedicated mortising machine, the author prefers to start with the innermost cut: working his way out. This helps to avoid bit deflection. There is also a stopped rabbet right at the bottom of each side assembly. 1 cut this rabbet with a handheld router guided by a straightedge. 1 needed to square up the stopped end with a sharp chisel, hut that was easily accomplished. With that hand work done, 1 set the machined sides aside. Making the Bottom Assembly After taking the panels that I had glued up to make the top, bottom and shelf out of their clamps, 1 moved on to building the piece from the bottom up. Starting with the piece that would become the bottom, 1 cut it to size on the table saw. Important details on the bottom are the notches that correspond to the stopped grooves on the frame-and-panel sides and the rabbet for the back slats. I cut and fit the notches carefully, testing them in the side panels, rather than doing this later. Then 1 formed the rabbet along the back edge of the bottom. It's important to note that the bottom is a key pail of the lower subassembly, which also includes three thick moldings, two stringers and two stretchers — all of these pieces are structural. 1 got going by cutting the molding stock overly long (enough to make the side and front molding pieces) and to its proper width and thickness. Then 1 chucked a beaded roundover bit into the router table and took several passes to shape the stepped roundover on the top edge of the molding (see the photos on page 38). I like to take a very scant final cut 011 molding like this ... it reduces blade in the saw) and raised the tenons on the ends of the rails — taking care to fit them to the grooves I had just formed. Once the stiles and rails fit together properly, I needed to chop a couple of mortises into the stiles. 1 used my old mortising machine to chop the openings. When I make mortises like this with a machine, 1 always start the process in the middle of the mortise and move to either side. I believe I get better results as the cutter does not deflect during the cut this way. These mortises are open at the top of the rail so they will accept both the veneered front stretcher and the lower stretcher that sits just below it. They bsth slide down into the same long mortise. See the Drawings for more details. With that done, 1 grabbed the two side panels and got to work machining them to fit into their respective frames. Once again 1 used my trusty table saw, in this Woodworker 's Journal |


