Woodworker's Journal fall-2008, страница 26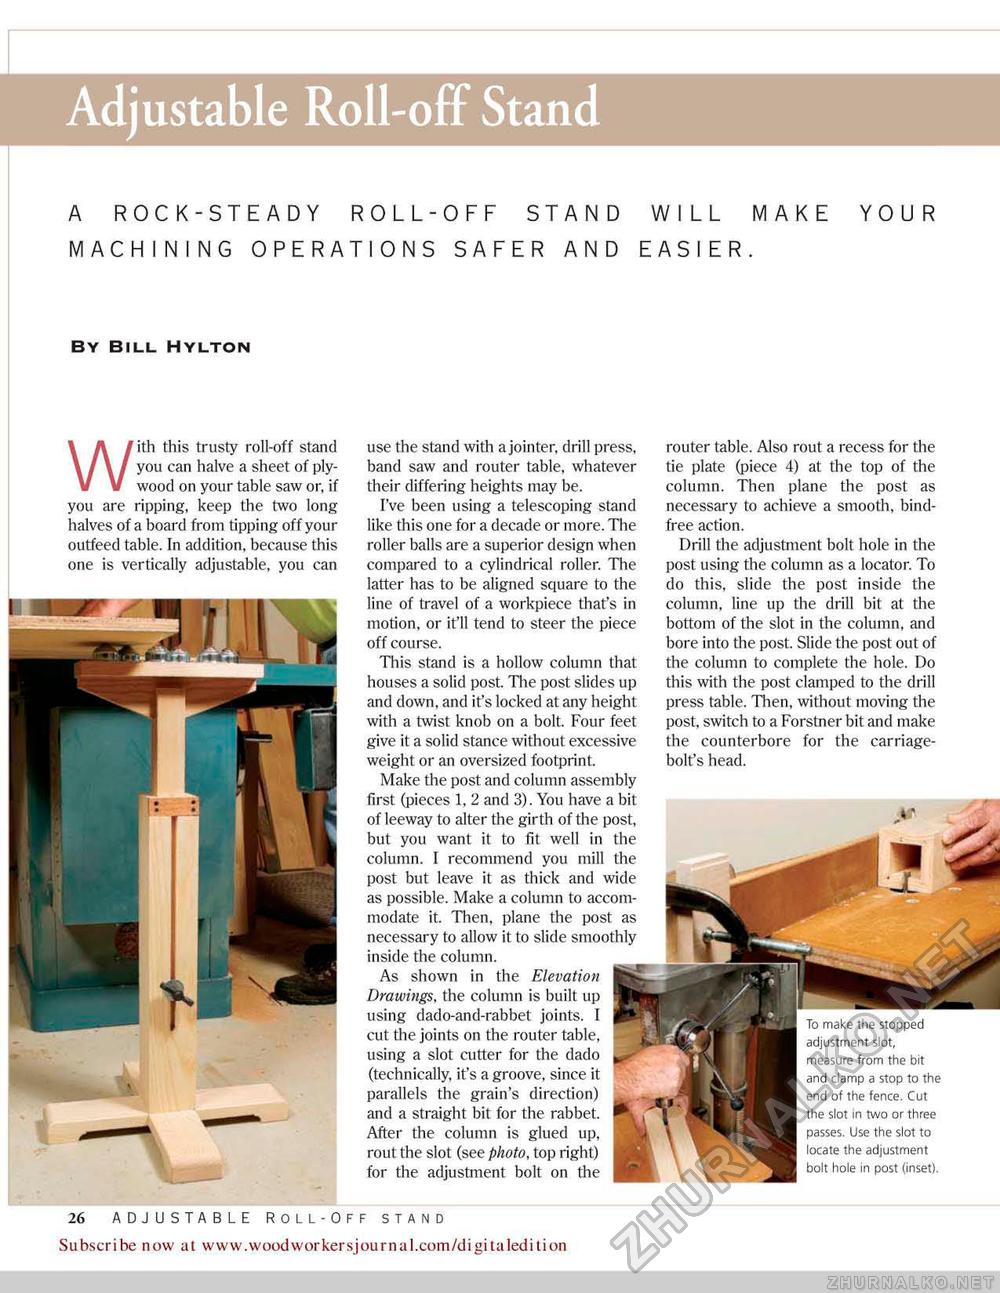
Adjustable Roll-off Stand will make your EASIER. By Bill. Hylton a rock-steady roll-off stand machining operations safer and With this trusty roll-off stand you can halve a sheet of plywood on your table saw or, if you are ripping, keep the two long halves of a board from tipping off your outfeed table. In addition, because this one is vertically adjustable, you can use the stand with a jointer, drill press, band saw and router table, whatever their differing heights may be. I've been using a telescoping stand like this one for a decade or more. The roller balls are a superior design when compared to a cylindrical roller. The latter has to be aligned square to the line of travel of a workpiece that's in motion, or it'll tend to steer the piece off course. This stand is a hollow column that houses a solid post. The post slides up and down, and it's locked at any height with a twist knob on a bolt. Four feet give it a solid stance without excessive weight or an oversized footprint. Make the post and column assembly first (pieces 1, 2 and 3). You have a hit of leeway to alter the girth of the post, but you want it to fit well in the column. I recommend you mill the post but leave it as thick and wide as possible. Make a column to accommodate it. Then, plane the post as necessary to allow it to slide smoothly inside the column. As shown in the Elevation Drawings, the column is built up using dado-and-rabbet joints. I cut the joints on the router table, using a slot cutter for the dado (technically, it's a groove, since it parallels the grain's direction) and a straight bit for the rabbet. After the column is glued up, rout the slot (see photo, top right) for the adjustment bolt on the To make the stopped adjustment slot, measure from the bit and clamp a stop to the end of the fence. Cut the slot in two or three passes. Use the slot to locate the adjustment bolt hole in post (inset). router table. Also rout a recess tor the tie plate (piece 4) at the top of the column. Then plane the post as necessary to achieve a smooth, bind-free action. Drill the adjustment bolt hole in the post using the column as a locator. To do this, slide the post inside the column, line up the drill bit at the bottom of the slot in the column, and bore into the post. Slide the post out of the column to complete the hole. Do this with the post clamped to the drill press table. Then, without moving the post, switch to a Forstner bit and make the counterbore for the carriage-bolt's head. 26 ArtS & CRAFtS STYLE SiDE TABLE Subscribe now at www.woodworkersjournal.com/digitaledition |


