Creative Woodworks & crafts 2000-03, страница 98
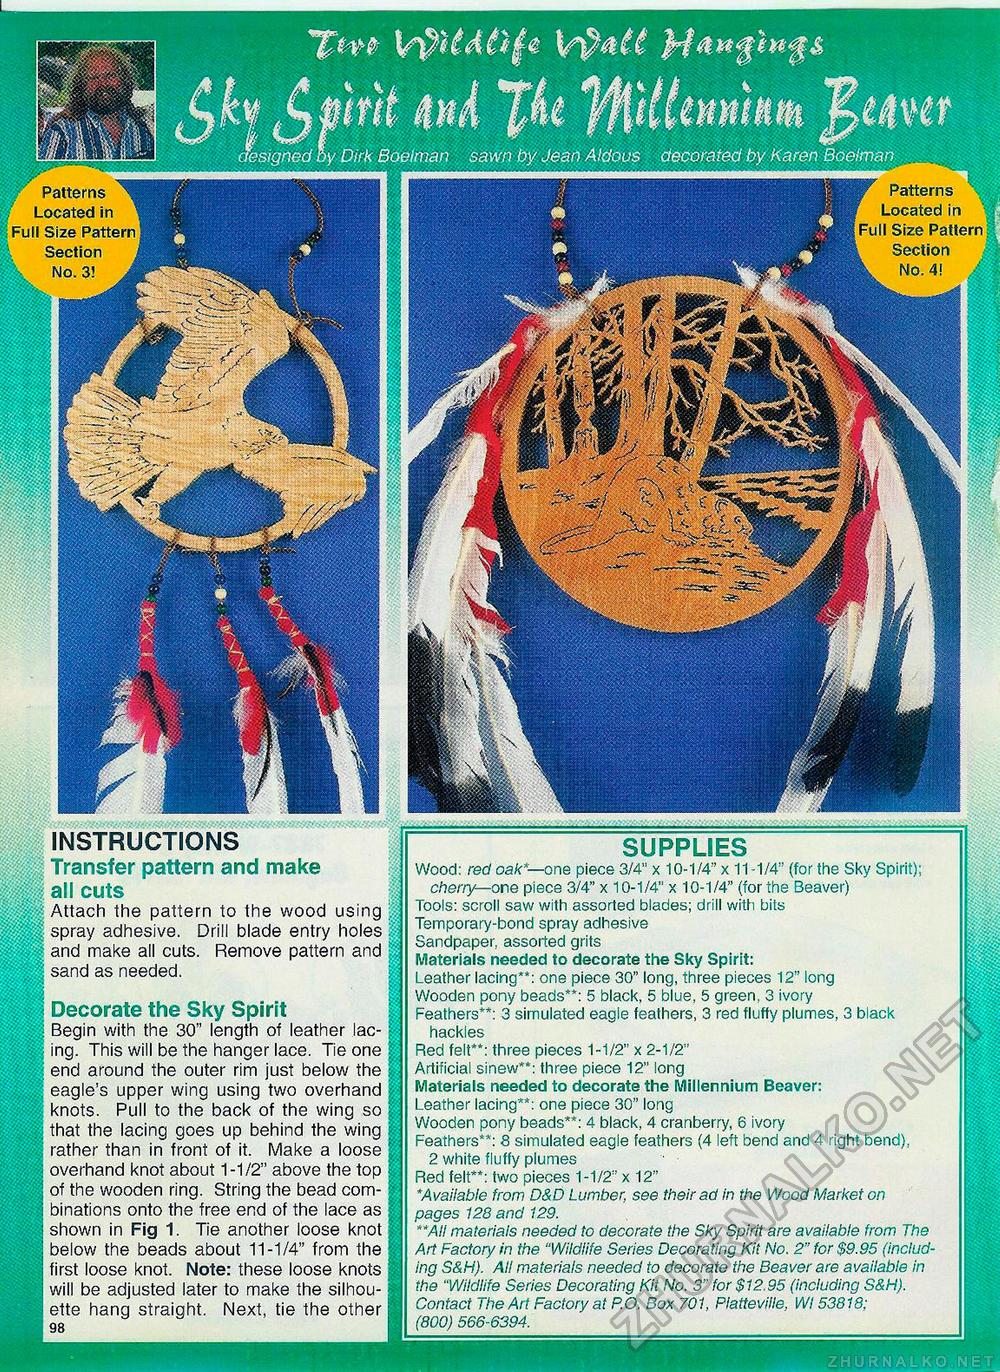
W Patterns ^ ■ Located in Full Size Pattern i Section L No. 4! J W Patterns ^ Located in ' Full Size Pattern Section j k No. 3! A INSTRUCTIONS Transfer pattern and make all cuts Attach the pattern to the wood using spray adhesive. Drill blade entry holes and make all cuts. Remove pattern and sand as needed. SUPPLIES Wood: red oak"—one piece 3/4" x 10-1/4" x 11-1/4" (for the Sky Spirit); cherry— one piece 3/4" x 10-1/4" x 10-1/4" (for the Beaver) Tools: scroll saw with assorted blades; drill with bits Temporary-bond spray adhesive Sandpaper, assorted grits Materials needed to decorate the Sky Spirit: Leather lacing**: one piece 30" long, three pieces 12" long Wooden pony beads**: 5 black, 5 blue, 5 green, 3 ivory Feathers**: 3 simulated eagle feathers, 3 red fluffy plumes, 3 black hackles Red felt**: three pieces 1-1/2" x 2-1/2" Artificial sinew**: three piece 12" long Materials needed to decorate the Millennium Beaver: Leather lacing'**: one piece 30" long Wooden pony beads**: 4 black, 4 cranberry, 6 ivory Feathers**: 8 simulated eagle feathers (4 left bend and 4 right bend), 2 white fluffy plumes Red felt**: two pieces 1-1/2" x 12" *Available from D&D Lumber, see their ad in the Wood Market on pages 128 and 129. "All materials needed to decorate the Sky Spirit are available from The Art Factory in the "Wildlife Series Decorating Kit No. 2" for $9.95 (including S&H). All materials needed to decorate the Beaver are available in the "Wildlife Series Decorating Kit No. 3" for $12.95 (including S&H). Contact The Art Factory at P.O. Box 701. Piatteviile, Wl 53818; (800) 566-6394. Decorate the Sky Spirit Begin with the 30" length of leather lacing. This will be the hanger lace. Tie one end around the outer rim just below the eagle's upper wing using two overhand knots. Pull to the back of the wing so that the lacing goes up behind the wing rather than in front of it. Make a loose overhand knot about 1-1/2" above the top of the wooden ring. String the bead combinations onto the free end of the lace as shown in Fig 1. Tie another loose knot below the beads about 11-1/4" from the first loose knot. Note: these loose knots will be adjusted later to make the silhouette hang straight. Next, tie the other 98 |


