Creative Woodworks & crafts 2005-04, страница 65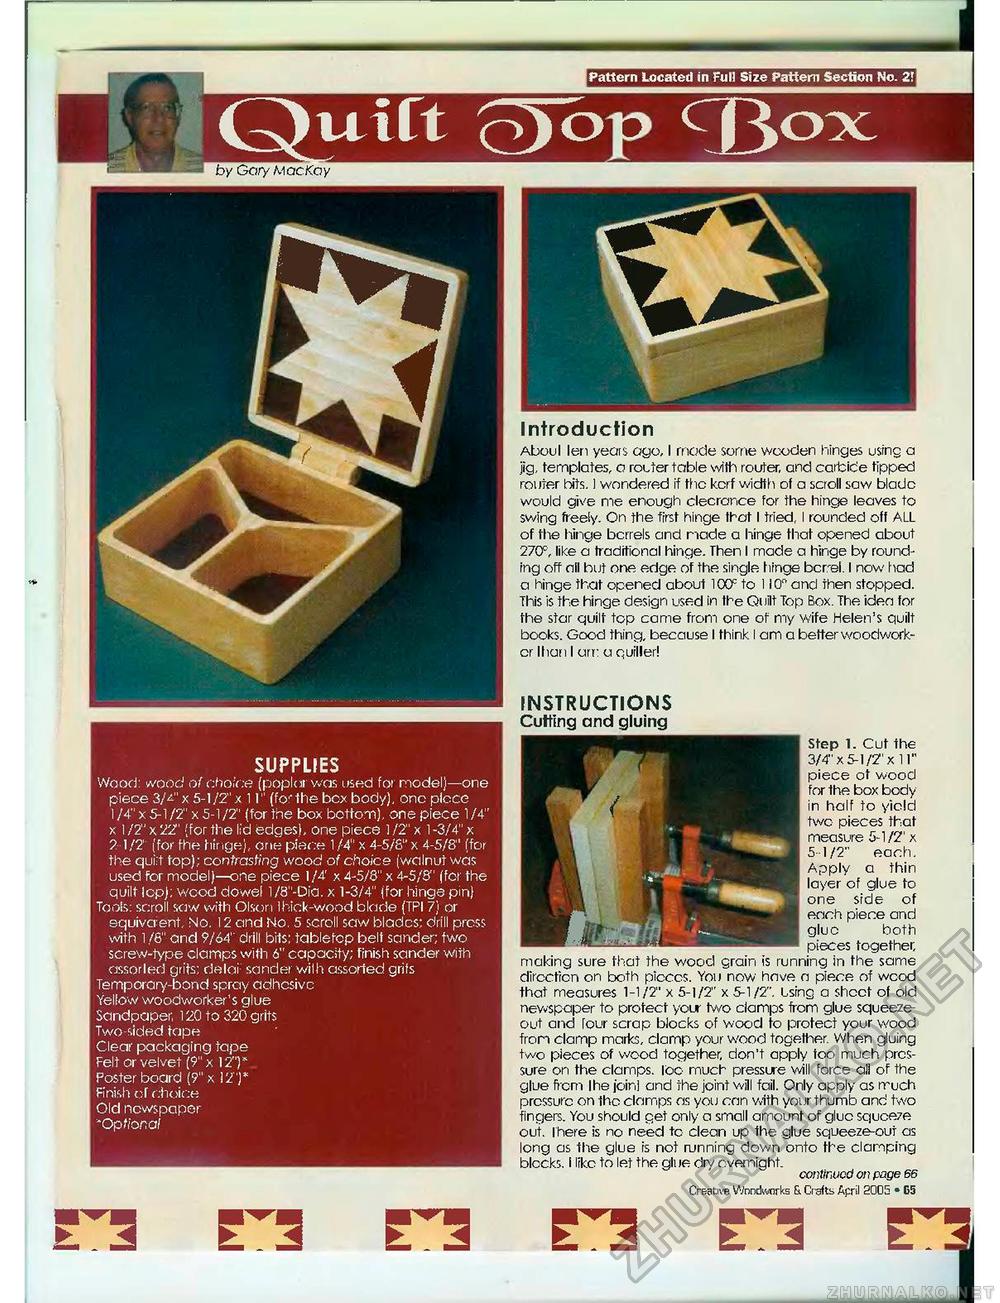
Pattern Located in Full Size Pattern Section No. 2! u i ft q)°P cDq:x: SUPPUES Wood: wood of choice (poplar was used for model)—one piece 3M" x 5-1 /2" x 11" (fo' the box body), one place 1 /4" x 5-1 /2" x 5-1 /2" (for the box bottom), one piece 1 /4" x 1 /2" x 22' (for the lid edges), one piece 1 /2" x 1 -3/4" x 2 1/2' (for fhe hinge), one piece 1 /4" x 4-5/8" x 4-5/8" (for the quilt top); contrasting wood of choice (walnut was used for model)—one piece 1/4' x 4-5/8" x 4-5/8" (for the quilt lop); wood dowel l/8"-Dia. x 1-3/4" (for hinge pin) Tools: scroll saw with Olson Ihick-wood blade (TPI 7) or equivalent, No, 12 and No. 5 scroll saw blades; drill press with 1 /S" and 9/64" drill bits: tablefcp belt sander; two screw-type clamps with 6" capacity; finish sander with assorled grits: deloi sander wilh assorted grits Temporary-bond spray adhesive Yellow woodworker's glue Sandpaper, 120 to 320 grits Two sided tape Clear packaging tape Felt or velvet (9"x 12T Poster board (9"x 12T Finish of choice Old newspaper 'Optional by Gary Mac. Kay Introduction Aboul len yeais ago, I mode some wooden hinges using a jig, templates, o router table with router, and carbide tipped router hits. 1 wondered if the kerf width ot a scroll saw blade would give me enough clecrance for the hinge leaves to swing freely. On the first hinge that I tried, I rounded off ALL of tlie hinge bcrrels and made a hinge that opened about 270°, like a traditional hinge. Then I made a hinge by rounding off all but one edge of the single hinge beret I now had a hinge that opened about 1OCF to 110" and then stopped. This is the hinge design used in the Quilt Top Box. The idea for the star quilt top came from one of my wife Helen's quilt books. Good thing, because I think I am a better woodworker llian I art: a quiiler! INSTRUCTIONS Cutting and gluing Step 1. Cut the 3/4" x 5-1/2' x 11" piece ot wood for the box body in half to yield two pieces that measure 5-1/2' x 5 1/2" each. Apply a thin layer of glue fo one side of each piece and glue both pieces together, making sure that the wood grain is running in the same direction on both picccs. You now have a piece of wood that measures 1-1/2" x 5-1/2" x 5-1 /2". Lsing a shoot of old newspaper to protect your two clamps from glue squeeze-out and four scrap blocks of wood to protect your wood from clamp mattes, clamp your wood together. When gluing two pieces of wood together, don't apply too much pressure on the clamps. 10c- much pressure will force all of the glue from ihe join] and the joint will fail. Only apply as rruch pressure on the clamps as you can with your thumb and two fingers. You should get only a small amount of glue squce?e out. there is no need tc clean up fhe glue squeeze-out as long as the glue is not running down onto the clamping blocks. I like to let the gli le dry overnight. continued on page 66 Creative WnnAwirks & Crafts April 2005 • G5 |


