Popular Woodworking 2002-06 № 128, страница 65
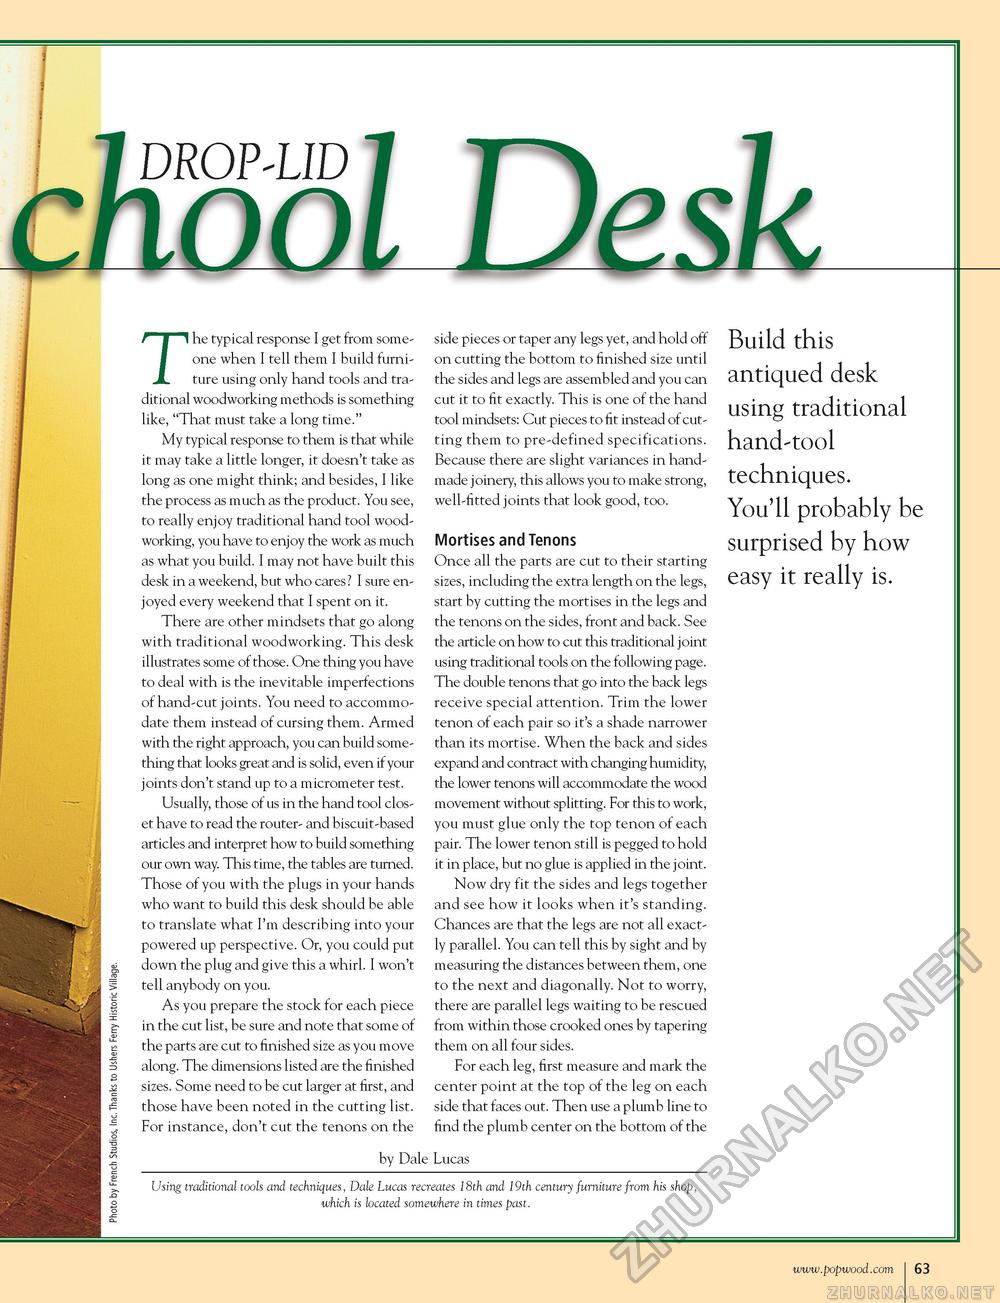
The typical response I get from someone when I tell them I build furniture using only hand tools and traditional woodworking methods is something like, "That must take a long time." My typical response to them is that while it may take a little longer, it doesn't take as long as one might think; and besides, I like the process as much as the product. You see, to really enjoy traditional hand tool woodworking, you have to enjoy the work as much as what you build. I may not have built this desk in a weekend, but who cares? I sure enjoyed every weekend that I spent on it. There are other mindsets that go along with traditional woodworking. This desk illustrates some of those. One thing you have to deal with is the inevitable imperfections of hand-cut joints. You need to accommodate them instead of cursing them. Armed with the right approach, you can build something that looks great and is solid, even if your joints don't stand up to a micrometer test. Usually, those of us in the hand tool closet have to read the router- and biscuit-based articles and interpret how to build something our own way. This time, the tables are turned. Those of you with the plugs in your hands who want to build this desk should be able to translate what I'm describing into your powered up perspective. Or, you could put down the plug and give this a whirl. I won't tell anybody on you. As you prepare the stock for each piece in the cut list, be sure and note that some of the parts are cut to finished size as you move along. The dimensions listed are the finished sizes. Some need to be cut larger at first, and those have been noted in the cutting list. For instance, don't cut the tenons on the side pieces or taper any legs yet, and hold off on cutting the bottom to finished size until the sides and legs are assembled and you can cut it to fit exactly. This is one of the hand tool mindsets: Cut pieces to fit instead of cutting them to pre-defined specifications. Because there are slight variances in handmade joinery, this allows you to make strong, well-fitted joints that look good, too. Mortises and Tenons Once all the parts are cut to their starting sizes, including the extra length on the legs, start by cutting the mortises in the legs and the tenons on the sides, front and back. See the article on how to cut this traditional joint using traditional tools on the following page. The double tenons that go into the back legs receive special attention. Trim the lower tenon of each pair so it's a shade narrower than its mortise. When the back and sides expand and contract with changing humidity, the lower tenons will accommodate the wood movement without splitting. For this to work, you must glue only the top tenon of each pair. The lower tenon still is pegged to hold it in place, but no glue is applied in the joint. Now dry fit the sides and legs together and see how it looks when it's standing. Chances are that the legs are not all exactly parallel. You can tell this by sight and by measuring the distances between them, one to the next and diagonally. Not to worry, there are parallel legs waiting to be rescued from within those crooked ones by tapering them on all four sides. For each leg, first measure and mark the center point at the top of the leg on each side that faces out. Then use a plumb line to find the plumb center on the bottom of the Build this antiqued desk using traditional hand-tool techniques. You'll probably be surprised by how easy it really is. by Dale Lucas Using traditional tools and techniques, Dale Lucas recreates 18th and 19th century furniture from his shop, which is located somewhere in times past. |


