Popular Woodworking 2004-06 № 141, страница 47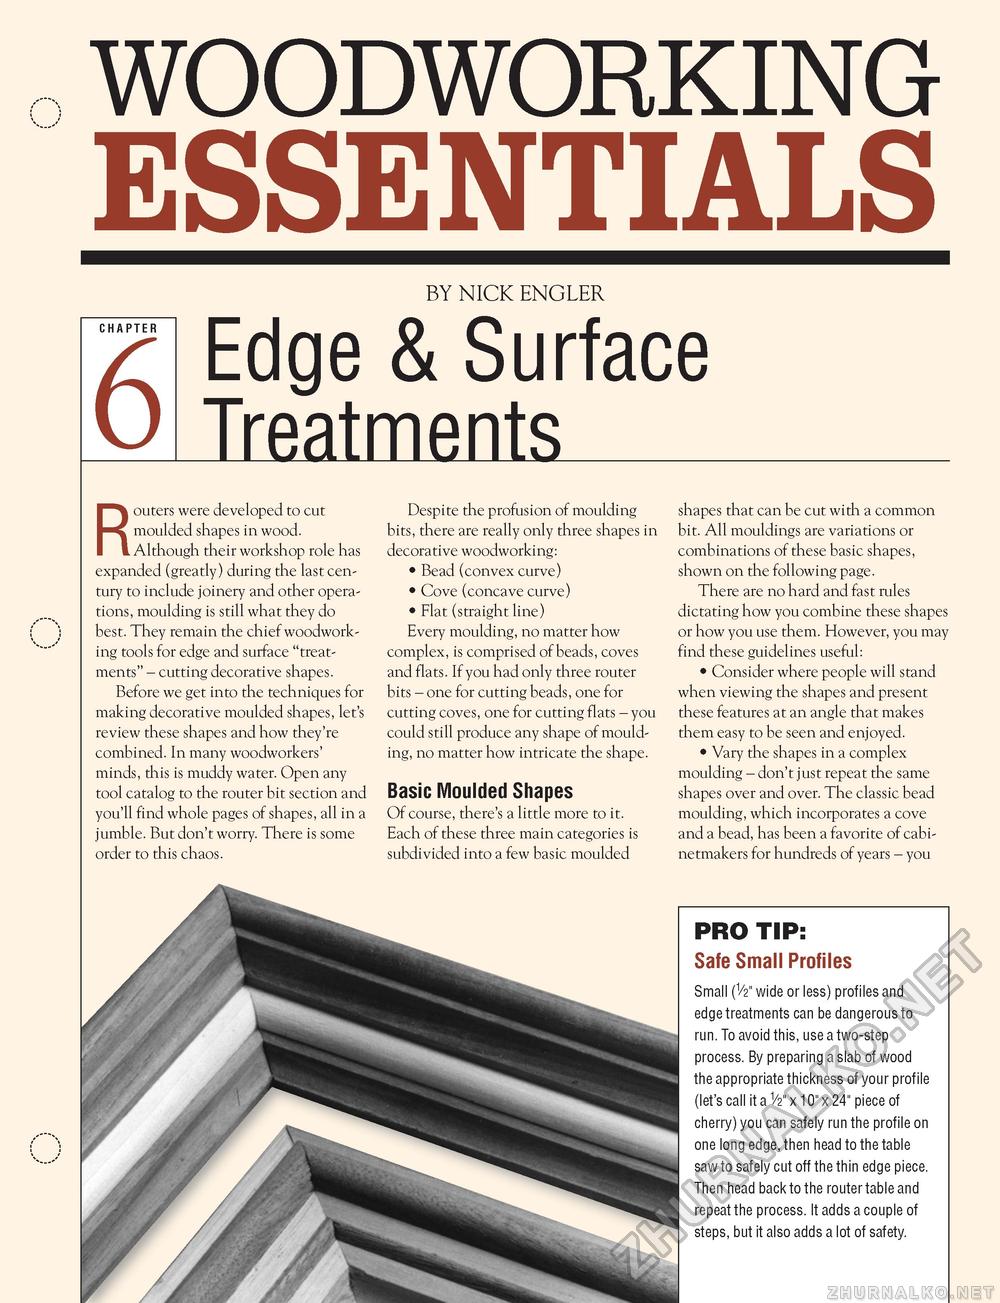
WOODWORKING ESSENTIALSBY NICK ENGLER Edge & SurfaceTreatmentsRouters were developed to cut moulded shapes in wood. Although their workshop role has expanded (greatly) during the last century to include joinery and other operations, moulding is still what they do best. They remain the chief woodworking tools for edge and surface "treatments" - cutting decorative shapes. Before we get into the techniques for making decorative moulded shapes, let's review these shapes and how they're combined. In many woodworkers' minds, this is muddy water. Open any tool catalog to the router bit section and you'll find whole pages of shapes, all in a jumble. But don't worry. There is some order to this chaos. Despite the profusion of moulding bits, there are really only three shapes in decorative woodworking: • Bead (convex curve) • Cove (concave curve) • Flat (straight line) Every moulding, no matter how complex, is comprised of beads, coves and flats. If you had only three router bits - one for cutting beads, one for cutting coves, one for cutting flats - you could still produce any shape of moulding, no matter how intricate the shape. Basic Moulded Shapes Of course, there's a little more to it. Each of these three main categories is subdivided into a few basic moulded shapes that can be cut with a common bit. All mouldings are variations or combinations of these basic shapes, shown on the following page. There are no hard and fast rules dictating how you combine these shapes or how you use them. However, you may find these guidelines useful: • Consider where people will stand when viewing the shapes and present these features at an angle that makes them easy to be seen and enjoyed. • Vary the shapes in a complex moulding - don't just repeat the same shapes over and over. The classic bead moulding, which incorporates a cove and a bead, has been a favorite of cabinetmakers for hundreds of years - you PRO TIP: Safe Small Profiles Small (1/2" wide or less) profiles and edge treatments can be dangerous to run. To avoid this, use a two-step process. By preparing a slab of wood the appropriate thickness of your profile (let's call it a 1/2" x 10" x 24" piece of cherry) you can safely run the profile on one long edge, then head to the table saw to safely cut off the thin edge piece. Then head back to the router table and repeat the process. It adds a couple of steps, but it also adds a lot of safety. |


