Popular Woodworking 2004-10 № 143, страница 95
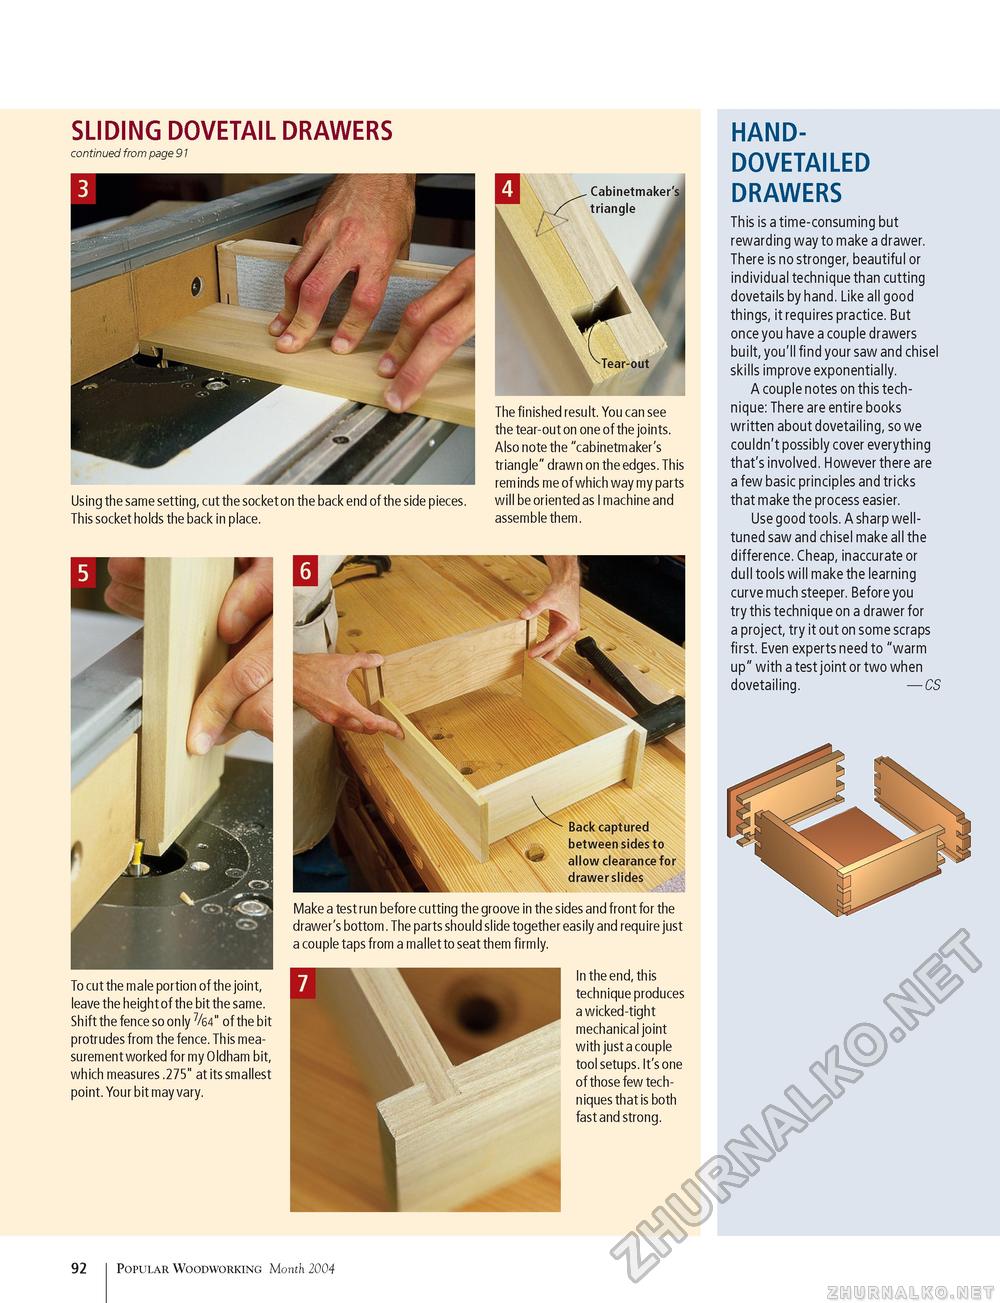
SLIDING DOVETAIL DRAWERS continued from page 91 Using the same setting, cut the socket on the back end of the side pieces. This socket holds the back in place. The finished result. You can see the tear-out on one of the joints. Also note the "cabinetmaker's triangle" drawn on the edges. This reminds me of which way my parts will be oriented as I machine and assemble them. To cut the male portion of the joint, leave the height of the bit the same. Shift the fence so only 7/64" of the bit protrudes from the fence. Th is measurement worked for my Oldham bit, which measures .275" at its smallest point. Your bit may vary. Back captured between sides to allow clearance for drawer slides Make a test run before cutting the groove in the sides and front for the drawer's bottom. The parts should slide together easily and require just a couple taps from a mallet to seat them firmly. In the end, this technique produces a wicked-tight mechanical joint with just a couple tool setups. It's one of those few techniques that is both fast and strong. HAND- DOVETAILED DRAWERS This is a time-consuming but rewarding way to make a drawer. There is no stronger, beautiful or individual technique than cutting dovetails by hand. Like all good things, it requires practice. But once you have a couple drawers built, you'll find your saw and chisel skills improve exponentially. A couple notes on this technique: There are entire books written about dovetailing, so we couldn't possibly cover everything that's involved. However there are a few basic principles and tricks that make the process easier. Use good tools. A sharp well-tuned saw and chisel make all the difference. Cheap, inaccurate or dull tools will make the learning curve much steeper. Before you try this technique on a drawer for a project, try it out on some scraps first. Even experts need to "warm up" with a test joint or two when dovetailing. — CS 92 Popular Woodworking October 2004 |


