Popular Woodworking 2005-04 № 147, страница 45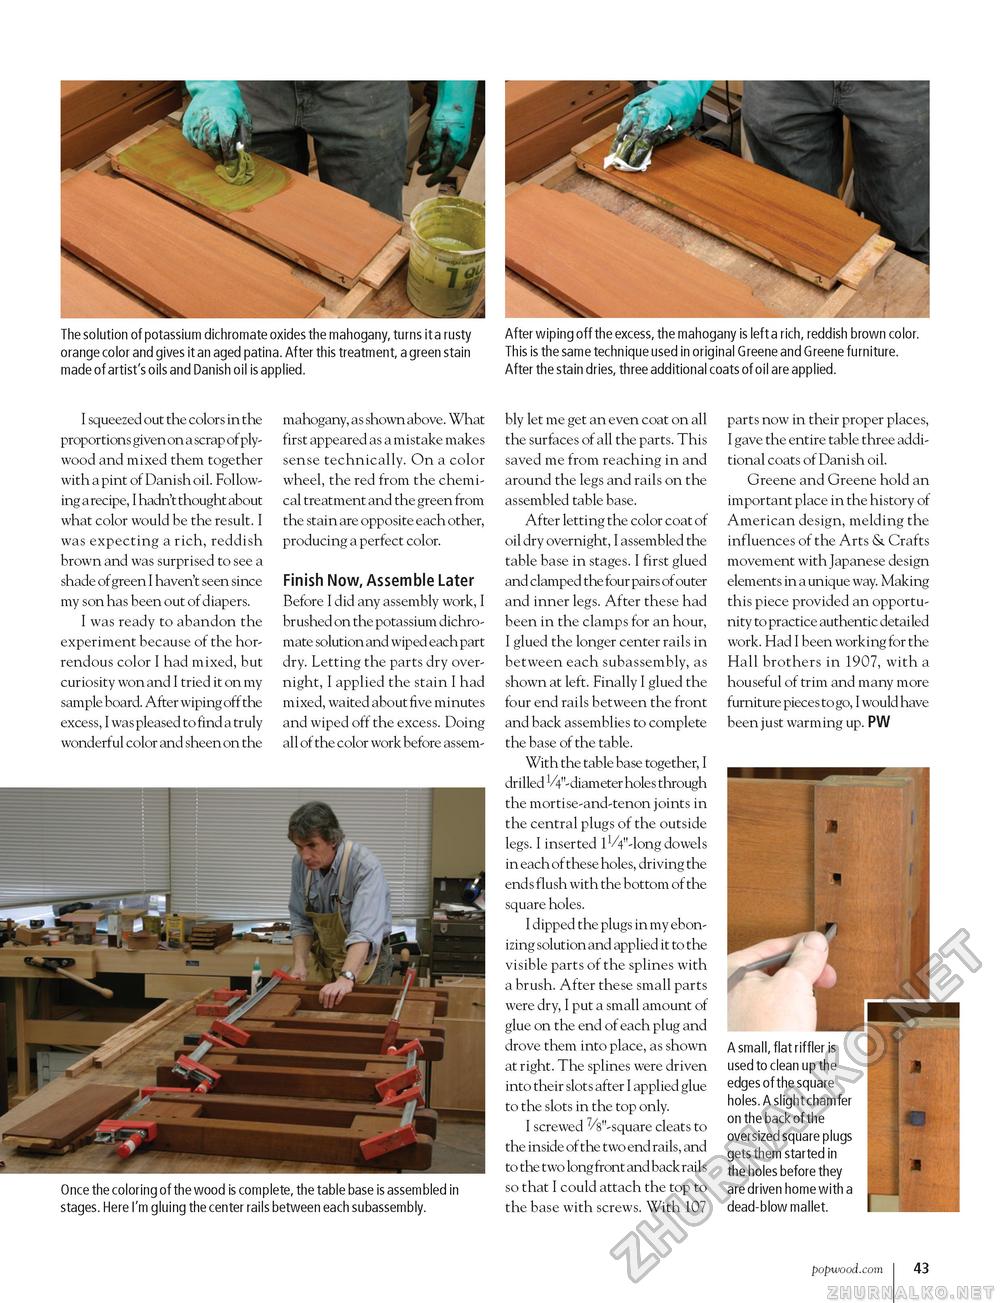
The solution of potassium dichromate oxides the mahogany, turns it a rusty After wiping off the excess, the mahogany is left a rich, reddish brown color. orange color and gives it an aged patina. After this treatment, a green stain This is the same technique used in original Greene and Greene furniture. made of artist's oils and Danish oil is applied. After the stain dries, three additional coats of oil are applied. I squeezed out the colors in the proportions given on a scrap of plywood and mixed them together with a pint of Danish oil. Following a recipe, I hadn't thought about what color would be the result. I was expecting a rich, reddish brown and was surprised to see a shade of green I haven't seen since my son has been out of diapers. I was ready to abandon the experiment because of the horrendous color I had mixed, but curiosity won and I tried it on my sample board. After wiping off the excess, I was pleased to find a truly wonderful color and sheen on the mahogany, as shown above. What first appeared as a mistake makes sense technically. On a color wheel, the red from the chemical treatment and the green from the stain are opposite each other, producing a perfect color. Finish Now, Assemble Later Before I did any assembly work, I brushed on the potassium dichro-mate solution and wiped each part dry. Letting the parts dry overnight, I applied the stain I had mixed, waited about five minutes and wiped off the excess. Doing all of the color work before assem- Once the coloring of the wood is complete, the table base is assembled in stages. Here I'm gluing the center rails between each subassembly. bly let me get an even coat on all the surfaces of all the parts. This saved me from reaching in and around the legs and rails on the assembled table base. After letting the color coat of oil dry overnight, I assembled the table base in stages. I first glued and clamped the four pairs of outer and inner legs. After these had been in the clamps for an hour, I glued the longer center rails in between each subassembly, as shown at left. Finally I glued the four end rails between the front and back assemblies to complete the base of the table. With the table base together, I drilled V4"-diameter holes through the mortise-and-tenon joints in the central plugs of the outside legs. I inserted lVV'-long dowels in each of these holes, driving the ends flush with the bottom of the square holes. I dipped the plugs in my ebon-izing solution and applied it to the visible parts of the splines with a brush. After these small parts were dry, I put a small amount of glue on the end of each plug and drove them into place, as shown at right. The splines were driven into their slots after I applied glue to the slots in the top only. I screwed 7/8"-square cleats to the inside of the two end rails, and to the two long front and back rail s so that I could attach the top to the base with screws. With 107 parts now in their proper places, I gave the entire table three additional coats of Danish oil. Greene and Greene hold an important place in the history of American design, melding the influences of the Arts & Crafts movement with Japanese design elements in a unique way. Making this piece provided an opportunity to practice authentic detailed work. Had I been working for the Hall brothers in 1907, with a houseful of trim and many more furniture pieces to go, I would have been just warming up. PW A small, flat riffler is used to clean up the edges of the square holes. A slight chamfer on the back of the oversized square plugs gets them started in the holes before they are driven home with a dead-blow mallet. popwood.com 43 |


