Popular Woodworking 2005-04 № 147, страница 52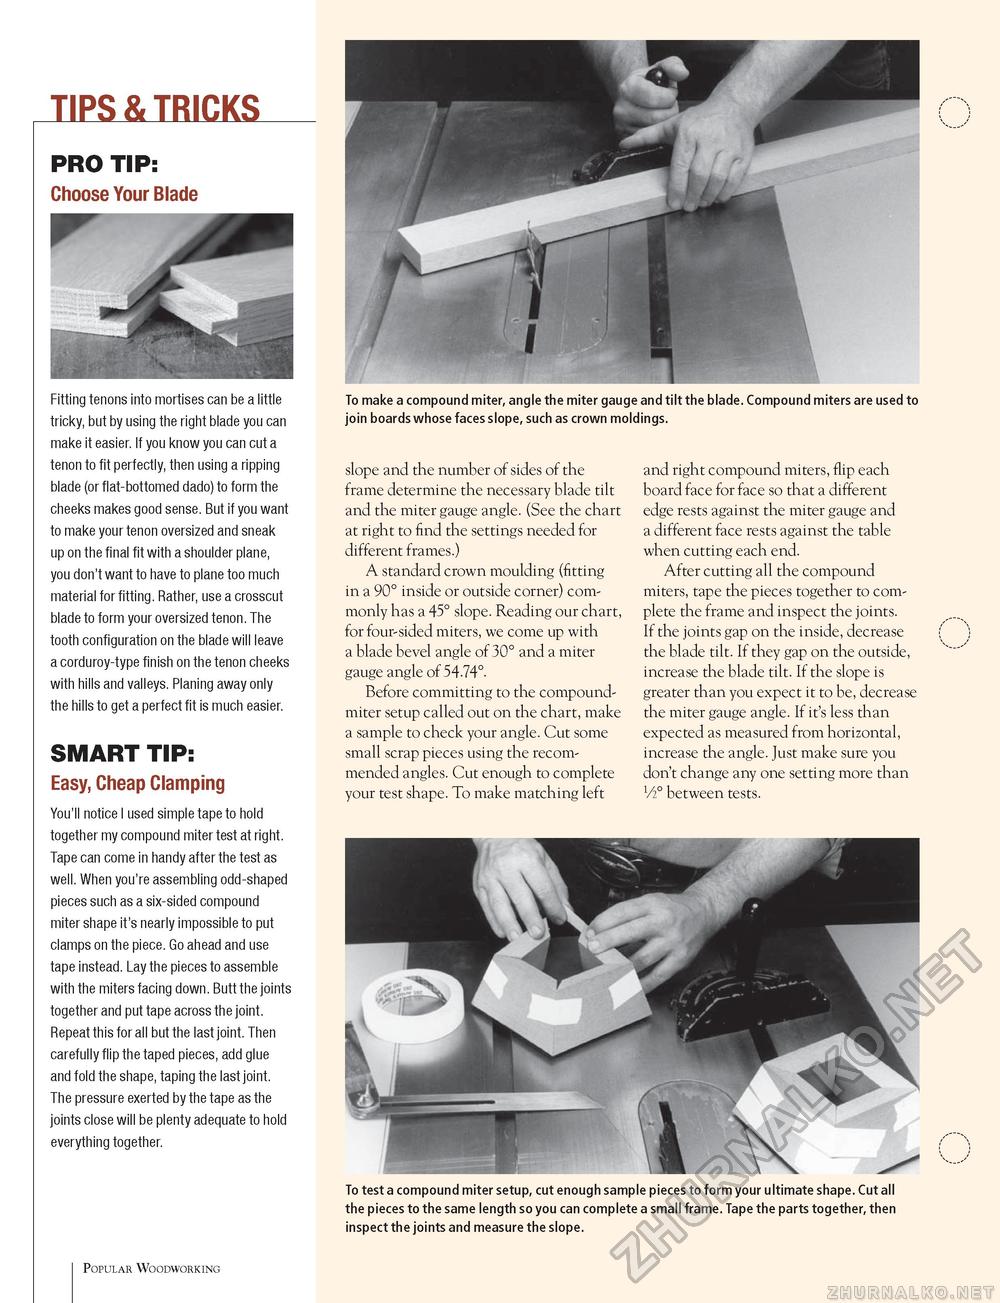
TIPS & TRICKS PRO TIP: Choose Your Blade Fitting tenons into mortises can be a little tricky, but by using the right blade you can make it easier. If you know you can cut a tenon to fit perfectly, then using a ripping blade (or flat-bottomed dado) to form the cheeks makes good sense. But if you want to make your tenon oversized and sneak up on the final fit with a shoulder plane, you don't want to have to plane too much material for fitting. Rather, use a crosscut blade to form your oversized tenon. The tooth configuration on the blade will leave a corduroy-type finish on the tenon cheeks with hills and valleys. Planing away only the hills to get a perfect fit is much easier. SMART TIP: Easy, Cheap Clamping You'll notice I used simple tape to hold together my compound miter test at right. Tape can come in handy after the test as well. When you're assembling odd-shaped pieces such as a six-sided compound miter shape it's nearly impossible to put clamps on the piece. Go ahead and use tape instead. Lay the pieces to assemble with the miters facing down. Butt the joints together and put tape across the joint. Repeat this for all but the last joint. Then carefully flip the taped pieces, add glue and fold the shape, taping the last joint. The pressure exerted by the tape as the joints close will be plenty adequate to hold everything together. To make a compound miter, angle the miter gauge and tilt the blade. Compound miters are used to join boards whose faces slope, such as crown moldings. slope and the number of sides of the frame determine the necessary blade tilt and the miter gauge angle. (See the chart at right to find the settings needed for different frames.) A standard crown moulding (fitting in a 90° inside or outside corner) commonly has a 45° slope. Reading our chart, for four-sided miters, we come up with a blade bevel angle of 30° and a miter gauge angle of 54.74°. Before committing to the compound-miter setup called out on the chart, make a sample to check your angle. Cut some small scrap pieces using the recommended angles. Cut enough to complete your test shape. To make matching left and right compound miters, flip each board face for face so that a different edge rests against the miter gauge and a different face rests against the table when cutting each end. After cutting all the compound miters, tape the pieces together to complete the frame and inspect the joints. If the joints gap on the inside, decrease the blade tilt. If they gap on the outside, increase the blade tilt. If the slope is greater than you expect it to be, decrease the miter gauge angle. If it's less than expected as measured from horizontal, increase the angle. Just make sure you don't change any one setting more than V2° between tests. To test a compound miter setup, cut enough sample pieces to form your ultimate shape. Cut all the pieces to the same length so you can complete a small frame. Tape the parts together, then inspect the joints and measure the slope. Popular Woodworking |


