Popular Woodworking 2005-11 № 151, страница 55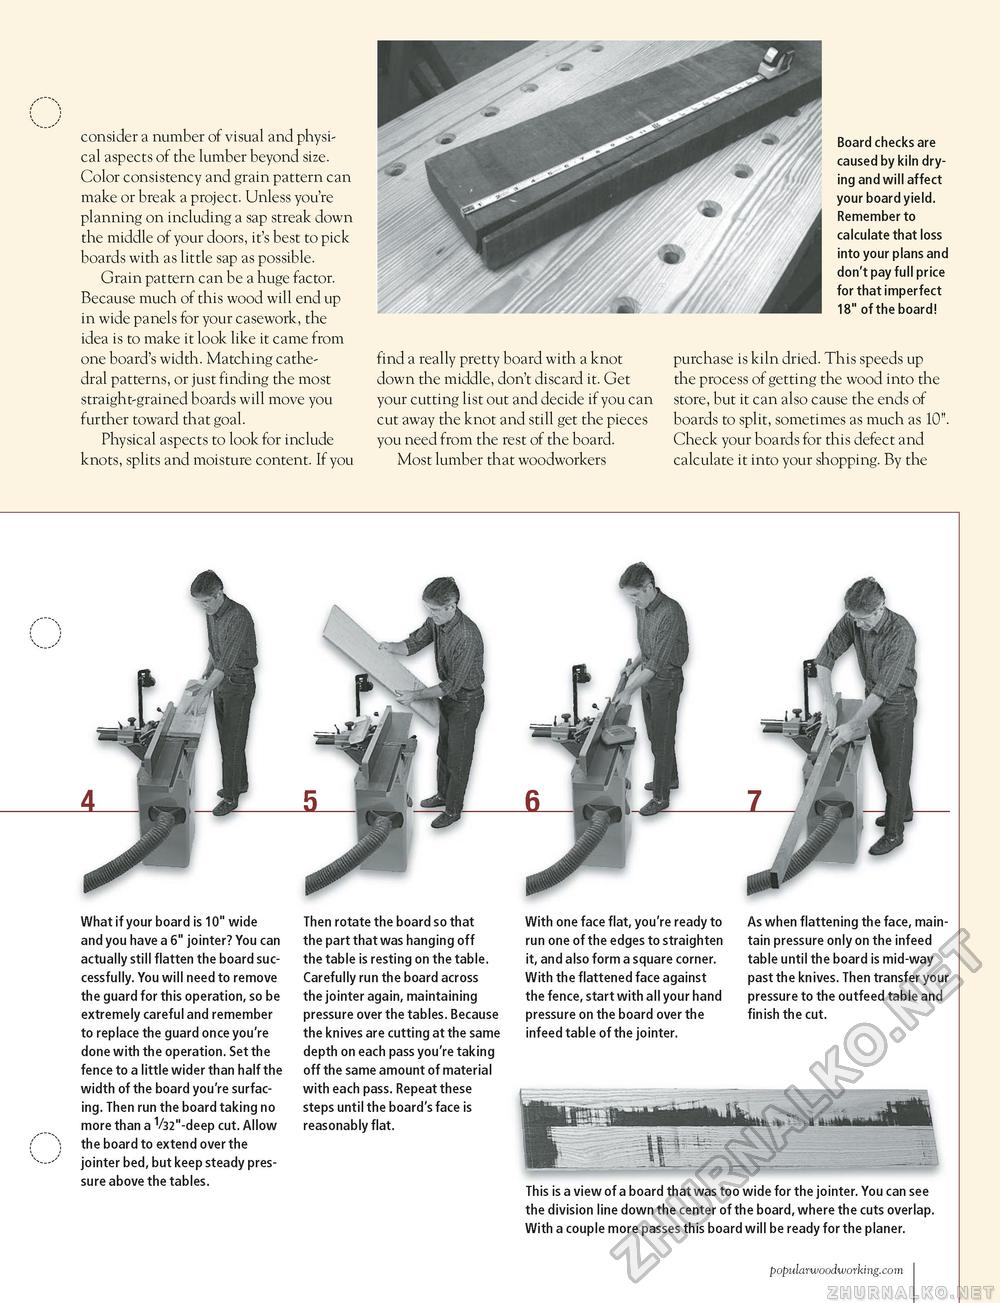
Board checks are caused by kiln drying and will affect your board yield. Remember to calculate that loss into your plans and don't pay full price for that imperfect 18" of the board! consider a number of visual and physical aspects of the lumber beyond size. Color consistency and grain pattern can make or break a project. Unless you're planning on including a sap streak down the middle of your doors, it's best to pick boards with as little sap as possible. Grain pattern can be a huge factor. Because much of this wood will end up in wide panels for your casework, the idea is to make it look like it came from one board's width. Matching cathedral patterns, or just finding the most straight-grained boards will move you further toward that goal. Physical aspects to look for include knots, splits and moisture content. If you find a really pretty board with a knot down the middle, don't discard it. Get your cutting list out and decide if you can cut away the knot and still get the pieces you need from the rest of the board. Most lumber that woodworkers purchase is kiln dried. This speeds up the process of getting the wood into the store, but it can also cause the ends of boards to split, sometimes as much as 10". Check your boards for this defect and calculate it into your shopping. By the What if your board is 10" wide and you have a 6" jointer? You can actually still flatten the board successfully. You will need to remove the guard for this operation, so be extremely careful and remember to replace the guard once you're done with the operation. Set the fence to a little wider than half the width of the board you're surfacing. Then run the board taking no more than a 1/32"-deep cut. Allow the board to extend over the jointer bed, but keep steady pressure above the tables. Then rotate the board so that the part that was hanging off the table is resting on the table. Carefully run the board across the jointer again, maintaining pressure over the tables. Because the knives are cutting at the same depth on each pass you're taking off the same amount of material with each pass. Repeat these steps until the board's face is reasonably flat. With one face flat, you're ready to run one of the edges to straighten it, and also form a square corner. With the flattened face against the fence, start with all your hand pressure on the board over the infeed table of the jointer. As when flattening the face, maintain pressure only on the infeed table until the board is mid-way past the knives. Then transfer your pressure to the outfeed table and finish the cut. This is a view of a board that was too wide for the jointer. You can see the division line down the center of the board, where the cuts overlap. With a couple more passes this board will be ready for the planer. popularwoodworking.com 55 |


