Popular Woodworking 2006-12 № 159, страница 23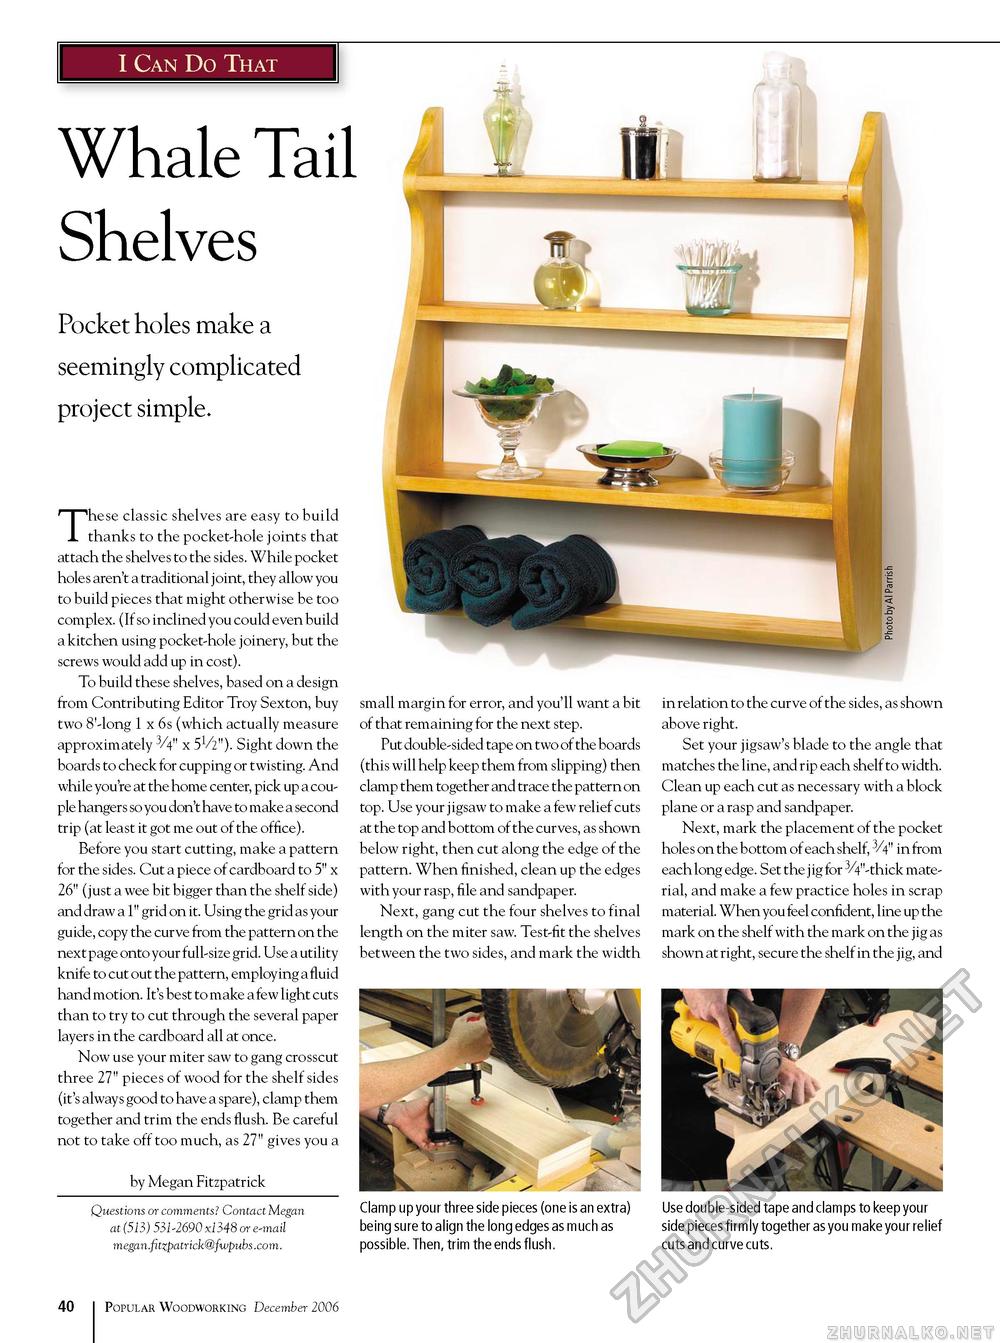
I Can Do That Whale Tail Shelves Pocket holes make a seemingly complicated project simple. These classic shelves are easy to build thanks to the pocket-hole joints that attach the shelves to the sides. While pocket hole s aren't a traditional j oint, they allow you to build pieces that might otherwise be too complex. (If so inclined you could even build a kitchen using pocket-hole joinery, but the screws would add up in cost). To build these shelves, based on a design from Contributing Editor Troy Sexton, buy two 8'-long 1 x 6s (which actually measure approximately V4" x 5V2"). Sight down the boards to check for cupping or twisting. And while you're at the home center, pick up a couple hangers so you don't have to make a second trip (at least it got me out of the office). Before you start cutting, make a pattern for the sides. Cut a piece of cardboard to 5" x 26" (just a wee bit bigger than the shelf side) and draw a 1" grid on it. Using the grid as your guide, copy the curve from the pattern on the next page onto your full-size grid. Use a utility knife to cut out the pattern, employing a fluid hand motion. It's best to make a few light cuts than to try to cut through the several paper layers in the cardboard all at once. Now use your miter saw to gang crosscut three 27" pieces of wood for the shelf sides (it's always good to have a spare), clamp them together and trim the ends flush. Be careful not to take off too much, as 27" gives you a by Megan Fitzpatrick Questions or comments? Contact Megan at (513) 531-2690 xl348 or e-mail megan.fitzpatrick@fwpubs.com. small margin for error, and you'll want a bit of that remaining for the next step. Put double-sided tape on two of the boards (this will help keep them from slipping) then clamp them together and trace the pattern on top. Use your j igsaw to make a few relief cuts at the top and bottom of the curves, as shown below right, then cut along the edge of the pattern. When finished, clean up the edges with your rasp, file and sandpaper. Next, gang cut the four shelves to final length on the miter saw. Test-fit the shelves between the two sides, and mark the width in relation to the curve of the sides, as shown above right. Set your jigsaw's blade to the angle that matches the line, and rip each shelf to width. Clean up each cut as necessary with a block plane or a rasp and sandpaper. Next, mark the placement of the pocket holes on the bottom of each shelf, 3/4" in from each long edge. Set the j ig for 3/4"-thick material, and make a few practice holes in scrap material. When you feel confident, line up the mark on the shelf with the mark on the jig as shown at right, secure the shelf in the j ig, and Clamp up your three side pieces (one is an extra) Use double-sided tape and clamps to keep your being sure to align the long edges as much as side pieces firmly together as you make your relief possible. Then, trim the ends flush. cuts and curve cuts. 40 Popular Woodworking December 2006 |


