Popular Woodworking 2008-08 № 170, страница 28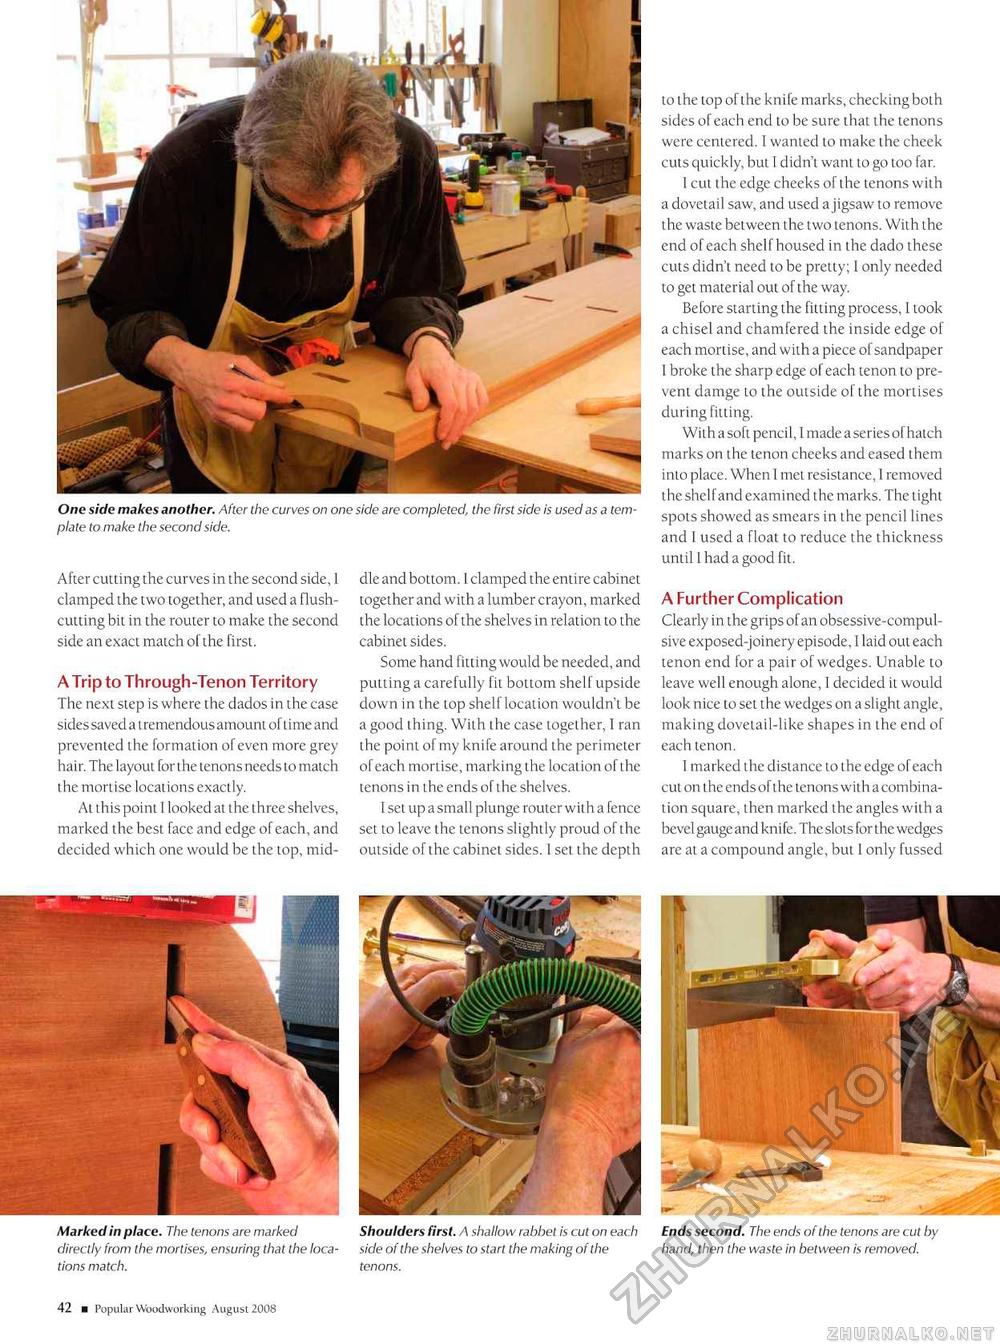
One side makes another. After the curves on one side are completed, the first side is used as a template to make the second side. After cutting the curves in the second side, 1 clamped the two together, and used a flush-cutting bit in the router to make the second side an exact match of the first. A Trip to Through-Tenon Territory The next step is where the dados in the case sides saved a tremendous amount of time and prevented the formation of even more grey hair. The layout for the tenons needs to match the mortise locations exactly. At this point I looked at the three shelves, marked the best face and edge of each, and decided which one would be the top, mid dle and bottom. I clamped the entire cabinet together and with a lumber crayon, marked the locations of the shelves in relation to the cabinet sides. Some hand fitting would be needed, and putting a carefully fit bottom shelf upside down in the top shelf location wouldn't be a good thing. With the case together, I ran the point of my knife around the perimeter of each mortise, marking the location of the tenons in the ends of the shelves. I set up a small plunge router with a fence set to leave the tenons slightly proud of the outside of the cabinet sides. 1 set the depth Marked in place. The tenons are marked directly from the mortises, ensuring that the loca- Shoulders first. A shallow rabbet is cut on each side of the shelves to start the making of the to the lop of the knife marks, checking both sides of each end to be sure that the tenons were centered. I wanted to make the cheek cuts quickly, but I didn't want to go too far. 1 cut the edge cheeks of the tenons with a dovetail saw, and used a jigsaw to remove the waste between the two tenons. With the end of each shelf housed in the dado these cuts didn't need to be pretty; I only needed to get material out of the way. Before starting the fitting process, 1 took a chisel and chamfered the inside edge of each mortise, and with a piece of sandpaper I broke the sharp edge of each tenon to prevent damge to the outside of the mortises during fitting. With a soft pencil, I made a series of hatch marks on the tenon cheeks and eased them into place. When I met resistance, I removed the shelf and examined the marks. The tight spots showed as smears in the pencil lines and I used a float to reduce the thickness until 1 had a good fit. A Further Complication Clearly in the grips of an obsessive-compul-sive exposed-joinery episode, 1 laid out each tenon end for a pair of wedges. Unable to leave well enough alone, I decided it would look nice to set the wedges on a slight angle, making dovetail-like shapes in the end of each tenon. I marked the distance to the edge of each cut on the ends of the tenons with a combination square, then marked the angles with a bevel gauge and knife. The slots for the wedges are at a compound angle, but I only fussed Ends second. The ends of the tenons are cut by hand, then the waste in between is removed. 42 ■ Popular Woodworking August 2008 |


