Popular Woodworking 2008-08 № 170, страница 31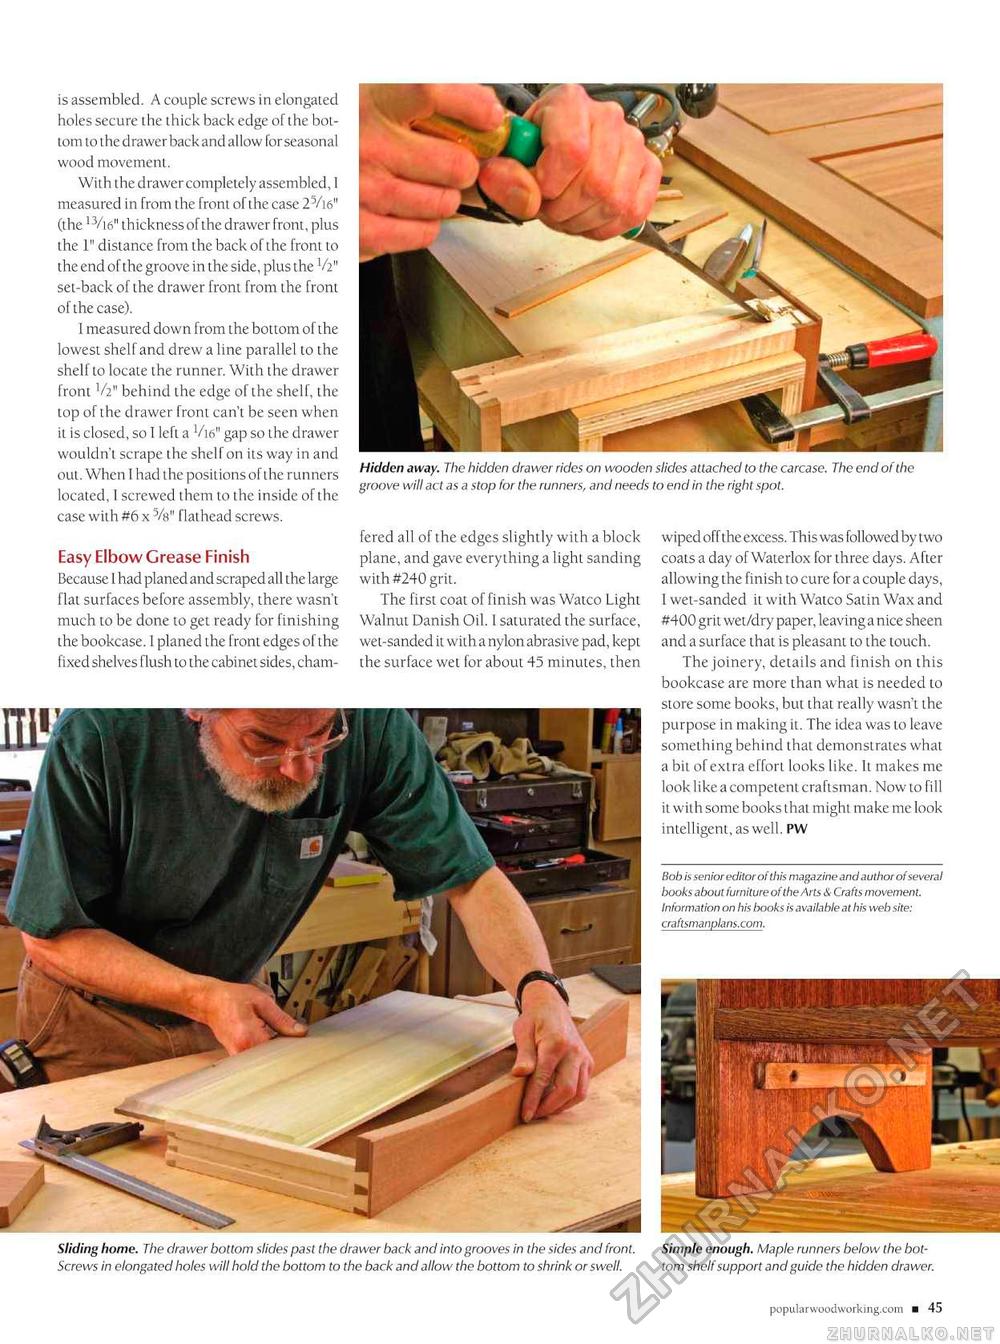
is assembled. A couple screws in elongated holes secure the thick back edge of the bottom to the drawer back and allow for seasonal wood movement. With the drawer completely assembled, I measured in from the front of the case 25/i6" (the 13/i6" thickness of the drawer front, plus the 1" distance from the back of the front to the end of the groove in the side, plus the V211 set-back of the drawer front from the front of the case). I measured down from the bottom of the lowest shelf and drew a line parallel to the shelf to locate the runner. With the drawer front V2" behind the edge of the shelf, the top of the drawer front can't be seen when it is closed, so I left a V16" gap so the drawer wouldn't scrape the shelf on its way in and out. When 1 had the positions of the runners located, I screwed them to the inside of the case with #6 x 5/s" flathead screws. Easy Elbow Grease Finish Because 1 had planed and scraped all the large flat surfaces before assembly, there wasn't much to be done to get ready for finishing the bookcase. I planed the front edges of the fixed shelves flush to the cabinet sides, cham Hidden away. The hidden drawer rides on wooden slides attached to the ca groove will act as a stop for the runners, and needs to end in the right spot. fered all of the edges slightly with a block plane, and gave everything a light sanding with #240 grit. The first coat of finish was Watco Light Walnut Danish Oil. I saturated the surface, wet-sanded it with a nylon abrasive pad, kept the surface wet for about 45 minutes, then wiped off the excess. This was followed by two coats a day of Waterlox for three days. After allowing the finish to cure for a couple days, I wet-sanded it with Watco Satin Wax and #400 grit wet/dry paper, leaving a nice sheen and a surface that is pleasant to the touch. The joinery, details and finish on this bookcase are more than what is needed to store some books, but that really wasn't the purpose in making it. The idea was to leave something behind that demonstrates what a bit of extra effort looks like. It makes me look like a competent craftsman. Now to fill it with some books that might make me look intelligent, as well. PW books about furniture of the Arts & Crafts movement. Information on his books is available at his web site: craftsmanplans.com. Sliding home. The drawer bottom slides past the drawer back and into grooves in the sides and front. Screws in elongated holes will hold the bottom to the back and allow the bottom to shrink or swell. Simple enough. Maple runners below the bottom shelf support and guide the hidden drawer. |


