Popular Woodworking 2008-08 № 170, страница 33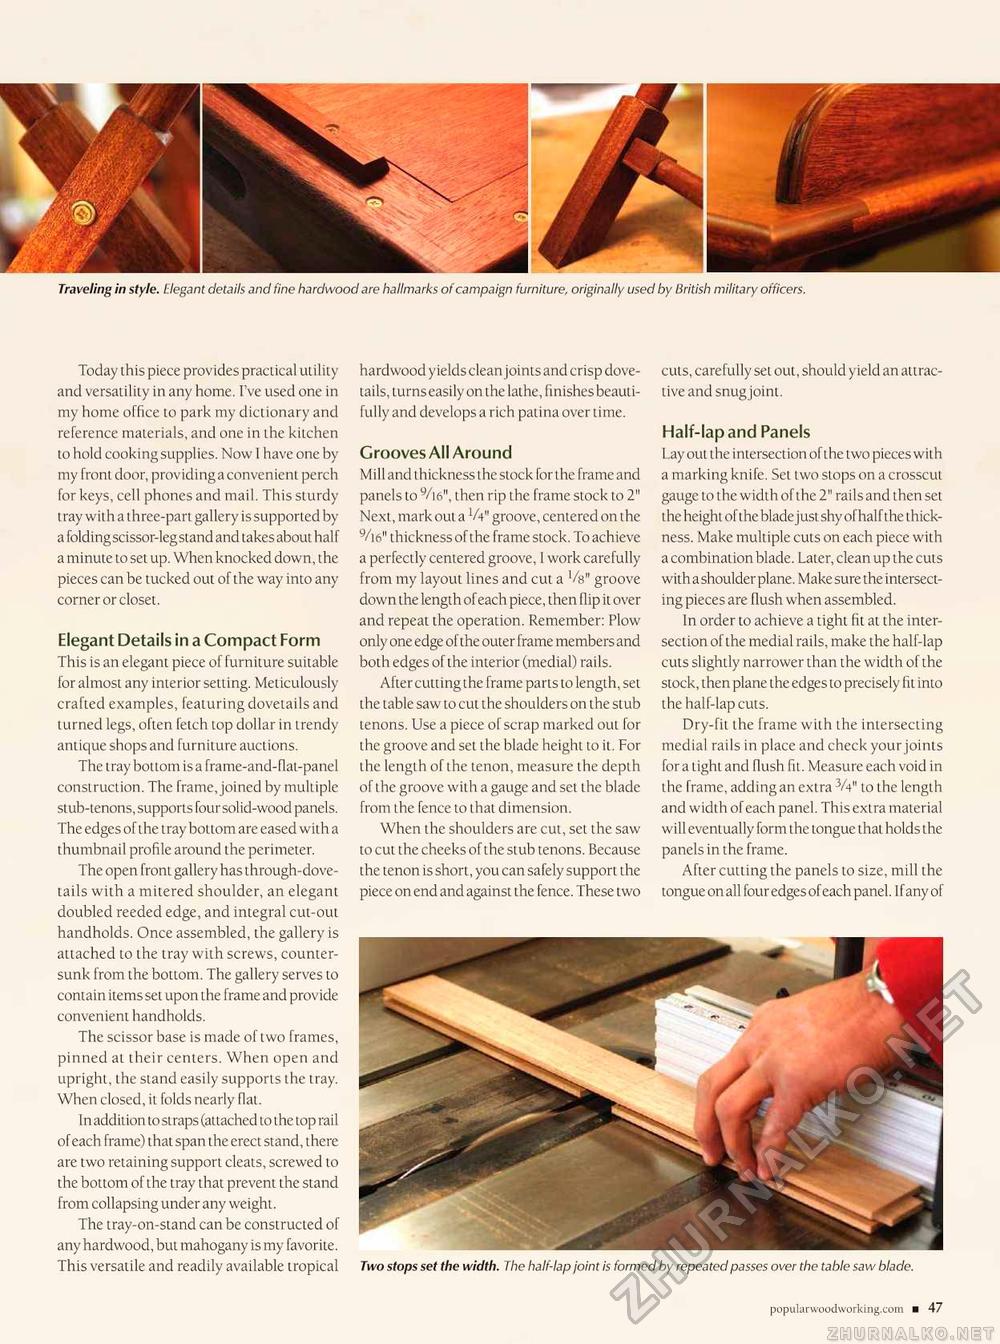
Traveling in style. Elegant details and fine hardwood are hallmarks of campaign furniture, originally used by British military officers. Today this piece provides practical utility and versatility in any home. I've used one in my home office to park my dictionary and reference materials, and one in the kitchen to hold cooking supplies. Now I have one by my front door, providinga convenient perch for keys, cell phones and mail. This sturdy tray with a three-part gallery is supported by a folding scissor-legstand and takes about half a minute to set up. When knocked down, the pieces can be tucked out of the way into any corner or closet. Elegant Details in a Compact Form This is an elegant piece of furniture suitable for almost any interior setting. Meticulously crafted examples, featuring dovetails and turned legs, often fetch top dollar in trendy antique shops and furniture auctions. The tray bottom is a frame-and-flat-panel construction. The frame, joined by multiple stub-tenons, supports four solid-wood panels. The edges of the tray bottom are eased with a thumbnail profile around the perimeter. The open front gallery has through-dovetails with a mitered shoulder, an elegant doubled reeded edge, and integral cut-out handholds. Once assembled, the gallery is attached to the tray with screws, countersunk from the bottom. The gallery serves to contain items set upon the frame and provide convenient handholds. The scissor base is made of two frames, pinned at their centers. When open and upright, the stand easily supports the tray. When closed, it folds nearly flat. In addition to straps (attached to the top rail of each frame) that span the erect stand, there are two retaining support cleats, screwed to the bottom of the tray that prevent the stand from collapsing under any weight. The tray-on-stand can be constructed of any hardwood, but mahogany is my favorite. This versatile and readily available tropical hardwood yields clean joints and crisp dovetails, turns easily on the lathe, finishes beautifully and develops a rich patina over time. Grooves All Around Mill and thickness the stock for the frame and panels to 9/i6", then rip the frame stock to 2" Next, mark out a V4" groove, centered on the '/lis" thickness of the frame stock. To achieve a perfectly centered groove, 1 work carefully from my layout lines and cut a Vs" groove down the length of each piece, then flip it over and repeat the operation. Remember: Plow only one edge of the outer frame members and both edges of the interior (medial) rails. After cutting the frame parts to length, set the table saw to cut the shoulders on the stub tenons. Use a piece of scrap marked out for the groove and set the blade height to it. For the length of the tenon, measure the depth of the groove with a gauge and set the blade from the fence to that dimension. When the shoulders are cut, set the saw to cut the cheeks of the stub tenons. Because the tenon is short, you can safely support the piece on end and against the fence. These two cuts, carefully set out, should yield an attractive and snugjoint. Half-lap and Panels Layout the intersection of the two pieces with a marking knife. Set two stops on a crosscut gauge to the width of the 2" rails and then set the height of the blade just shy of half the thickness. Make multiple cuts on each piece with a combination blade. Later, clean up the cuts with a shoulder plane. Make sure the intersecting pieces are flush when assembled. In order to achieve a tight fit at the intersection of the medial rails, make the half-lap cuts slightly narrower than the width of the stock, then plane the edges to precisely fit into the half-lap cuts. Dry-fit the frame with the intersecting medial rails in place and check your joints for a light and flush fit. Measure each void in the frame, adding an extra 3A" to the length and width of each panel. This extra material will eventually form the tongue that holds the panels in the frame. After cutting the panels to size, mill the tongue on all four edges of each panel. I f any of |


