Popular Woodworking 2008-08 № 170, страница 30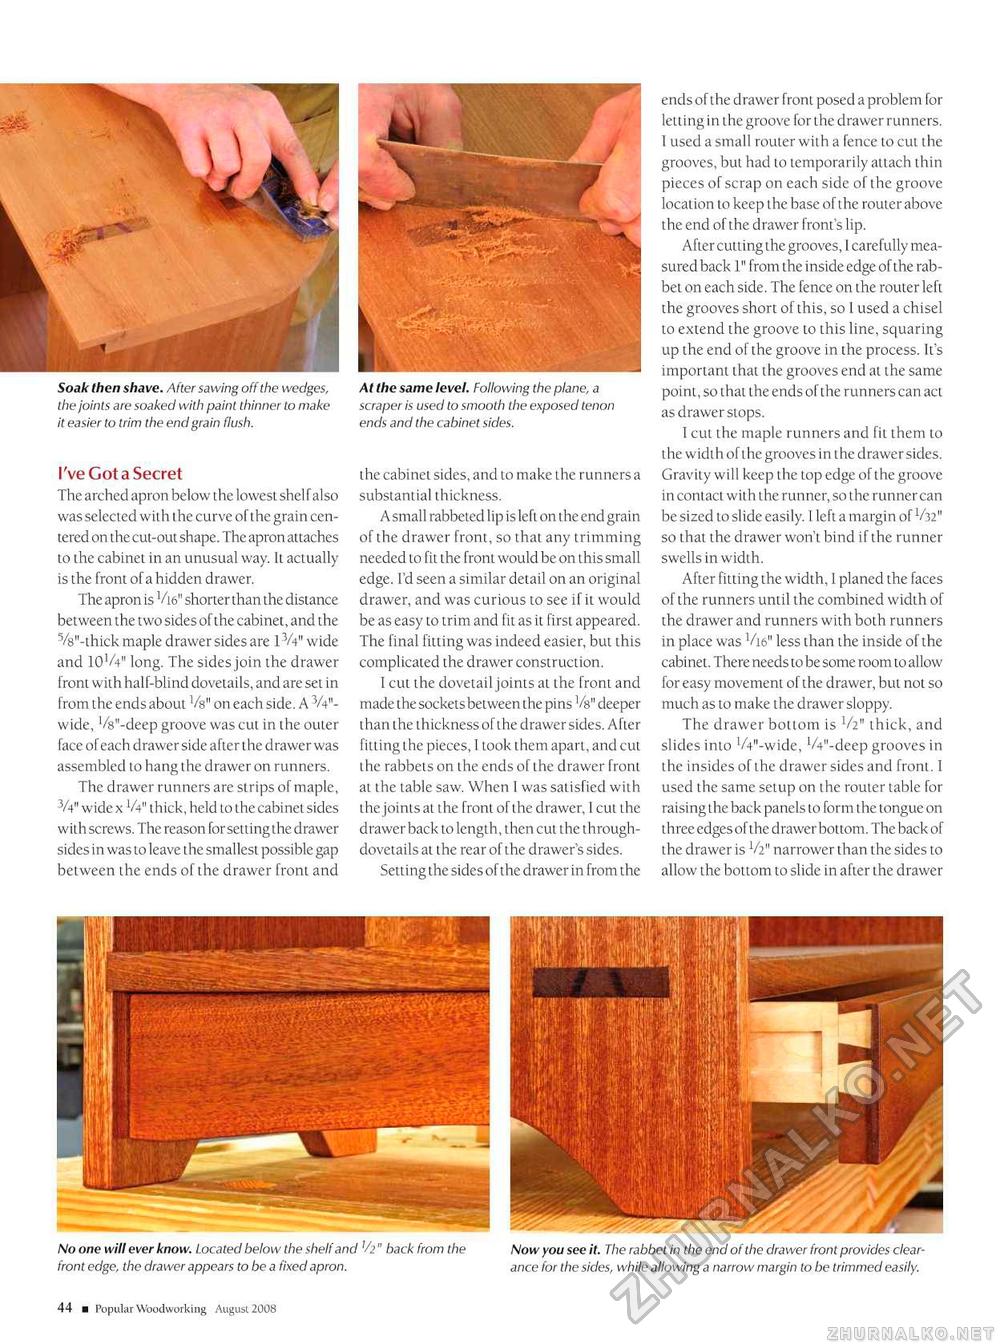
Soak then shave. After sawing off the wedges, the joints are soaked with paint thinner to make it easier to trim the end grain flush. I've Got a Secret The arched apron below the lowest shelf also was selected with the curve of the grain centered on the cut-out shape. The apron attaches to the cabinet in an unusual way. It actually is the front of a hidden drawer. The apron is'/16" shorter than the distance between the two sides of the cabinet, and the Vs'-thick maple drawer sides are IV411 wide and 10 V411 long. The sides join the drawer front with half-blind dovetails, and are set in from the ends about Vb" on each side. A V41'-wide, Vs'-deep groove was cut in the outer face of each drawer side after the drawer was assembled to hang the drawer on runners. The drawer runners are strips of maple, 3A" wide x V41' thick, held to the cabinet sides with screws. The reason for setting the drawer sides in was to leave the smallest possible gap between the ends of the drawer front and At the same level. Following the plane, a scraper is used to smooth the exposed ten ends and the cabinet sides. the cabinet sides, and to make the runners a substantial thickness. A small rabbeted lip is left on the end grain of the drawer front, so that any trimming needed to fit the front would be on this small edge. I'd seen a similar detail on an original drawer, and was curious to see if it would be as easy to trim and fit as it first appeared. The final fitting was indeed easier, but this complicated the drawer construction. I cut the dovetail joints at the front and made the sockets between the pins Vs" deeper than the thickness of the drawer sides. After fitting the pieces, I took them apart, and cut the rabbets on the ends of the drawer front at the table saw. When I was satisfied with the joints at the front of the drawer, 1 cut the drawer back to length, then cut the through-dovetails at the rear of the drawer's sides. Setting the sides of the drawer in from the ends of the drawer front posed a problem for letting in the groove for the drawer runners. I used a small router with a fence to cut the grooves, but had to temporarily attach thin pieces of scrap on each side of the groove location to keep the base of the router above the end of the drawer front's lip. After cutting the grooves, I carefully measured back 1" from the inside edge of the rabbet on each side. The fence on the router left the grooves short of this, so 1 used a chisel to extend the groove to this line, squaring up the end of the groove in the process. It's important that the grooves end at the same point, so that the ends of the runners can act as drawer stops. I cut the maple runners and fit them to the width of the grooves in the drawer sides. Gravity will keep the top edge of the groove in contact with the runner, so the runner can be sized to slide easily. I left a margin of V32" so that the drawer won't bind if the runner swells in width. After fitting the width, 1 planed the faces of the runners until the combined width of the drawer and runners with both runners in place was Vie" less than the inside of the cabinet. There needs to be some room to allow for easy movement of the drawer, but not so much as to make the drawer sloppy. The drawer bottom is V2" thick, and slides into VV'-wide, '/V'-deep grooves in the insides of the drawer sides and front. I used the same setup on the router table for raising the back panels to form the tongue on three edgesof the drawer bottom. The back of the drawer is V2" narrower than the sides to allow the bottom to slide in after the drawer No one will ever know. Located below the shelf and V2 " back from the Now you see it. The rabbet in the end of the drawer front provides clear-front edge, the drawer appears to be a fixed apron. ance for the sides, while allowing a narrow margin to be trimmed easily. 44 ■ Popular Woodworking August 2008 |


