Popular Woodworking 2008-12 № 173, страница 14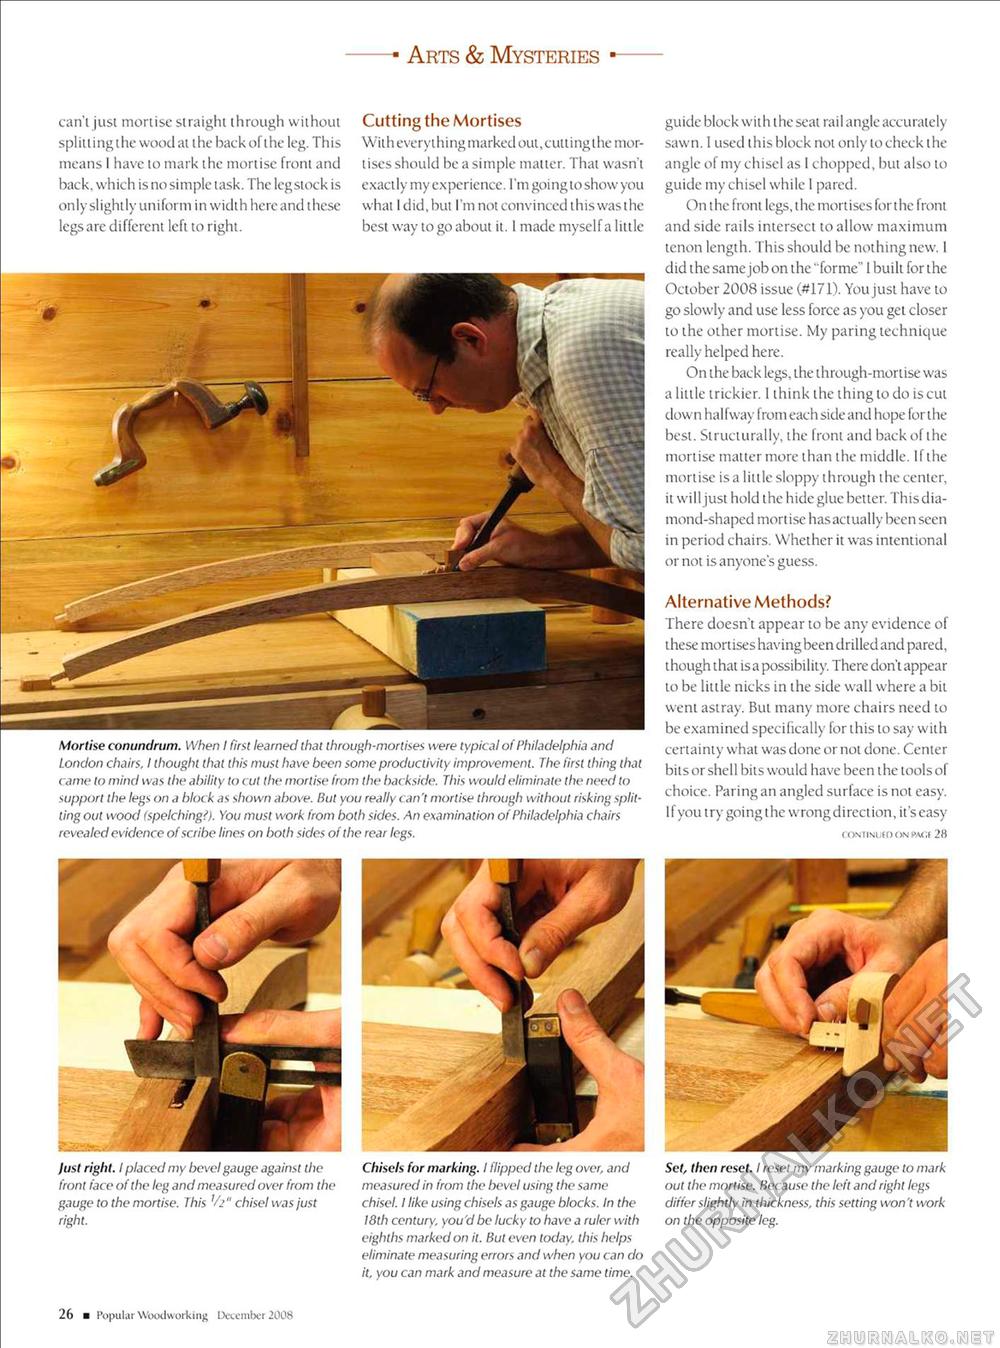
Arts & Mysteries can'ljust mortise straight through without splitting the wood at the back of the leg. This means I have to mark the mortise front and back, which is no simple task. The leg stock is only slightly uniform in width here and these legs are different left to right. Cutting the Mortises With everything marked out, culling the mortises should be a simple matter. That wasn't exactly my experience. I'm going to show you what I did, but I'm not convinced this wasthe best way to go about ii. I made myself a little Mortise conundrum. When I first learned that through-mortises were typical of Philadelphia and London chairs. I thought that this must have been some productivity improvement. The first thing that came to mind was the ability to cut the mortise from the backside. This would eliminate the need to support the legs on a block as shown above. Rut you really can't mortise through without risking splitting out wood <spelching?). You must work from both sides. An examination of Philadelphia chairs revealed evidence of scribe lines on both sides of the rear legs. Just right. I placed my bevel gauge against the front face of the leg and measured over from the gauge to the mortise. This V2" chisel was just right. Chisels for marking. I flipped the leg over, and measured in from the bevel using the same chisel. I like using chisels as gauge blocks. In the 18th century, you'd be lucky to have a ruler with eighths marked on it. But even today, this helps eliminate measuring errors and when you can do it, you can mark and measure at the same time. guide block with the seat rail angle accurately sawn. I used this block not only to check the angle of my chisel as I chopped, but also to guide my chisel while I pared. On the front legs, the mortises for the front and side rails intersect to allow maximum tenon length. This should be nothing new. I did the same job on the "forme" 1 built for the October 2008 issue (#171). You just have to go slowly and use less force as you get closer to the other mortise. My paring technique really helped here. On the back legs, the through-mortise was a little trickier. 1 think the thing to do is cut down halfway from each side and hope for the best. Structurally, the front and back of the mortise matter more than the middle. If the mortise is a little sloppy through the center, it will just hold the hide glue better. Thisdia-mond-shaped mortise has actually been seen in period chairs. Whether it was intentional or not is anyone's guess. Alternative Methods? There doesn't appear to be any evidence of these mortises having been drilled and pared, though that isa possibility. There don't appear to be little nicks in the side wall where a bit went astray. But many more chairs need to be examined specifically lor this to say with certainty what was done or not done. Center bitsorshell bits would have been theloolsof choice. Paring an angled surface is not easy. Ifyou trygoingthc wrongdirection, it'seasy <ONTiNufO On PAfif 28 Set, then reset. I reset my marking gauge to mark out the mortise. Because the left and right legs differ slightly in thickness, this setting won't work on the opposite leg. 26 ■ Popul ar Woodworking December 2008 |


