10 - Heavy Duty Lathe Stand, страница 12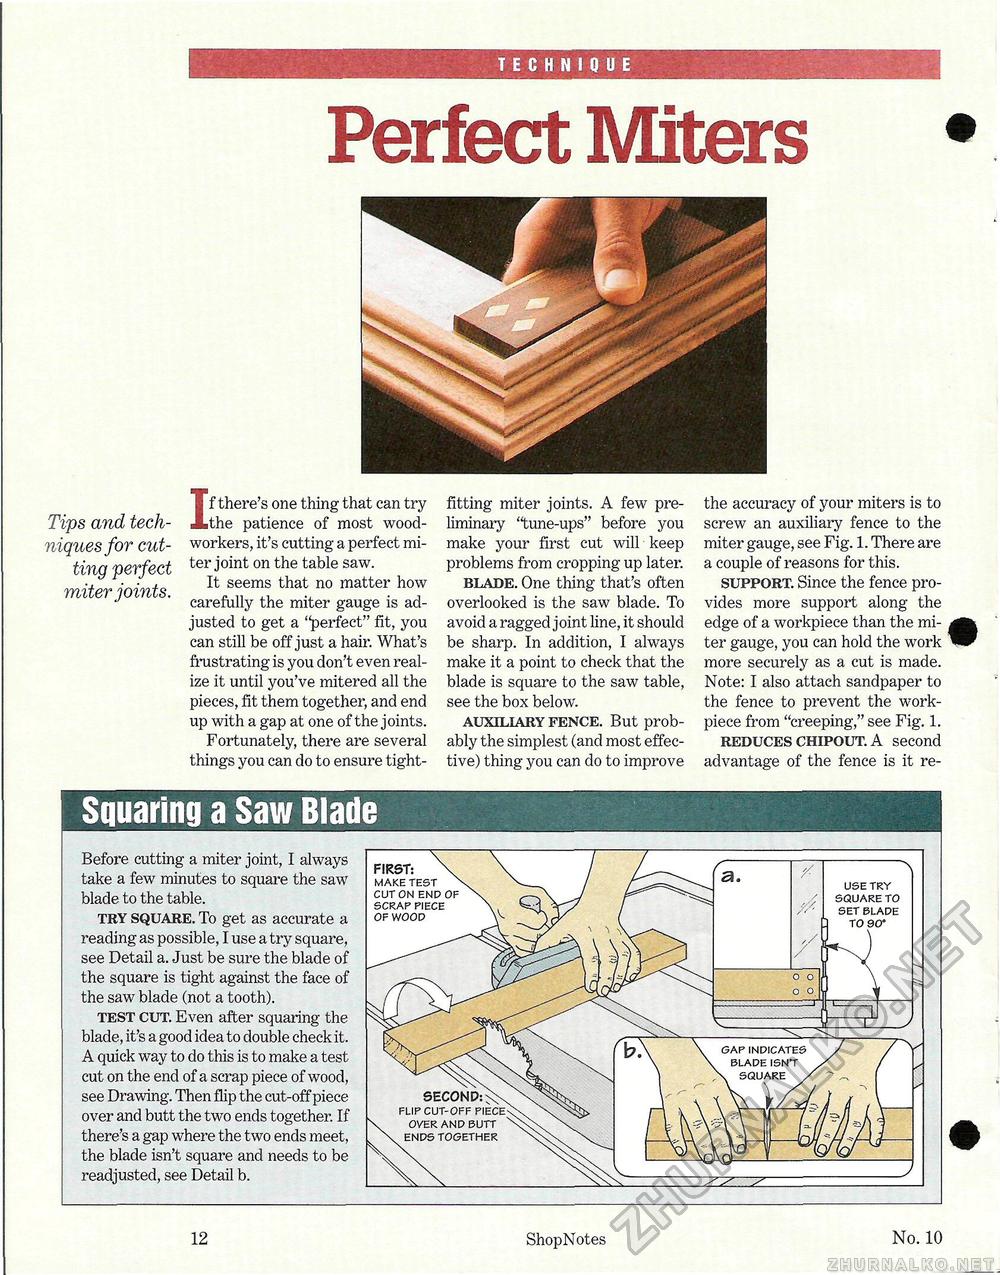
TECHNIQUE Perfect MitersTips and techniques for cutting perfect miter joints. If there's one thing that can try the patience of most woodworkers, it's cutting a perfect miter joint on the table saw. It seems that no matter how carefully the miter gauge is adjusted to get a "perfect" fit, you can still be off just a hair. What's frustrating is you don't even realize it until you've mitered all the pieces, fit them together, and end up with a gap at one of the joints. Fortunately, there are several things you can do to ensure tight- Before cutting a miter joint, I always take a few minutes to square the saw blade to the table. try square. To get as accurate a reading as possible, I use a try square, see Detail a. Just be sure the blade of the square is tight against the face of the saw blade (not a tooth). test cut. Even after squaring the blade, it's a good idea to double check it. A quick way to do this is to make a test cut on the end of a scrap piece of wood, see Drawing. Then flip the cut-off piece over and butt the two ends together. If there's a gap where the two ends meet, the blade isn't square and needs to be readjusted, see Detail b. fitting miter joints. A few preliminary "tune-ups" before you make your first cut will keep problems from cropping up later. blade. One thing that's often overlooked is the saw blade. To avoid a ragged joint line, it should be sharp. In addition, I always make it a point to check that the blade is square to the saw table, see the box below. auxiliary fence. But probably the simplest (and most effective) thing you can do to improve the accuracy of your miters is to screw an auxiliary fence to the miter gauge, see Fig. 1. There are a couple of reasons for this. support. Since the fence provides more support along the edge of a workpiece than the miter gauge, you can hold the work more securely as a cut is made. Note: I also attach sandpaper to the fence to prevent the work-piece from "creeping," see Fig. 1. reduces chipout. A second advantage of the fence is it re-
12 ShopNotes No. 10 |
|||||||||||


