25 - Special Table Saw Issue, страница 9
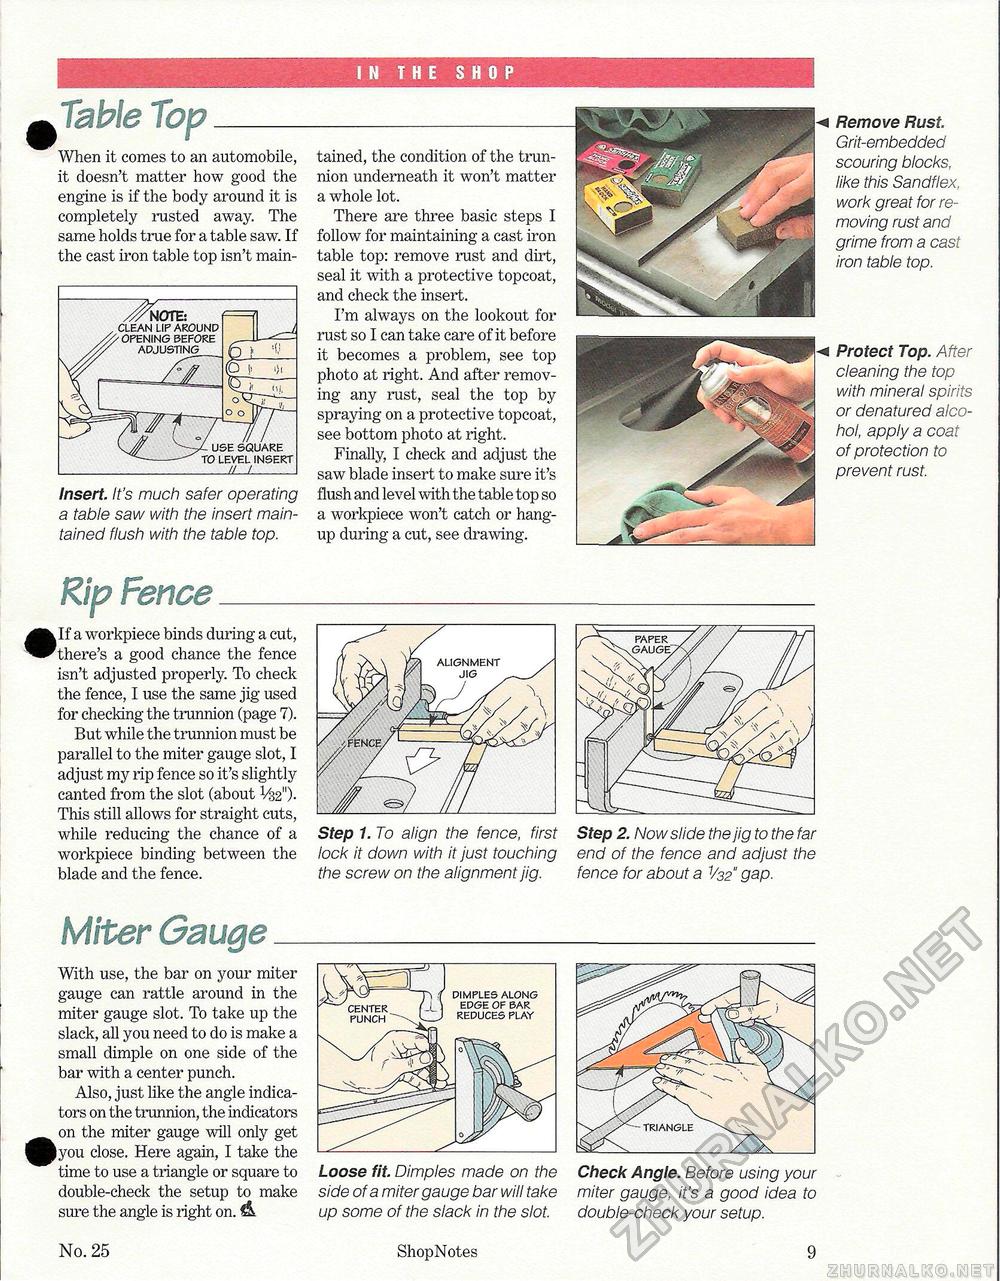
IN THE SHOP Table Top_ When it comes to an automobile, it doesn't matter how good the engine is if the body around it is completely rusted away. The same holds true for a table saw. If the cast iron table top isn't main tained, the condition of the trunnion underneath it won't matter a whole lot. There are three basic steps I follow for maintaining a cast iron table top: remove rust and dirt, seal it with a protective topcoat, and check the insert. I'm always on the lookout for rust so I can take care of it before it becomes a problem, see top photo at right. And after removing any rust, seal the top by spraying on a protective topcoat, see bottom photo at right. Finally, I check and adjust the saw blade insert to make sure it's flush and level with the table top so a workpieee won't catch or hangup during a cut, see drawing. Insert It's much safer operating a table saw with the insert maintained flush with the table top. ** Protect Top. After cleaning the top with mineral spirits or denatured alcohol, apply a coat of protection to prevent rust. ^ Remove Rust Grit-embedded scouring blocks, like this Sandflex, work great for removing rust and grime from a cast iron table top. •If a workpieee binds during a cut, there's a good chance the fence isn't adjusted properly. To check the fence, I use the same jig used for checking the trunnion (page 7). But while the trunnion must be Step 1. To align the fence, first lock it down with it just touching the screw on the alignment jig. Step 2. Now slide the jig to the far end of the fence and adjust the fence for about a V32" gap. parallel to the miter gauge slot, I adjust my rip fence so it's slightly canted from the slot (about V&2"). This still allows for straight cuts, while reducing the chance of a workpieee binding between the blade and the fence. Miter Gauge With use, the bar on your miter gauge can rattle around in the miter gauge slot. To take up the slack, all you need to do is make a small dimple on one side of the bar with a center punch. Also, just like the angle indicators on the trunnion, the indicators on the miter gauge will only get lyou close. Here again, I take the time to use a triangle or square to double-check the setup to make sure the angle is light on. & No. 25 Loose fit Dimples made on the side of a miter gauge bar will take up some of the slack in the slot. ShopNotes Check Angle. Before using your miter gauge, it's a good idea to double-check your setup. 9 l use square to level insert // /_ ///WOVE:. clean lip around 'opening before adjusting punch dimples along edge of bar reduces play triangle |


