84, страница 11
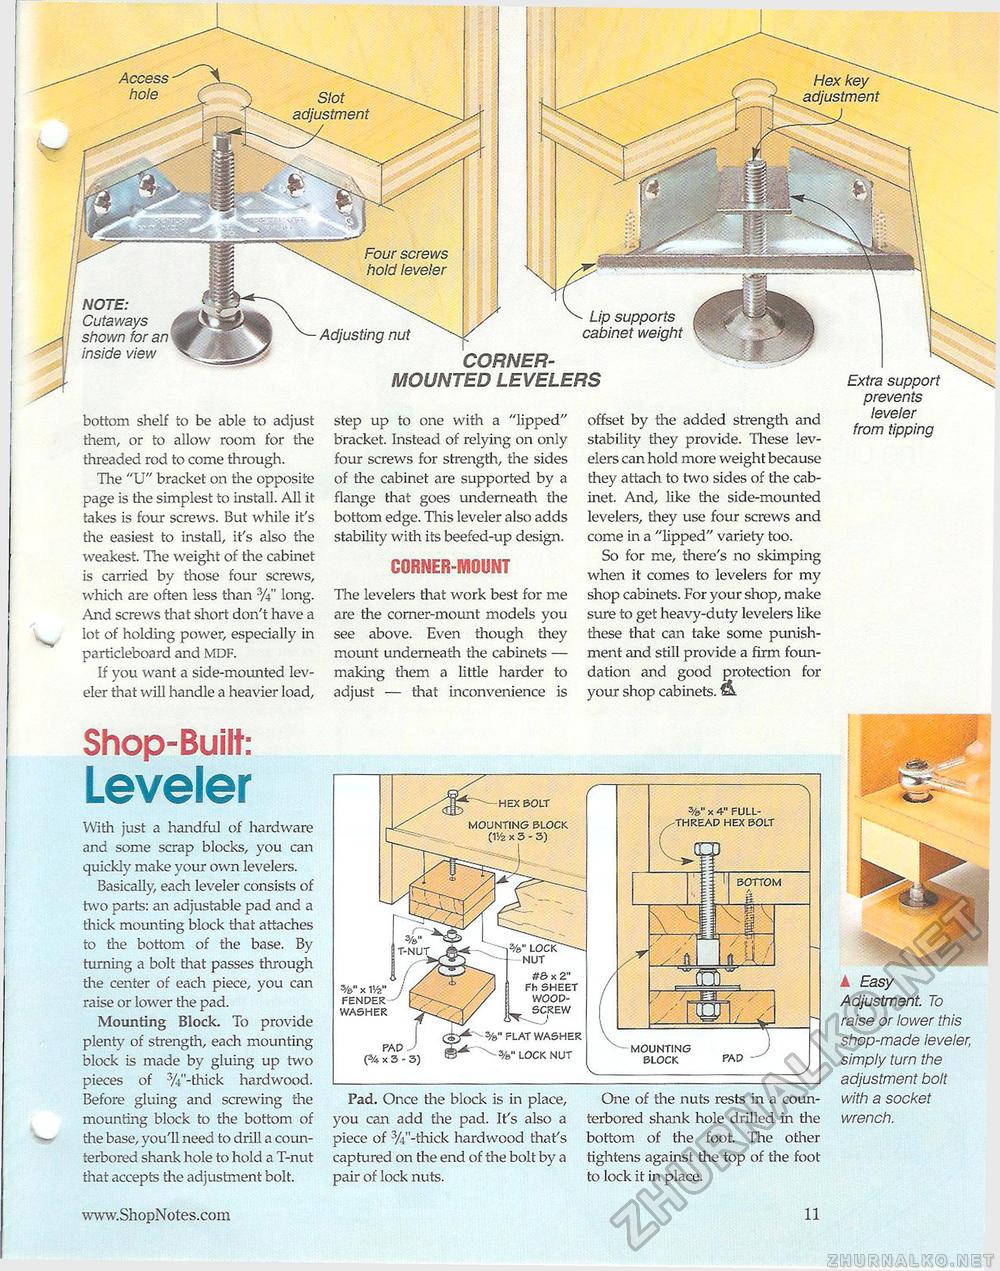
Slot adjustment Four screws hold leveter NOTE: Cutaways shown for an inside view Adjusting nut MOUNTED Extra support prevents leveler from tipping bottom shelf to be able to adjust them, or to allow room for the threaded rod to come through. The "U" bracket on the opposite page is the simplest to install. All it takes is four screws. But while it's the easiest to install, it's also the weakest. The weight of the cabinet is carried by those four screws, which are often less than 3/4" long. And screws that short don't have a lot of holding power, especially in particleboard and mdf. If you want a side-mounted leveler that will handle a heavier load, step up to one with a "lipped" bracket. Instead of relying on only four screws for strength, the sides of the cabinet are supported by a flange that goes underneath the bottom edge. This leveler also adds stability with its beefed-up design. CORNER-MOUNT The levelers that work best for me are the corner-mount models you see above. Even though diey mount underneath the cabinets — making them a little harder to adjust — that inconvenience is offset by the added strength and stability they provide. These levelers can hold more weight because they attach to two sides of the cabinet. And, like the side-mounted levelers, they use four screws and come in a "lipped" variety too. So for me, there's no skimping when it comes to levelers for my shop cabinets. For your shop, make sure to get heavy-duty levelers like these that can take some punishment and still provide a firm foundation and good protection for your shop cabinets. Shop-Built: Leveler With just a handful of hardware and some scrap blocks, you can quickly make your own levelers. Basically, each leveler consists of two parts: an adjustable pad and a thick mounting block that attaches to the bottom of the base. By turning a bolt that passes through the center of each piece, you can raise or lower the pad. Mounting Block. To provide plenty of strength, each mounting block is made by gluing up two pieces of 3/4"-thick hardwood. Before gluing and screwing the mounting block to the bottom of the base, you'll need to drill a coun-terbored shank hole to hold a T-nut that accepts the adjustment bolt. Pad. Once the block is in place, you can add the pad. It's also a piece of 3/4"-thick hardwood that's captured on the end of the bolt by a pair of lock nuts. One of the nuts rests in a coun-terbored shank hole drilled in the bottom of the foot. The other tightens against the top of the foot to lock it in place. A Easy Adjustment. To raise or lower this shop-made leveler, simply turn the adjustment bolt with a socket wrench. MOUNTING BLOCK PAD \_ HEX BOLT MOUNTING BLOCK 3-3) %" x W WASHER FAD (% x 3 - 3) %" FLAT WASHER LOCK NUT #S x 2" Fh SHEET WOOD- 11 |


