86, страница 22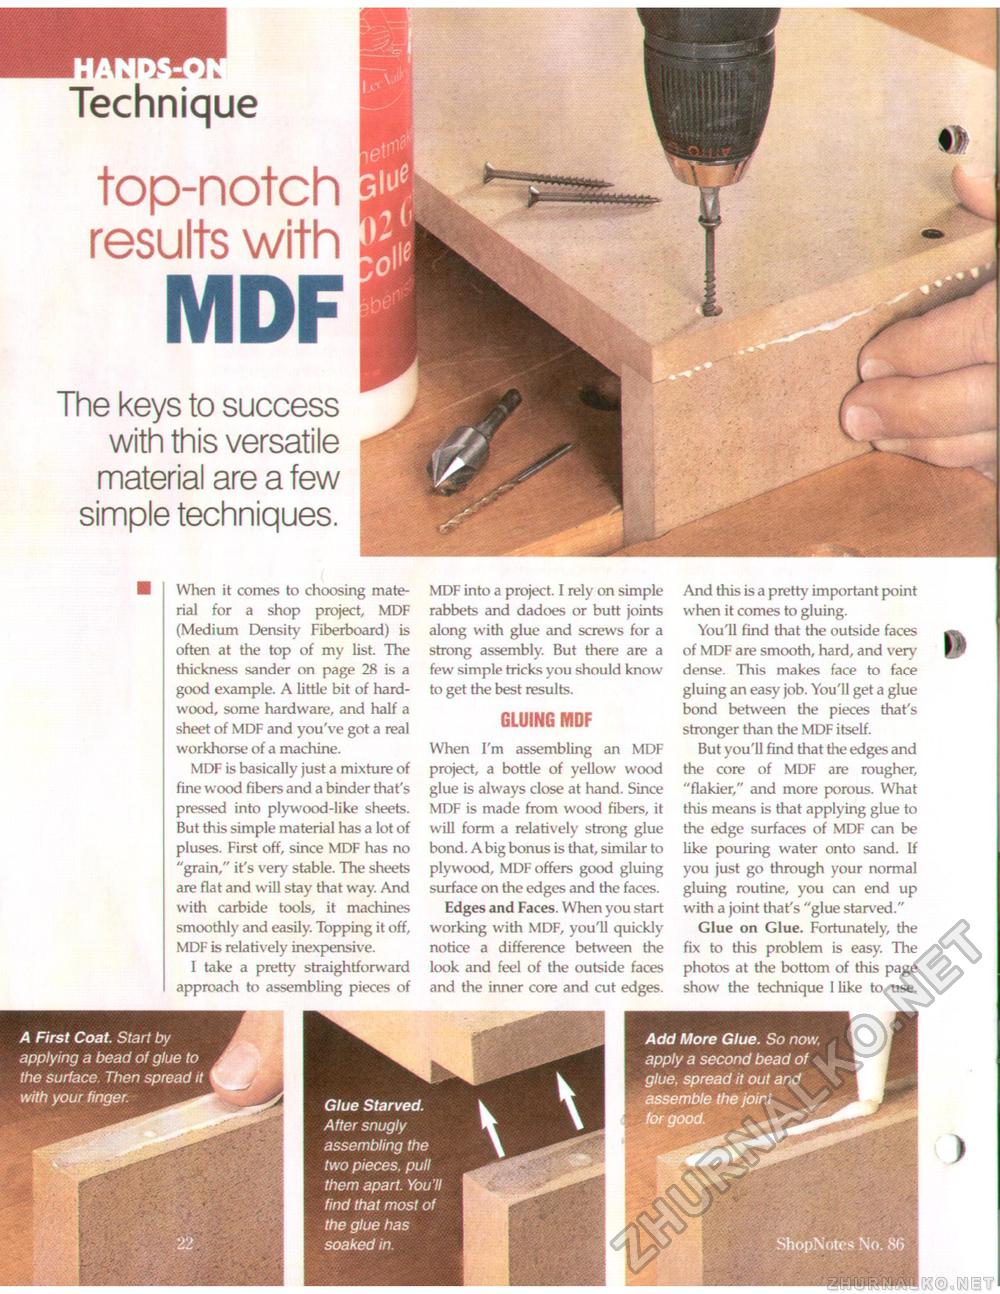
Technique top-notch results with MDF The keys to success with this versatile material are a few simple techniques. When it comes to choosing material for a shop project, MDF (Medium Density Fiberboard) is often at the top of my list. The thickness sander on page 28 is a good example. A little bit of hardwood, some hardware, and half a sheet of MDF and you've got a real workhorse of a machine. MDF is basically just a mixture of fine wood fibers and a binder that's pressed into plywood-like sheets. But this simple material has a lot of pluses. First off, since MDF has no "grain," it's very stable. The sheets are flat and will stay that way. And with carbide tools, it machines smoothly and easily. Topping it off, MDF is relatively inexpensive. I take a pretty straightforward approach to assembling pieces of MDF into a project. I rely on simple rabbets and dadoes or butt joints along with glue and screws for a strong assembly. But there are a few simple tricks you should know to get the best results. GLUING MDF When I'm assembling an MDF project, a bottle of yellow wood glue is always close at hand. Since MDF is made from wood fibers, it will form a relatively strong glue bond. A big bonus is that, similar to plywood, MDF offers good gluing surface on the edges and the faces. Edges and Faces. When you start working with MDF, you'll quickly notice a difference between the look and feel of the outside faces and the inner core and cut edges. And this is a pretty important point when it comes to gluing. You'll find that the outside faces of MDF are smooth, hard, and very dense. This makes face to face gluing an easy job. You'll get a glue bond between the pieces that's stronger than the MDF itself. But you'll find that the edges and the core of MDF are rougher, "flakier," and more porous. What this means is that applying glue to the edge surfaces of MDF can be like pouring water onto sand. If you just go through your normal gluing routine, you can end up with a joint that's "glue starved." Glue on Glue. Fortunately, the fix to this problem is easy. The photos at the bottom of this page show the technique I like to use. A First Coat. Start by applying a bead of glue to the surface. Then spread it with your finger. |


