Woodworker's Journal 1983-7-5, страница 51
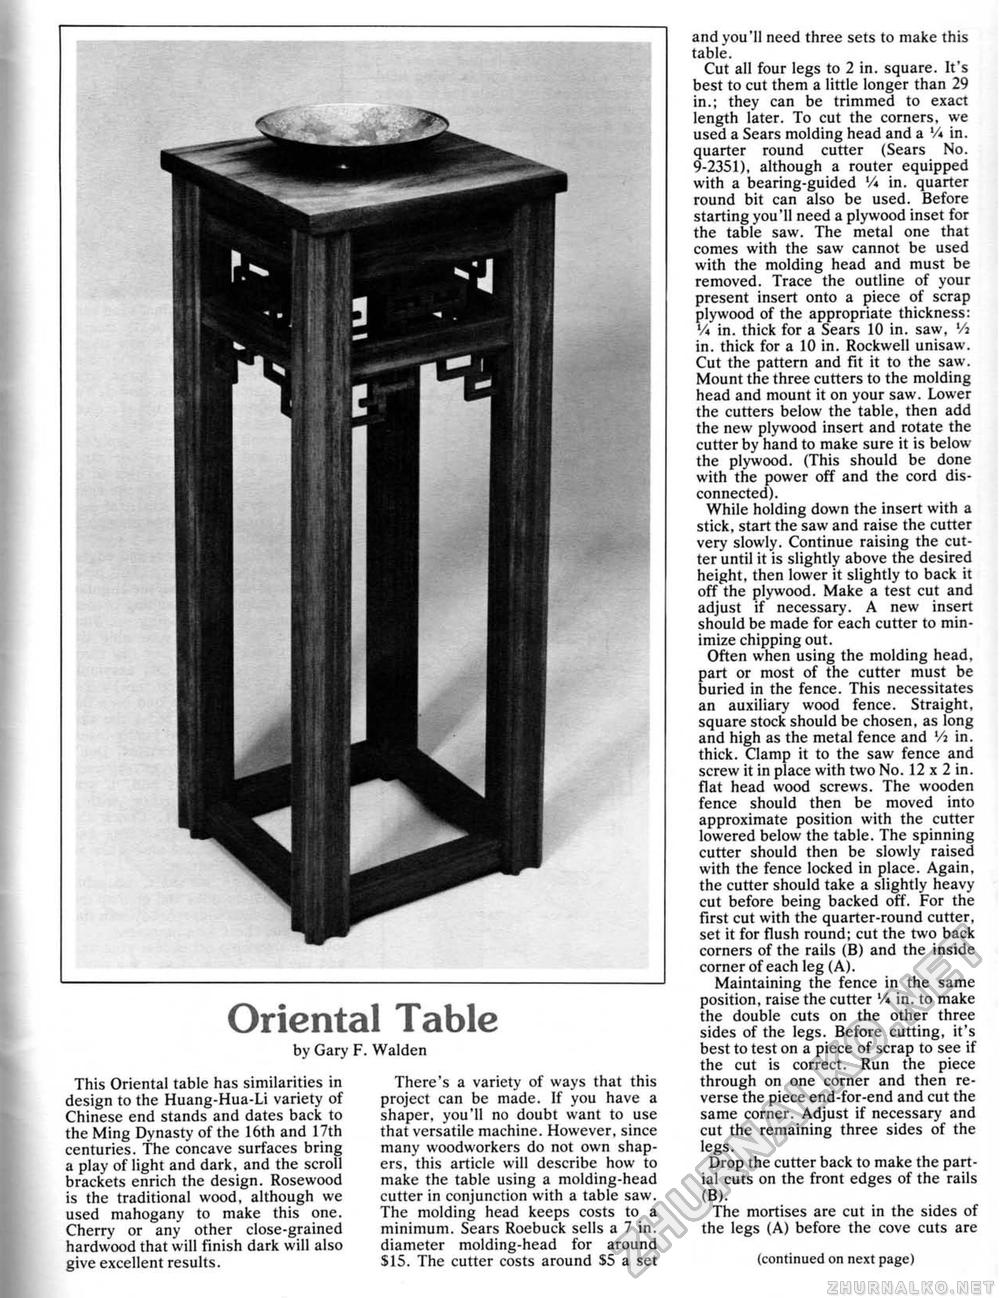
Oriental Table by Gary F. Walden This Oriental table has similarities in design to the Huang-Hua-Li variety of Chinese end stands and dates back to the Ming Dynasty of the 16th and 17th centuries. The concave surfaces bring a play of light and dark, and the scroll brackets enrich the design. Rosewood is the traditional wood, although we used mahogany to make this one. Cherry or any other close-grained hardwood that will finish dark will also give excellent results. There's a variety of ways that this project can be made. If you have a shaper, you'll no doubt want to use that versatile machine. However, since many woodworkers do not own shap-ers, this article will describe how to make the table using a molding-head cutter in conjunction with a table saw. The molding head keeps costs to a minimum. Sears Roebuck sells a 7 in. diameter molding-head for around $15. The cutter costs around $5 a set and you'll need three sets to make this table. Cut all four legs to 2 in. square. It's best to cut them a little longer than 29 in.; they can be trimmed to exact length later. To cut the corners, we used a Sears molding head and a Vt in. quarter round cutter (Sears No. 9-2351), although a router equipped with a bearing-guided V* in. quarter round bit can also be used. Before starting you'll need a plywood inset for the table saw. The metal one that comes with the saw cannot be used with the molding head and must be removed. Trace the outline of your present insert onto a piece of scrap plywood of the appropriate thickness: V* in. thick for a Sears 10 in. saw, 'A in. thick for a 10 in. Rockwell unisaw. Cut the pattern and fit it to the saw. Mount the three cutters to the molding head and mount it on your saw. Lower the cutters below the table, then add the newr plywood insert and rotate the cutter by hand to make sure it is below the plywood. (This should be done with the power off and the cord disconnected). While holding down the insert with a stick, start the saw and raise the cutter very slowly. Continue raising the cutter until it is slightly above the desired height, then lower it slightly to back it off the plywood. Make a test cut and adjust if necessary. A new insert should be made for each cutter to minimize chipping out. Often when using the molding head, part or most of the cutter must be buried in the fence. This necessitates an auxiliary wrood fence. Straight, square stock should be chosen, as long and high as the metal fence and '/) in. thick. Clamp it to the saw fence and screw it in place with two No. 12x2 in. flat head wood screws. The wooden fence should then be moved into approximate position with the cutter lowered below the table. The spinning cutter should then be slowly raised with the fence locked in place. Again, the cutter should take a slightly heavy cut before being backed off. For the first cut with the quarter-round cutter, set it for flush round; cut the two back corners of the rails (B) and the inside corner of each leg (A). Maintaining the fence in the same position, raise the cutter V* in. to make the double cuts on the other three sides of the legs. Before cutting, it's best to test on a piece of scrap to see if the cut is correct. Run the piece through on one corner and then reverse the piece end-for-end and cut the same corner. Adjust if necessary and cut the remaining three sides of the legs. Drop the cutter back to make the partial cuts on the front edges of the rails (B). The mortises are cut in the sides of the legs (A) before the cove cuts are (continued on next page) |


