Woodworker's Journal 1993-17-5, страница 24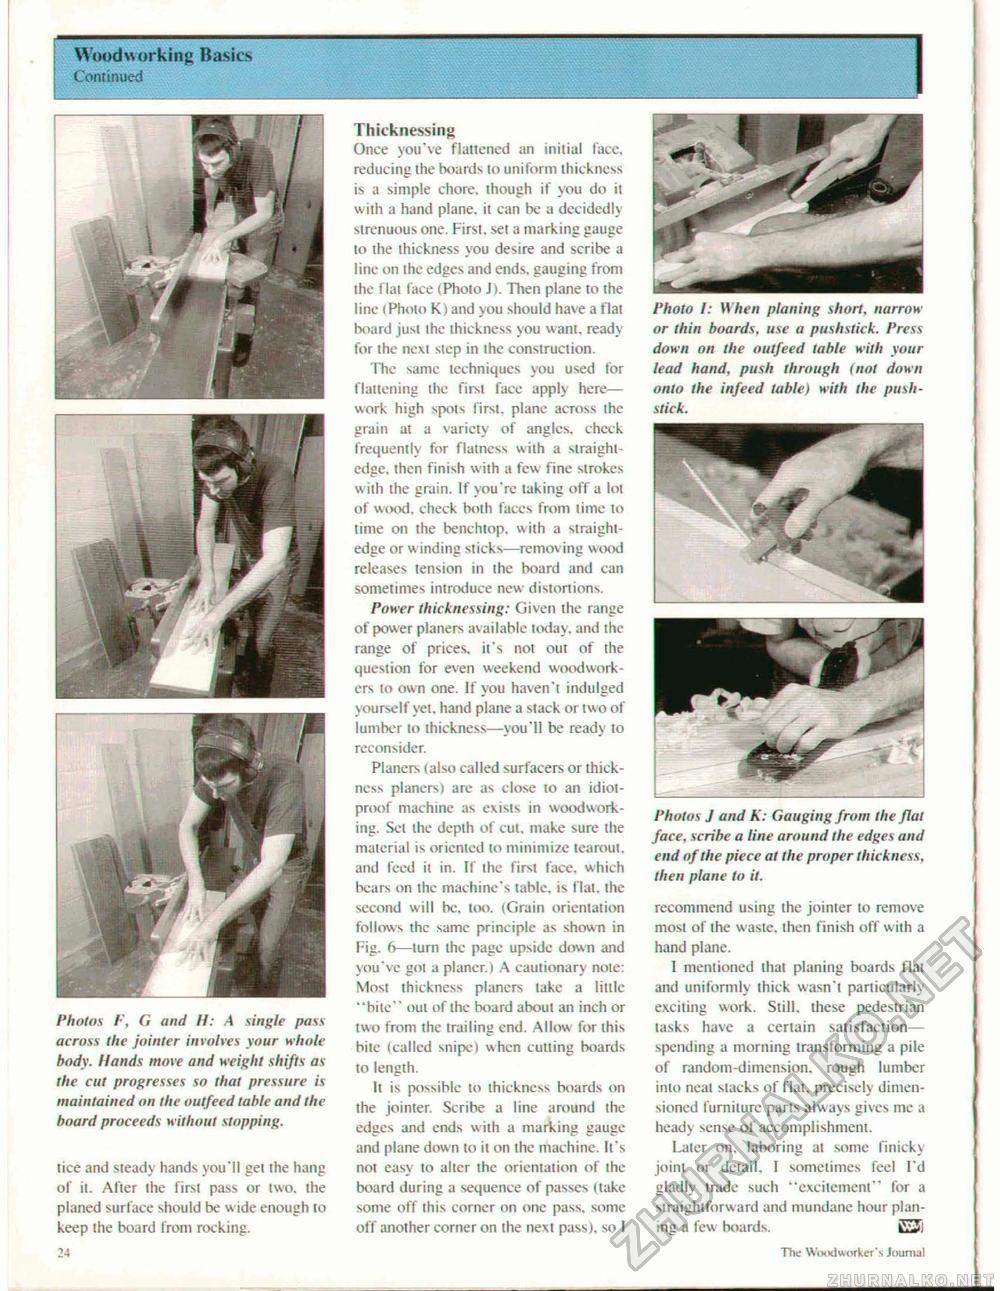
Woodworking Basics Continued Photos F, G and H: -t single pass across the jointer involves your whole body. Hands move and weight shifts as the cut progresses so that pressure is maintained on the outfeed table and the board proceeds without stopping. tice and steady hands you'll get the hang of it. After the first pass or two. the planed surface should be w ide enough to keep the board front rocking, 24 Thicknessing Once you've flattened an initial facc, reducing the boards to uniform thickness is a simple chore, though if you do it with a hand plane, it can be a decidedly strenuous one. First, set a marking gauge to the thickness you desire and scribe a line on the edges and ends, gauging front the flat face (Photo J). Then plane to the line t Photo K) and you should have a flat board just the thickness you want, ready for the next step in the construction. The same techniques you used for flattening the first face apply here— work high spots first, plane across the grain at a variety of angles, check frequently for flatness with a straightedge. then finish with a few fine strokes w ith the grain. If you're taking off a lot of wood, check both faces from time to time on the benchtop. with a straightedge or winding sticks—removing wood releases tension in (he board and can sometimes introduce new distortions. Power thicknessing: Given the range of pow er planers available today, and the range of prices, it's not out of the question for even weekend woodworkers to own one. If you haven't indulged yourself yet. hand plane a stack or two of lumber to thickness—you'll be ready to reconsider. Planers (also called surfacers or thickness planers) are as close to an idiot-proof machine as exists in woodworking. Set the depth of cut, make sure the material is oriented to minimize learout, and feed it in. If the first face, which bears on the machine's table, is flat, the second will be. too. (Grain orientation follows the same principle as shown in Fig. 6—tum the page upside down and you've got a planer.) A cautionary note: Most thickncss planers take a little "bite" out of the board about an inch or two from the trailing end. Allow for this bite (called snipe) when cutting boards to length. It is possible to thickness boards on the jointer. Scribe a line around the edges and ends with a marking gauge and plane dow n to it on the machine. It's not easy to alter the orientation of the board during a sequence of passes (take some off this corner on one pass, some off another corner on the next pass), so I Photo I: When planing short, narrow or thin boards, use a pushstick. Press down on the outfeed table with your lead hand, push through <not down onto the infeed table) with the push-stick. Photos J and K: Gauging from the flat face, scribe a line around the edges and end of the piece at the proper thickness, then plane to it. recommend using the jointer to remove most of the waste, then finish off with a hand plane. 1 mentioned that planing boards flat and uniformly thick wasn't particularly exciting work. Still, these pedestrian tasks have a certain satisfaction— spending a morning transforming a pile of random-dimension, rough lumber into neat stacks of flat, precisely dimensioned furniture parts always gives me a heady sense of accomplishment. Later on, laboring at some finicky joint or detail, I sometimes feel I'd gladly trade such "excitement" for a straightforward and mundane hour planing a few boards. The W(xKlwi)rker\ Journal |


