Woodworker's Journal 1994-18-1, страница 60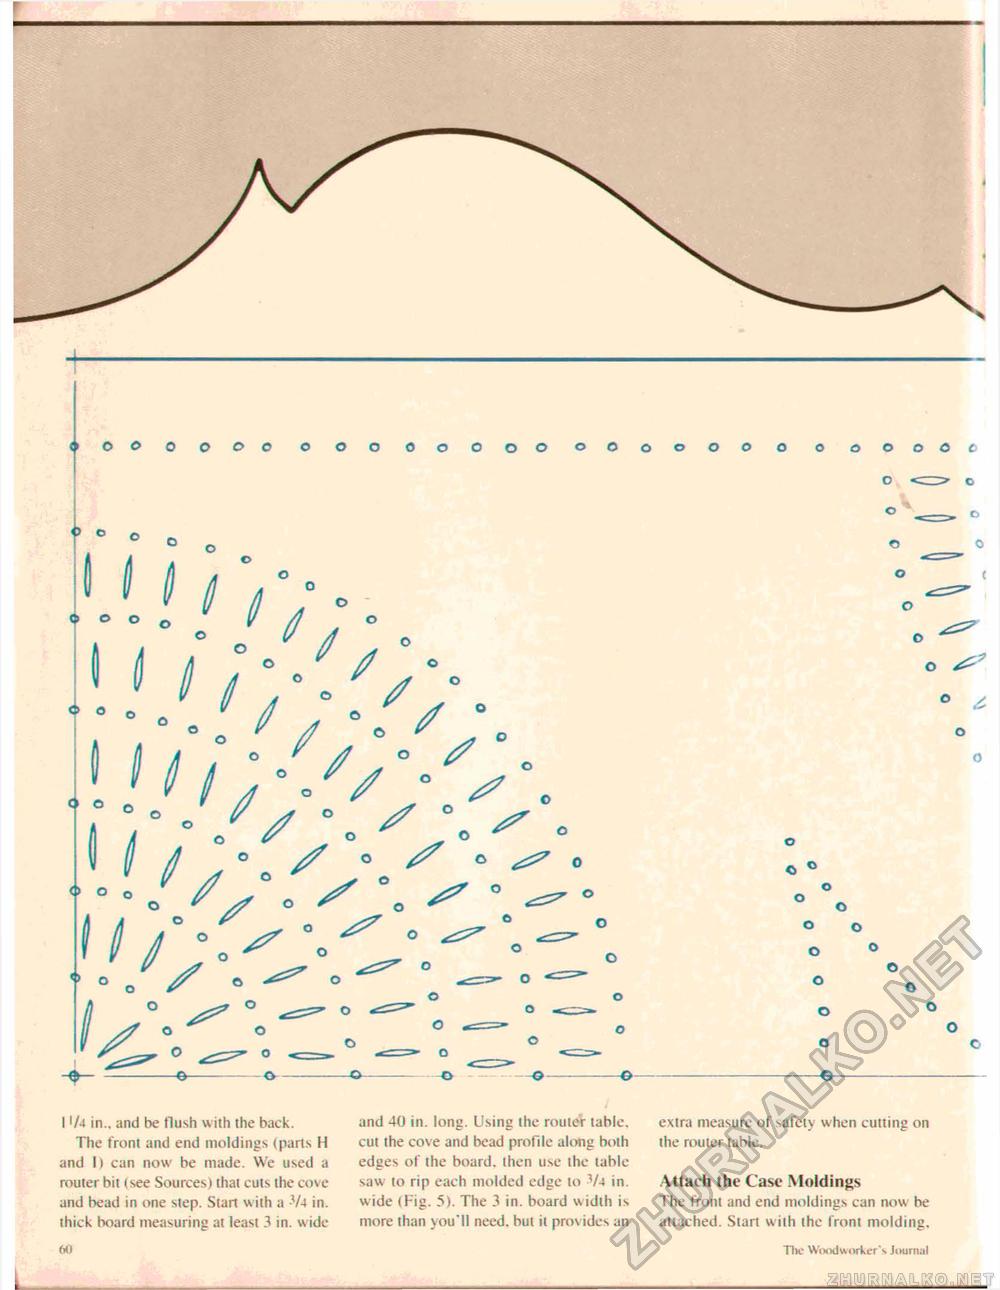
t <►00 0000 oooooooo ooooooo OOOOOC o C o O o o o o <> o w n o o c / / / / / / / / V • ^ I / " s ° ° * * ° O X o - o _ _ o o © O ~ o o ~ o ° o O O ° - ^ 0 ° <>V „ © 0 O ( o o ^ o ^ © o o o o © e> 1 '/4 in., and be flush with the back. The front and end moldings (parts H and I) can now be made. We used a router bit (see Sources) that cuts the co\e and bead in one step. Start with a -V4 in. thick board measuring at least 3 in. wide .">8 and 40 in. long. Using the router table, cut the cove and bead profile along both edges of the board, then use the table saw to rip each molded edge to V4 in. wide (Fig. 5). The 3 in. board width is more than you'll need, but it provides an extra measure of safety when cutting on the router table. Attach the Case Moldings The front and end moldings can now be attached. Start with the front molding. The Woodworker's Journal |


