Woodworker's Journal 1994-18-1, страница 63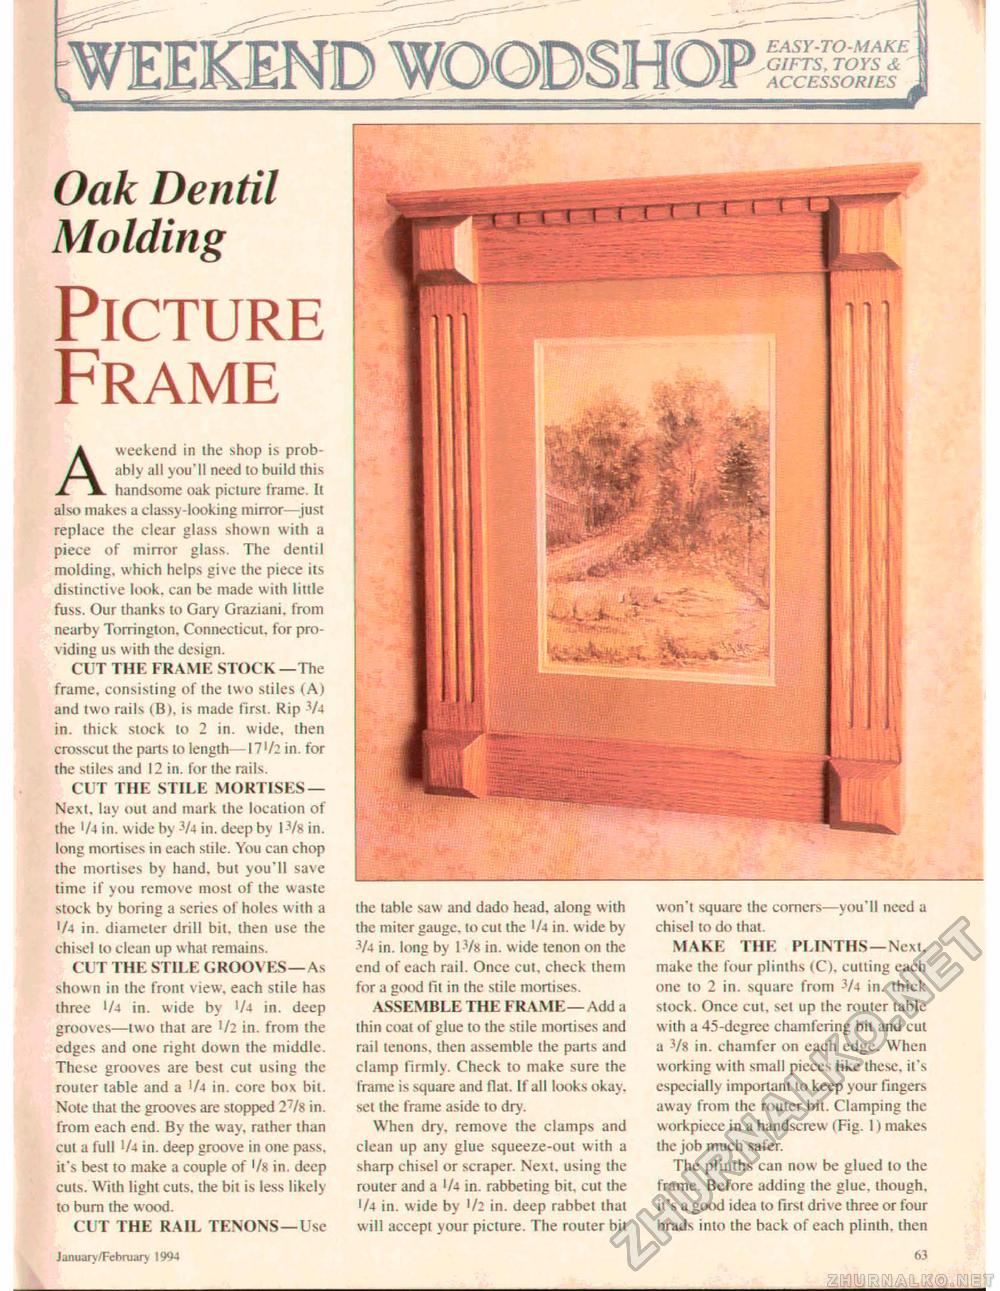
.WEEKEND WDQDSHQP V - -..... ■ ^------------- EASY-TO-MAKE .GIFTS. TOYS & " ACCESSORIES Oak Dentil Molding Picture FrameA weekend in the shop is probably all you'll need to build this handsome oak picture frame. It also makes a classy-looking mirror—just replace the clear glass shown with a piece of mirror glass. The dentil molding, which helps give the piece its distinctive look, can be made with little fuss. Our thanks to Gary Graziani. from nearby Torrington, Connecticut, for providing us with the design. CUT THE FRAME STOCK —The frame, consisting of the two stiles (A) and two rails (B), is made first. Rip 74 in. thick stock lo 2 in. wide, then crosscut the parts to length— 17 '/2 in. for the stiles and 12 in. for the rails. CUT THE STILE MORTISES — Next, lay out and mark the location of the >/4 in. wide by Va in. deep by I -Vs in. long mortises in each stile. You can chop the mortises by hand, but you'll save time if you remove most of the waste stock by boring a series of holes with a !/4 in. diameter drill bit, then use the chisel to clean up what remains. CUT THE STILE GROOVES—As shown in the front view, each stile has three '/4 in. wide by '/4 in. deep grooves—two that are 1/2 in. from the edges and one right down the middle. These grooves are best cut using the router table and a '/4 in. corc box bit. Note that the grooves are stopped 27/8 in. from each end. By the way, rather than cut a full 1/4 in. deep groove in one pass, it's best to make a couple of '/« in. deep cuts, Willi light cuts, the bit is less likely to burn the wood. CUT THE RAIL TENONS—Use msm; the table saw and dado head, along with the miter gauge, to cut the '/4 in. wide by -V4 in. long by I-V« in. wide tenon on the end of each rail. Once cut. check them for a good lit in the stile mortises. ASSEMBLE THE FRAME—Add a thin coat of glue to the stile mortises and rail tenons, then assemble the parts and clamp firmly. Check to make sure the frame is square and flat. If all looks okay, set the frame aside to dry. When dry. remove the clamps and clean up any glue squeeze-out with a sharp chisel or scraper. Next, using the router and a '/4 in. rabbeting bit, cut the '/4 in. wide by '/2 in. deep rabbet that will accept your picture. The router bit won't square the comers—you'll need a chisel to do that. MAKE THE PLINTHS—Next, make the four plinths (C). cutting each one to 2 in. square from 3/4 in. thick stock. Once cut, sel up the router table with a 45-degree chamfering bit and cut a 78 in. chamfer on each edge. When working wilh small pieces like these, it's especially important lo keep your fingers away from ihe router bit. Clamping the workpiece in a handscrew (Fig. I i makes the job much safer. The plinths can now be glued lo ihe frame. Before adding the glue, though, it's a good idea to first drive three or four brads into the back of each plinth, then January/February 1994 63 |


