Woodworker's Journal 1994-18-2, страница 16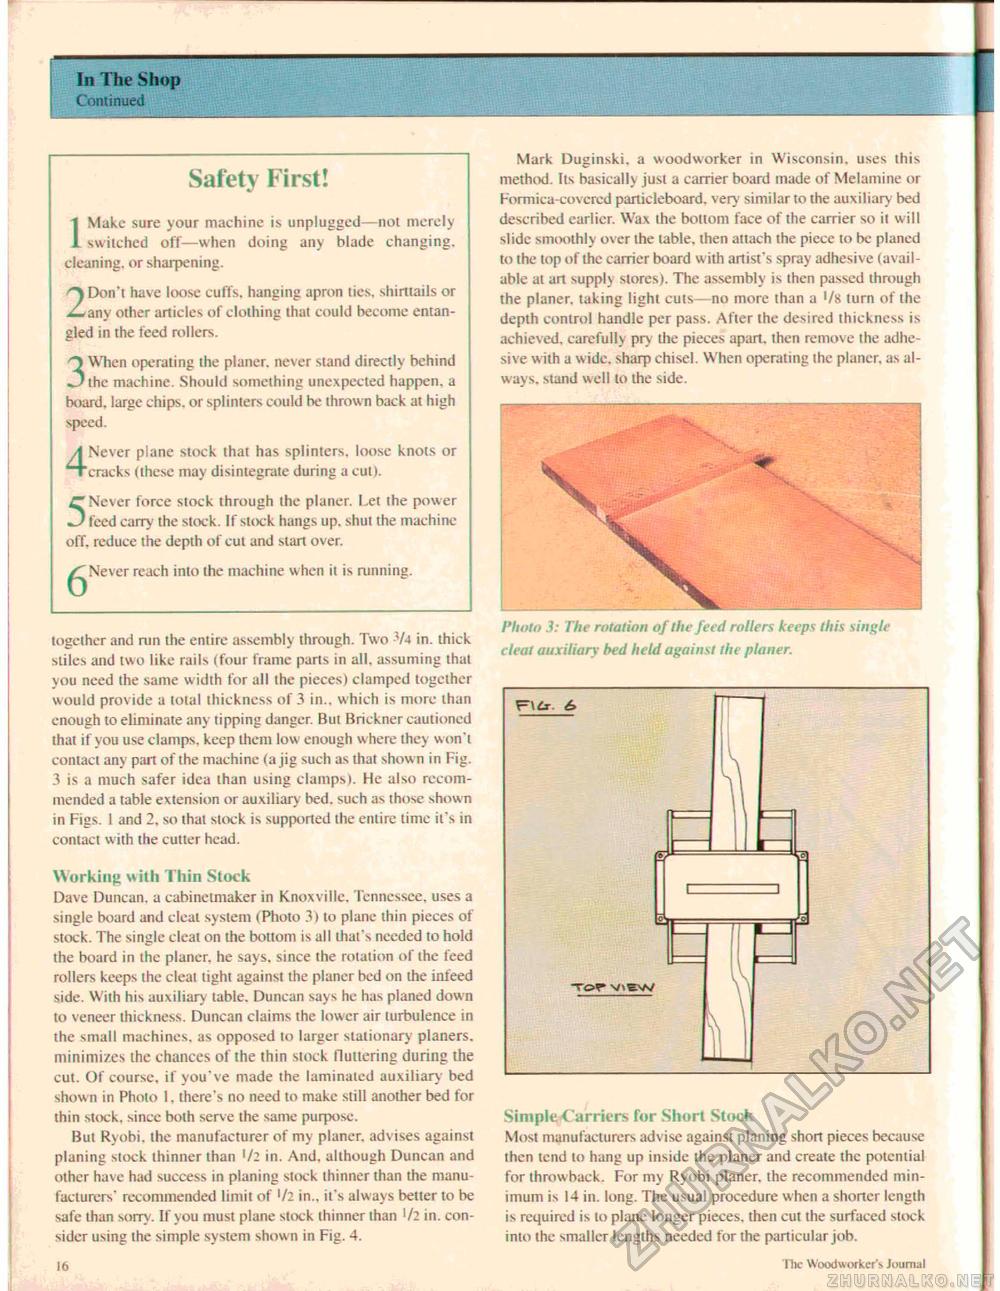
In The Shop Continued Safety First! IMake sure your machine is unplugged—not merely switched off—when doing any blade changing, cleaning, or sharpening. 2Don't have loose cuffs, hanging apron ties, shirttails or any other articles of clothing that could become entangled in the feed rollers. 3 When operating the planer, never stand directly behind the machine. Should something unexpected happen, a board, large chips, or splinters could be throw n back at high speed. 4Never plane stock that has splinters, loose knots or cracks (these may disintegrate during a cut). 5 Never force stock through the planer. Let the power feed carry the stock. If stock hangs up. shut the machine off. reduce the depth of cut and start over. ^Never reach into the machine when it is running. together and run the entire assembly through. Two 74 in. thick stiles and two like rails (four frame parts in all. assuming that you need the same width for all the pieces) clamped together would provide a total thickness of 3 in., which is more than enough to eliminate any tipping danger. But Brickner cautioned that if you use clamps, keep them low enough w here they won't contact any part of the machine (a jig such as that shown in Fig. 3 is a much safer idea than using clamps). He also recommended a table extension or auxiliary bed. such as those shown in Figs. 1 and 2, so that stock is supported the entire time it's in contact with the cutter head. Working with Thin Stock Dave Duncan, a cabinetmaker in Knoxville, Tennessee, uses a single board and cleat system (Photo 3) to plane thin pieces of stock. The single cleat on the bottom is all that's needed to hold the board in the planer, he says, since the rotation of the feed rollers keeps the cleat tight against the planer bed on the infeed side. With his auxiliary table. Duncan says he has planed down to veneer thickness. Duncan claims the lower air turbulence in the small machines, as opposed to larger stationary planers, minimizes the chances of the thin slock fluttering during the cut. Of course, if you've made the laminated auxiliary bed show n in Photo 1, there's no need to make still another bed for thin stock, since both serve the same purpose. But Ryobi, the manufacturer of my planer, advises against planing stock thinner than '/2 in. And. although Duncan and other have had success in planing stock thinner than the manufacturers' recommended limit of '/2 in., it's always better to be safe than sorry. If you must plane stock thinner than '/2 in. consider using the simple system shown in Fig. 4. Mark Duginski, a woodworker in Wisconsin, uses this method. Its basically just a carrier board made of Melamine or Formica-covered particleboard. very similar to the auxiliary bed described earlier. Wax the bottom face of the carrier so it will slide smoothly over the table, then attach the piece to be planed to the top of the carrier board with artist's spray adhesive (available at art supply stores). The assembly is then passed through the planer, taking light cuts no more than a '/» turn of the depth control handle per pass. After the desired thickness is achieved, carefully pry the pieces apart, then remove the adhesive with a wide, sharp chisel. When operating the planer, as always. stand well to the side. deal auxiliary bed held against the platter. SimpleCarriers for Short Stock Most manufacturers advise against planing short pieces because then tend lo hang up inside the planer and create the potential for throw back. For my Ry obi planer, the recommended minimum is 14 in. long. The usual procedure when a shorter length is required is to plane longer pieces, then cut the surfaced stock into the smaller lengths needed for the particular job.
16 t he Woodworker's Journal |
||||||||


