Woodworker's Journal 2006-30-2, страница 31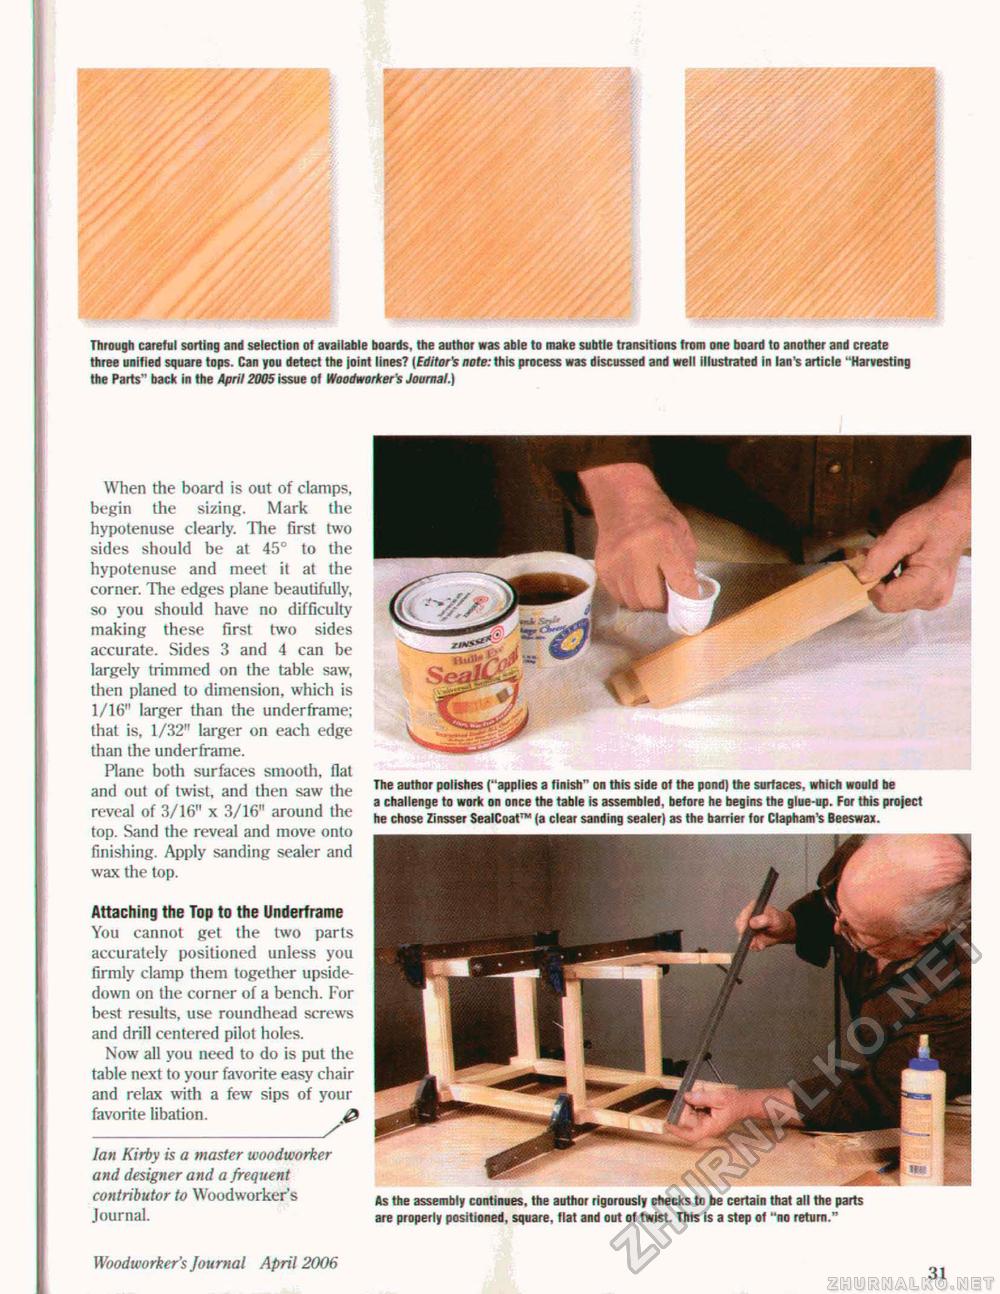
Through careful sorting and selection of available boards, the author was able to make subtle transitions from one board to another and create three unified square tops. Can you detect the joint lines? |Editor's note: this process was discussed and well illustrated in lan's article 'Harvesting the Parts'' back in the April 2005 issue of Woodworker's Journal.) Attaching the Top to the Underframe You cannot get the two parts accurately positioned unless you firmly clamp them together upside-down on the corner of a bench. For best results, use roundhead screws and drill centered pilot holes. Now all you need to do is put (he table next to your favorite easy chair and relax with a few sips of your favorite libation. @ _X' lan Kirby is a master woodworker and designer and a frequent contributor to Woodworker's As the assemb|y continues, the author rigorously checks to be certain that all the parts Journal. are properly positioned, square, flat and out of twist. This is a step of "no return." When the board is out of clamps, begin the sizing. Mark the hypotenuse clearly. The first two sides should be at 45° to the hypotenuse and meet it at the corner. The edges plane beautifully, so you should have no difficulty making these first two sides accurate. Sides 3 and 4 can be largely trimmed on the table saw, then planed to dimension, which is 1/16" larger than the underframe; that is, 1/32" larger on each edge than the underframe. Plane both surfaces smooth, flat and out of twist, and then saw the reveal of 3/16" x 3/16" around the top. Sand the reveal and move onto finishing. Apply sanding sealer and wax the top. The author polishes ("applies a finish" on this side of the pond) the surfaces, which would be a challenge to work on once the table is assembled, before he begins the glue-up. For this project he chose Zinsser SealCoat™ (a clear sanding sealer) as the barrier for Clapham's Beeswax. Woodworker's Journal April 2006 31 |


