Woodworker's Journal 2006-30-2, страница 33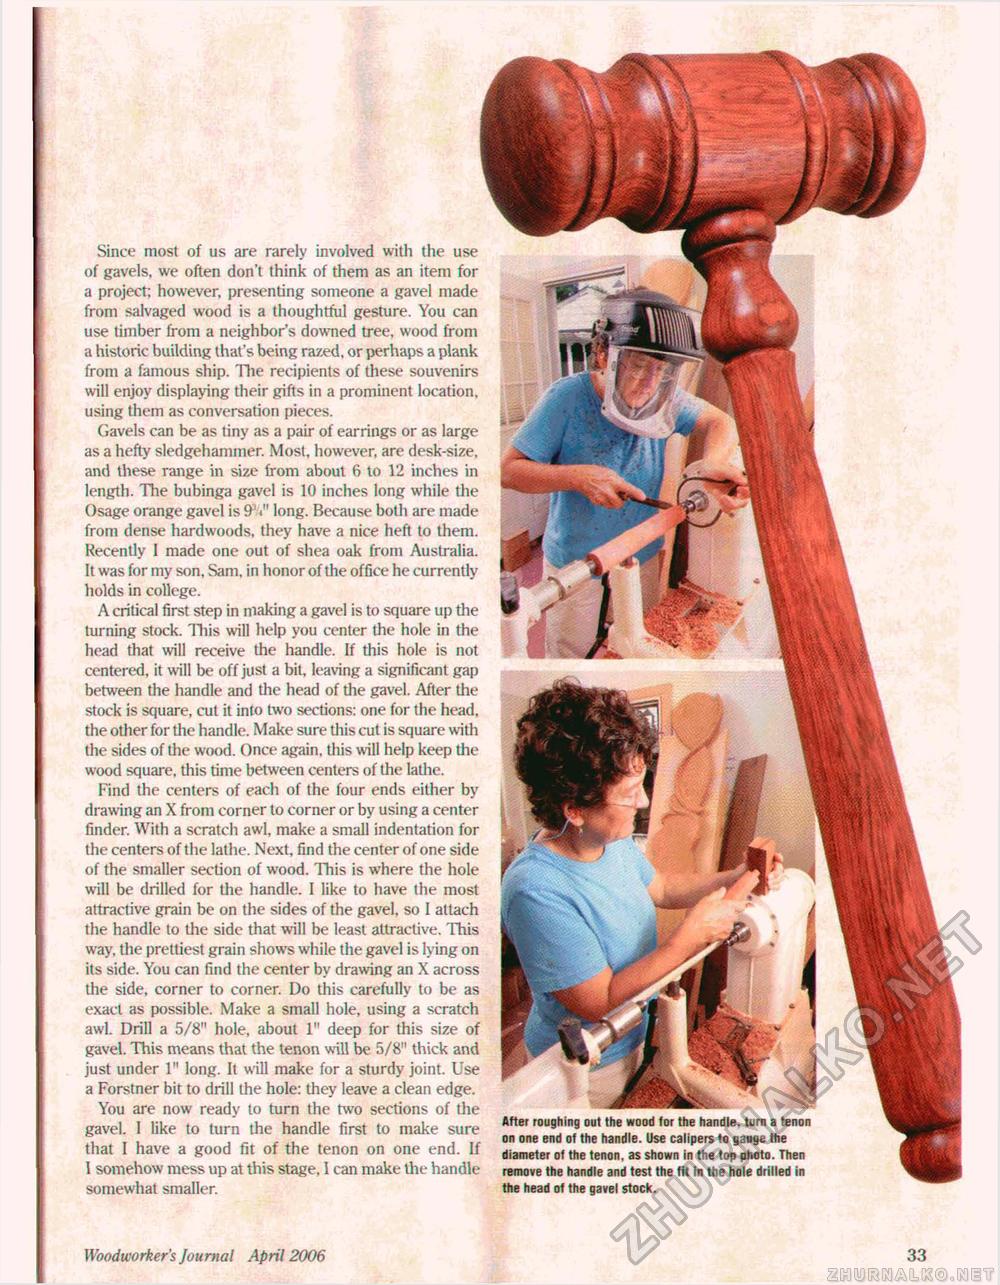
Woodworker's Journal April 2006 33 Since most of us are rarely involved with the use of gavels, we often don't think of them as an item for a project; however, presenting someone a gavel made from salvaged wood is a thoughtful gesture. You can use timber from a neighbor's downed tree, wood from a historic building that's being razed, or perhaps a plank from a famous ship. The recipients of these souvenirs will enjoy displaying their gifts in a prominent location, using them as conversation pieces. Gavels can be as tiny as a pair of earrings or as large as a hefty sledgehammer. Most, however, are desk-size, and these range in size from about 6 to 12 inches in length. The bubinga gavel is 10 inches long while the Osage orange gavel is & «" long. Because both are made from dense hardwoods, they have a nice heft to them. Recently 1 made one out of shea oak from Australia. It was for my son, Sam, in honor of the office he currently holds in college. A critical first step in making a gavel is to square up the turning stock. This will help you center the hole in the head that will receive the handle. If this hole is not centered, it will be off just a bit, leaving a significant gap between the handle and the head of the gavel. After the stock is square, cut it into two sections: one for the head, the other for the handle. Make sure this cut is square with the sides of the wood. Once again, this will help keep the wood square, this time between centers of the lathe. Find the centers of each of the lour ends either by drawing an X from corner to corner or by using a center finder. With a scratch awl, make a small indentation for the centers of the lathe. Next, find the center of one side of the smaller section of wood. This is where the hole will be drilled for the handle. I like to have the most attractive grain be on the sides of the gavel, so I attach the handle to the side that will be least attractive. This way. the prettiest grain shows while the gavel is lying on its side. You can find the center by drawing an X across the side, corner to corner. Do this carefully to be as exact as possible. Make a small hole, using a scratch awl. Drill a 5/8" hole, about 1" deep for this size of gavel. This means that the tenon will be 5/8" thick and just under 1" long. It will make for a sturdy joint. Use a Forstner bit to drill the hole: they leave a clean edge. You are now ready to turn the two sections of the gavel. I like to turn the handle first to make sure that I have a good fit of the tenon on one end. If 1 somehow mess up at this stage, 1 can make the handle somewhat smaller. After roughing out the wood for the handle, turn a tenon on one end of the handle. Use calipers to gauge the diameter of the tenon, as shown in the top photo. Then remove the handle and test the fit in the hole drilled in the head of the gavel stock. |


